Welcome! You’ve landed on a clear, in-depth guide to installing a freestanding tub faucet. I think you’ll find it super helpful, whether you’re a DIY beginner or brushing up your skills. This isn’t just about water flow—it’s about creating a stunning bathroom centerpiece that works flawlessly. A bad installation can mean leaks or a ruined look, so this guide is here to help you nail it.
Here’s why it matters: a freestanding tub faucet adds luxury and function, but it needs careful planning to avoid costly fixes. I’ll walk you through choosing the right faucet, prepping your space, installing like a pro, and fixing any hiccups. Let’s dive in!
Introduction to Freestanding Tub Faucets
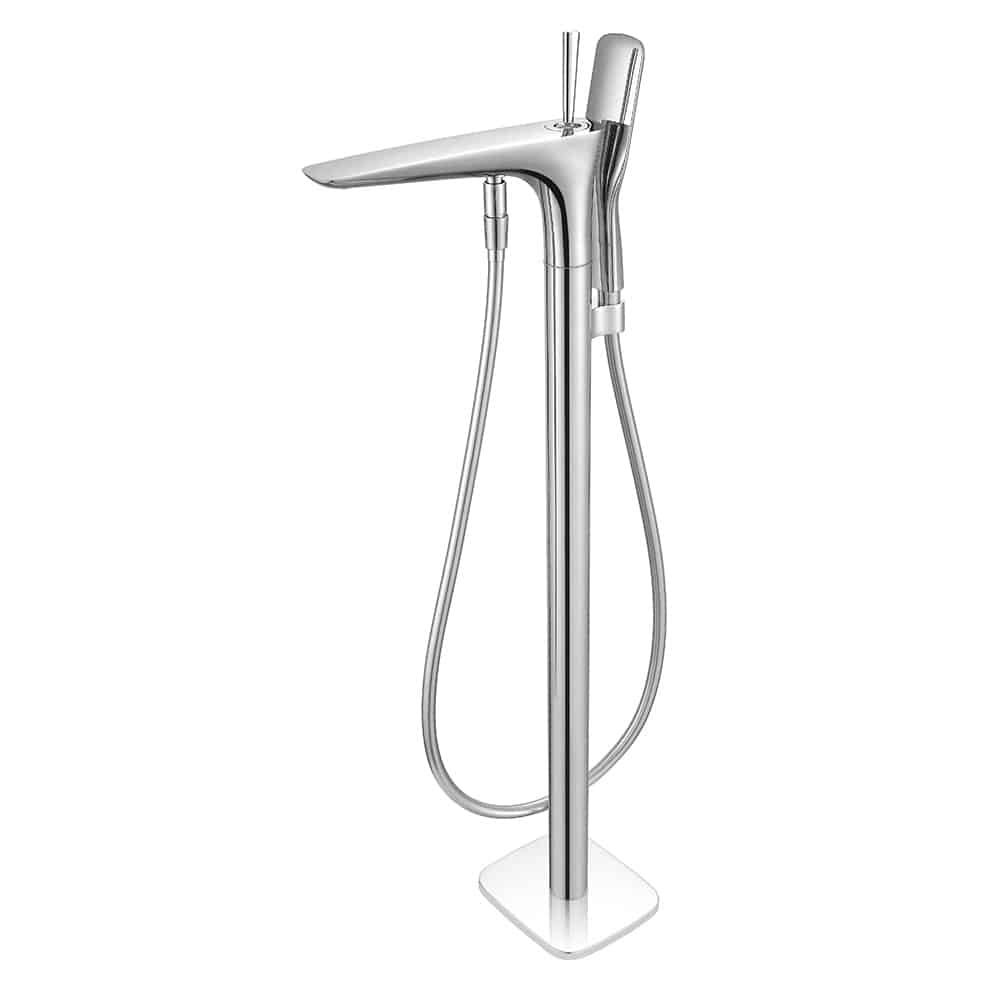
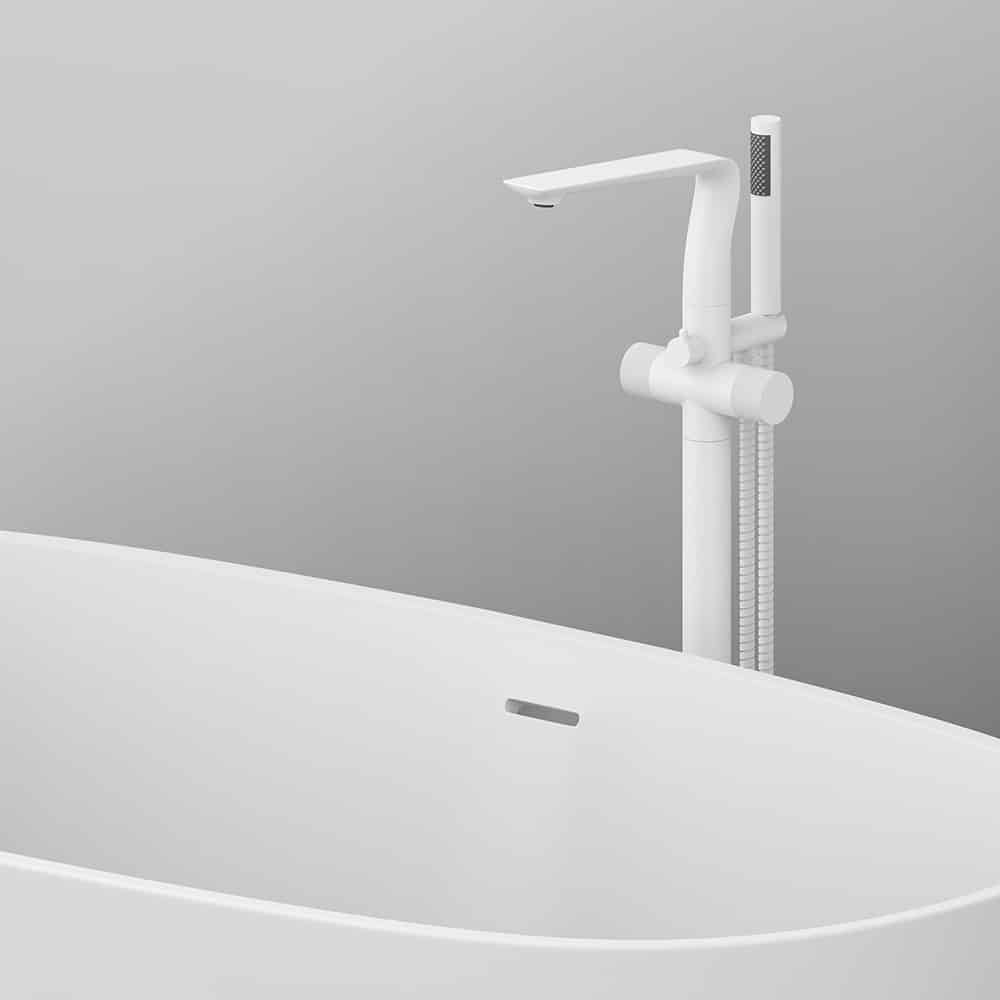
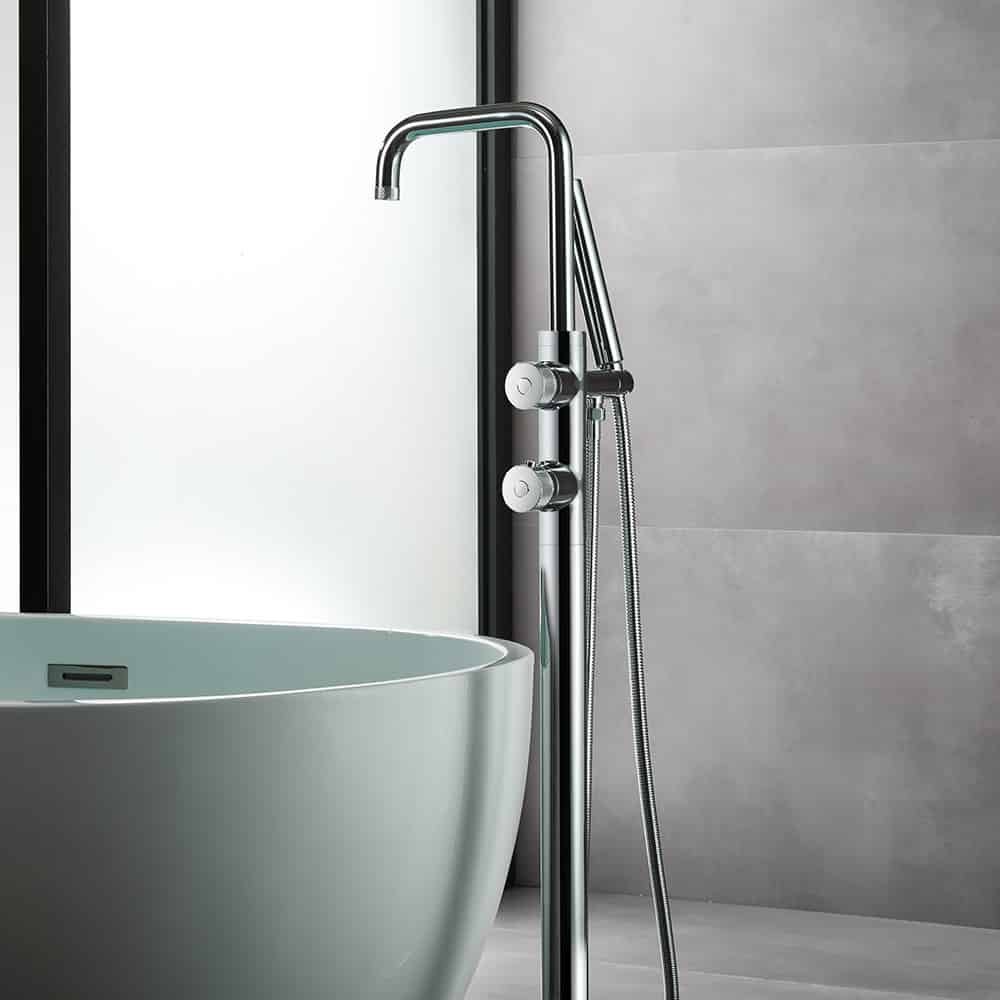
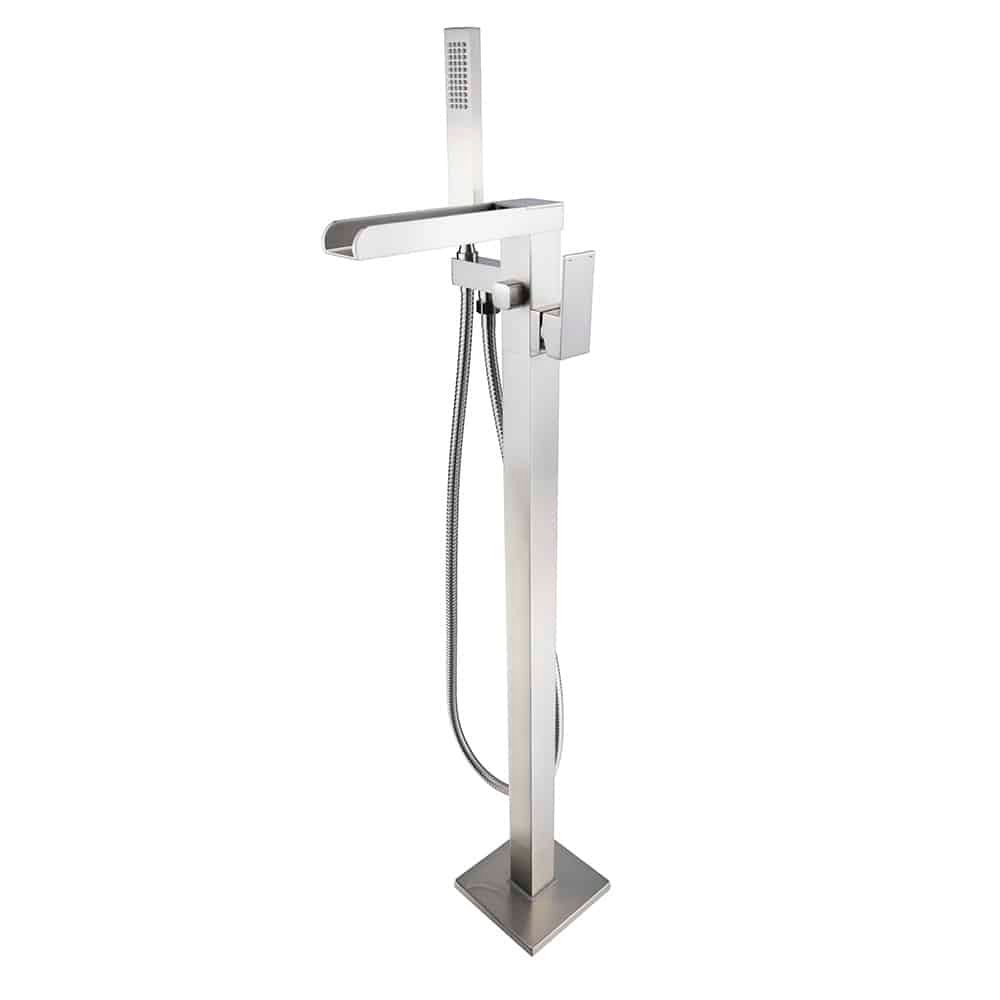
So, what’s the deal with freestanding tub faucets? As I know, they’re one of the most popular choices for modern bathrooms. These faucets stand on their own next to your tub, unlike wall-mounted or deck-mounted options. I love how they give off a sleek, minimalist vibe—perfect if you’re aiming for a high-end look.
Why Go for a Freestanding Tub Faucet?
- Style Points: They create a clean, open feel, especially in larger bathrooms.
- Placement Freedom: You decide where it goes based on your tub and layout.
- Simpler Setup: Compared to wall-mounted faucets, they usually don’t need you to tear into walls for plumbing.

Preparing for Installation
Before you touch a single tool, let’s make sure you’re set up for success. I think preparation is half the battle here—it saves you time and keeps frustration at bay.
Tools and Materials You’ll Need
Here’s your checklist:
- Pipe cutter (for trimming supply lines)
- Adjustable wrench (to tighten fittings)
- Plumber’s tape (a must for leak-proof connections)
- Screwdriver set (for mounting hardware)
- Level (to keep things straight)
- Measuring tape (for accurate placement)
- The faucet kit (comes with the base, supply lines, and hardware)
- Safety gear like gloves and glasses (better safe than sorry)
Picking the Perfect Faucet
Choosing the right faucet isn’t just about looks—it’s about fit too. Here’s what to consider:
- Tub Size: Measure your tub’s height and depth. The faucet should sit about 5-6 inches above the rim for a smooth flow.
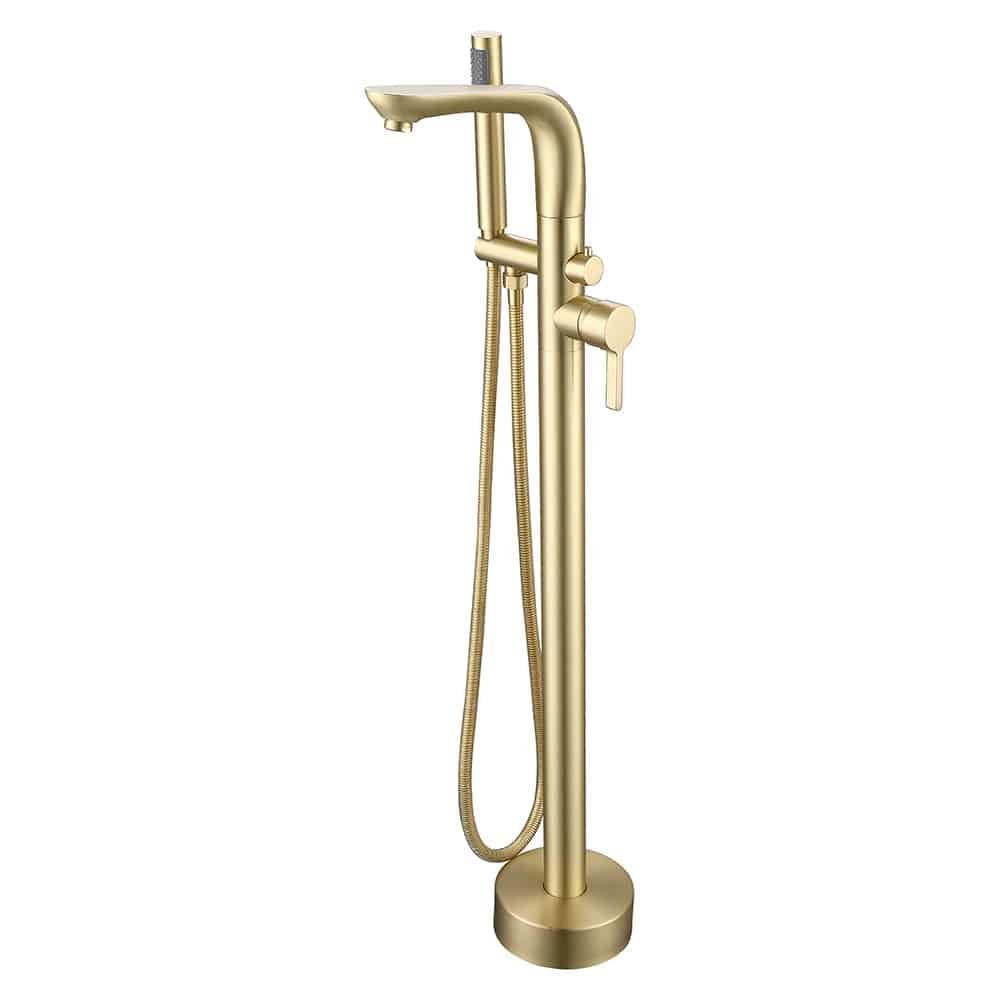
- Bathroom Vibe: Match the finish—chrome, matte black, or brushed nickel—to your decor.
- Price Range: Faucets can cost anywhere from $200 to $2,000. Invest in quality, but don’t overspend on features you won’t use.

Step-by-Step Installation Guide
Step 1: Shut Off the Water Supply
- What to do:
- Turn off the main water valve to your home.
- If you’re lucky to have bathroom shut-offs, close them too.
- Open a nearby faucet (like your sink) to drain residual water in the lines.
- Why it matters:
You must relieve water pressure. Even a few drops can make a mess or damage new fittings.
Step 2: Measure & Mark Faucet Location
- Key distances:
- Distance from tub: 6–8 inches from the edge of the tub rim to the faucet base.
- Faucet height: Usually 33–38 inches tall; make sure your spout can clear the rim and reach comfortably inside the tub.
- How to mark:
- Place the tub where it will stay.
- Mark the center of the faucet body so it aligns with the tub spout.
- Trace around the mounting plate.
- Pro Tip:
Place cardboard or a drop cloth under the faucet area to protect your floor during marking and drilling.
Step 3: Cut the Floor Opening (If Not Prepped)
- If there’s no rough-in yet:
- Mark a 7″x7″ square or per the faucet’s rough-in size.
- Use a stud finder to avoid floor joists.
- Drill a pilot hole in each corner, then use a jigsaw to cut the full square.
- Support block:
- If there’s no framing under the hole, insert a 2×6 wood block below the surface.
- Use construction adhesive + screws from below to create a secure anchor point.
On Concrete Floors?
You’ll need a core drill to create a plumbing hole. Hire a pro unless you’re very experienced with concrete.

Step 4: Install the Rough-In Valve Kit or Floor Mount Base
- Your faucet will include either:
- A rough-in valve box
- A mounting bracket or base plate
- Install process:
- Place the box/bracket in the hole.
- Align it with your centerline and make sure it’s level.
- Secure the bracket to the support block using 3″ deck screws.
- Dry-fit your faucet over it to check the alignment.

Step 5: Bring Water Supply Lines Up Through the Floor
- Plumbing options:
- Use 1/2” or 3/4” PEX, copper, or CPVC depending on local code.
- Insert the hot and cold lines through the floor, centered in the bracket.
- Leave approx. 2–3 inches of pipe above the floor for connection.
IMPORTANT:
Use drop-ear elbows under the floor if your faucet uses threaded nipples, or flexible hoses if it uses compression fittings.

Step 6: Connect Faucet Hoses to Water Lines
- Do this before mounting the faucet body:
- Wrap male threads with Teflon tape (2–3 layers clockwise).
- Attach the faucet’s hot/cold hoses to your lines. Match red to hot, blue to cold.
- Hand-tighten first, then use a wrench to make snug.
- Don’t over-tighten! That’s how brass or copper threads get stripped.
- Optional but recommended:
Install shut-off valves under the floor so future repairs are easier.
Step 7: Secure the Faucet Body to the Base
- Slide the faucet column over the mounted base or valve box.
- Align it carefully—double-check the spout direction.
- Use a hex key (Allen wrench) to tighten the set screws into the mounting bracket.
- Make sure the faucet is level side-to-side and front-to-back.
Stability tip:
If the faucet rocks slightly, insert a rubber shim or gasket between base and floor.

Step 8: Attach the Hand Shower (If Included)
- Wrap Teflon tape around the hand shower hose threads.
- Screw the hose into the faucet outlet.
- Connect the wand and place it in the holder.
Test pull-out length and check flexibility before final tightening.

Step 9: Restore Water and Check for Leaks
- Slowly turn on the water valves or main supply.
- Open the faucet handles—run hot and cold for 30 seconds.
- Inspect:
- Hose connections
- Base joints
- Underfloor access (use flashlight)
- If you see a drip:
- Turn water off.
- Re-tighten.
- Reapply Teflon tape if needed.
Step 10: Seal the Base and Clean Up
- Run a thin bead of 100% silicone caulk around the faucet base.
- Smooth with a damp finger or caulking tool.
- Let cure for 24 hours before using the tub.
Troubleshooting Common Hiccups
Even with a solid plan, things can go off track. Here’s how to fix the most common issues I’ve seen:
- Leaks: If water’s sneaking out, check your connections. Tighten them gently. Still leaking? Take it apart, reapply plumber’s tape, and try again.
- Weak Water Flow: Look at the supply lines—any kinks or clogs? Also, unscrew the aerator (that little cap on the spout) and clean out any gunk.
- Wobbly Faucet: If it’s rocking, the base isn’t secure. Tighten the screws or add extra support under the floor.
For trickier problems, peek at Plumbing Forums» — real plumbers share fixes there.
Keeping Your Faucet in Top Shape
Your faucet’s installed—awesome! Now, let’s keep it shining and working like new.
- Clean It Right: Use mild soap and water with a soft cloth. Skip the harsh stuff like bleach—it’ll ruin the finish.
- Spot Leaks Early: Check the base and connections every few months. A quick fix now beats a big repair later.
- Cold Weather Tip: If your bathroom gets chilly, insulate the pipes to avoid freezing.
A little TLC goes a long way. Your faucet will thank you with years of flawless performance.
Ready to Transform Your Bathroom?
You’ve just mastered installing a freestanding tub faucet—give yourself a pat on the back! I think you’ll love how it elevates your bathroom’s style and function. If you haven’t picked a faucet yet, check out Luxuryhome’s freestanding tub faucets». They come with clear, easy-to-follow instructions and a limited lifetime warranty, so you’re covered for the long haul.Enjoy your stunning new bathroom!