Hey there! Dreaming of a new bathtub, but feeling a bit unsure about the installation? You’re not alone. Pipes, levels, sealing… it can seem overwhelming.
That’s why we’re here to help. At Luxuryhome, we believe you can bring your vision to life—with the right guide. This isn’t just a checklist. It’s your step-by-step roadmap to installing your bathtub with confidence.
From prep work to plumbing, plus tips for different tub styles—we’ve got you covered. Let’s dive in!
Is DIY Bathtub Installation Right for You?
Before you grab your tools, I think it’s smart to honestly assess your DIY skills. Installing a bathtub isn’t a walk in the park. It involves plumbing, carpentry, and precision.
- You’re comfortable with tools: You know your way around a drill, level, and caulk gun.
- Basic plumbing knowledge: You understand how drains and water lines work.
- Physical strength: Bathtubs can be heavy, especially cast iron! You’ll likely need help.
- Patience: This isn’t a rush job. Taking your time prevents costly mistakes.
If you’re unsure about any of these, there’s absolutely no shame in calling a professional. Sometimes, investing in expert help saves you headaches (and money!) in the long run.
Planning Your Bathtub Installation: The Foundation of Success
As I’ve learned, great projects always start with great planning. Don’t skip these crucial steps!
Check Your Local Building Codes & Permits
This is a big one that often gets overlooked. Most areas require a permit for major plumbing work like replacing a bathtub. Why? For safety and to ensure everything meets local building standards. Before you start, contact your local building department. Trust me, it’s better to ask upfront than to face fines or forced re-work later.
Choose the Right Bathtub for Your Space
Remember different materials and types have different installation considerations:
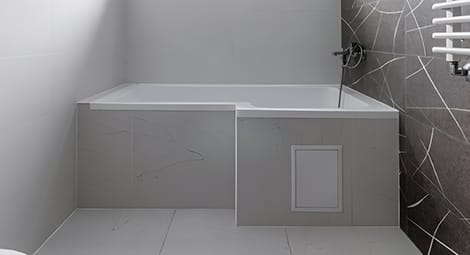
- Alcove Tubs (the most common):
These fit into a three-wall recess and are usually straightforward for DIY. They’re typically acrylic, fiberglass, or enameled steel.
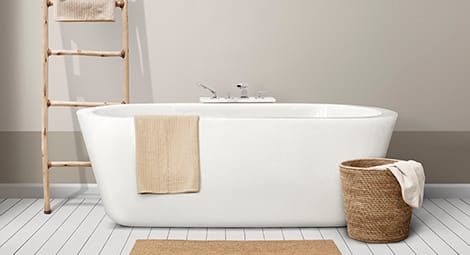
- Freestanding Tubs:
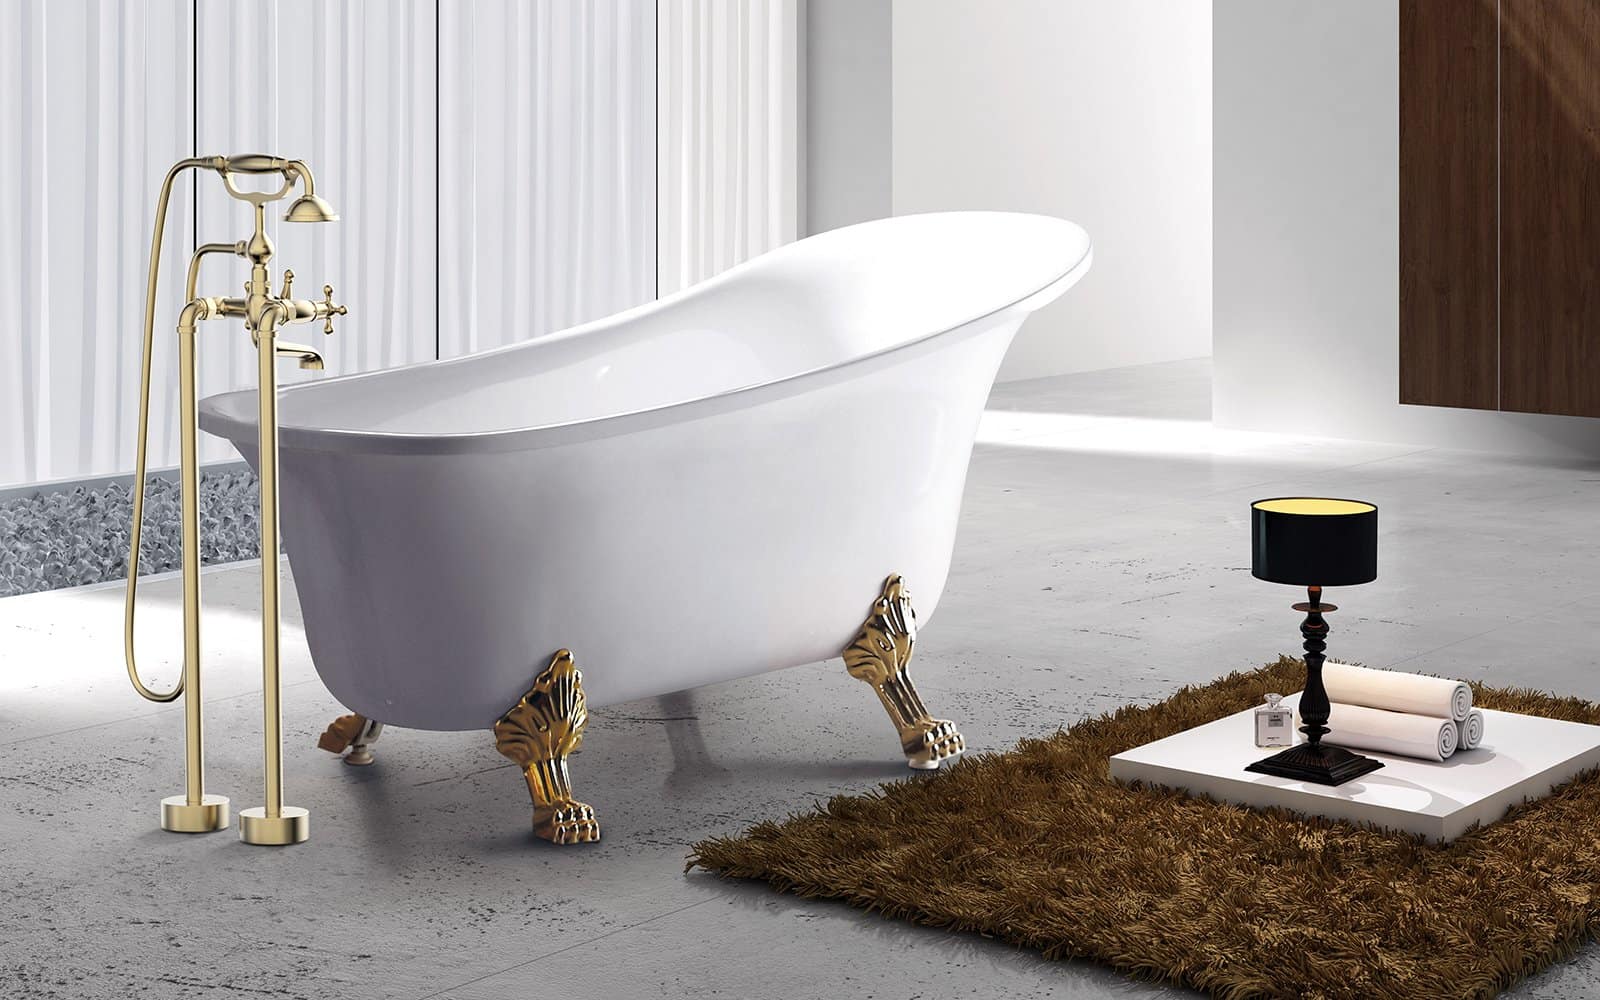
These tubs are gorgeous focal points, but they need their plumbing roughed-in through the floor, not the wall. They also demand more clear floor space. Think about how you’ll clean around it before committing!
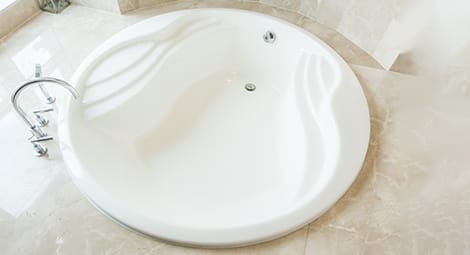
- Drop-in Tubs:
These tubs require a custom-built frame or deck to “drop into.” You’ll build a surround that matches your bathroom’s aesthetic. This means extra carpentry work.
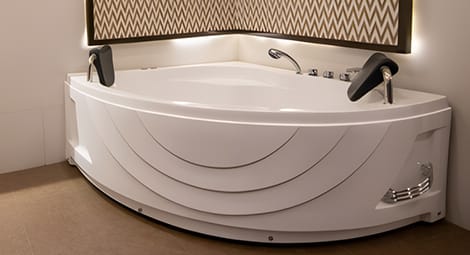
- Corner Tubs:
Similar to drop-ins but designed for a corner space, they often have a unique shape. They also require a sturdy frame for support.
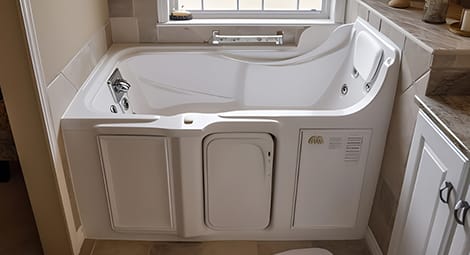
- Walk-in Tubs:
These tubs are fantastic for accessibility. Their installation can be more complex, often involving specific electrical hookups for jets or heaters, and precise leveling for the watertight door.
Material Matters: Support Your Tub Right
- Acrylic/Fiberglass: These are lighter and more flexible. I often see them needing a full mortar bed underneath to prevent flexing, squeaking, and potential cracking over time.
- Cast Iron: Super heavy! You’ll definitely need to check your subfloor’s strength and possibly add extra structural support. This is not a step to skip!
When choosing your tub, consider its weight. A lightweight acrylic tub is much easier to maneuver than a heavy cast-iron one, which might require floor reinforcement and several strong helpers.
For more on choosing the right tub material, check out this guide:
Gather Your Tools & Materials
Having everything on hand before you start saves you countless trips to the hardware store.
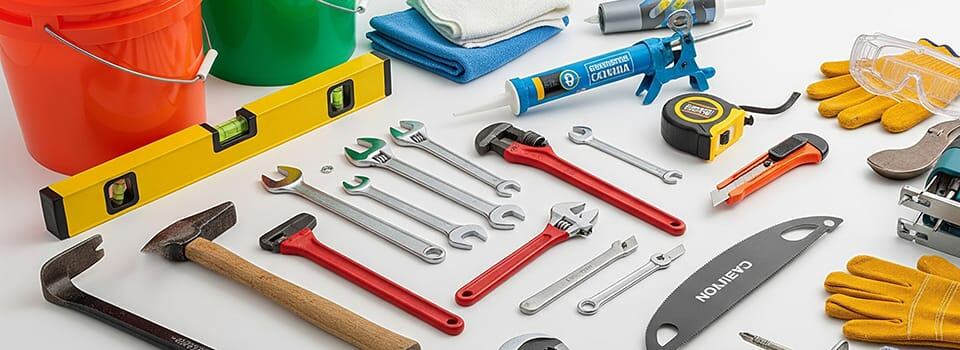
- Essential Tools:
- Pry Bar & Hammer: For removing the old tub and demolition.
- Adjustable Wrenches & Pipe Wrench: For plumbing connections.
- Tape Measure & Level (4-foot is ideal): For accurate measurements and ensuring everything is perfectly plumb.
- Caulk Gun: For sealing.
- Utility Knife: For cutting caulk, shims, etc.
- Drill/Driver: For securing the tub flange and general use.
- Reciprocating Saw or Jigsaw: For cutting framing or accessing plumbing.
- Safety Glasses & Gloves: Always protect yourself!
- Buckets & Rags: For any water spills.
- Drain Wrench/Plunger Wrench: Specific for bathtub drains.
- Key Materials:
- Your New Bathtub! (And its drain/overflow assembly)
- Plumber’s Putty: For sealing drain components.
- Silicone Caulk (Kitchen & Bath Grade, 100% Silicone): For waterproof sealing.
- Wood Shims: For leveling the tub.
- 2×4 Lumber: For ledger boards or framing.
- Roofing Nails or Screws: For securing the tub flange.
- Construction Adhesive (if recommended by manufacturer): For securing tub base.
- Mortar Mix (for some tub types like cast iron): Provides a solid, level base.
Protecting Your Investment – Pre-Installation Prep
Before you even think about moving your new tub, let’s make sure it stays pristine.
- Inspect Your New Tub:
Check for cracks, chips, or damage. Report any issues to the manufacturer right away. - Keep it Packaged:
Keep the tub in its packaging until you’re ready to install to avoid accidental damage. - Cardboard is Your Friend:
Cut some packaging cardboard to line the inside of the tub and cover exposed sides—especially important for porcelain—to protect it during work. - Subfloor Check:
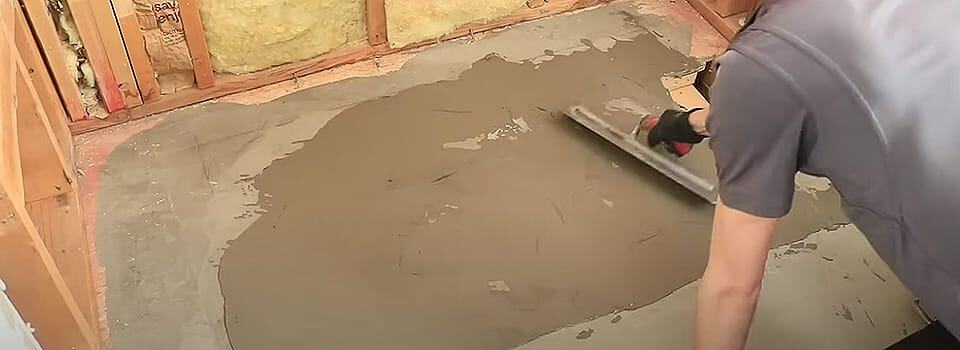
Ensure the subfloor is level and clean. If needed, apply floor leveler for a smooth, stable base—essential for proper support and drainage.
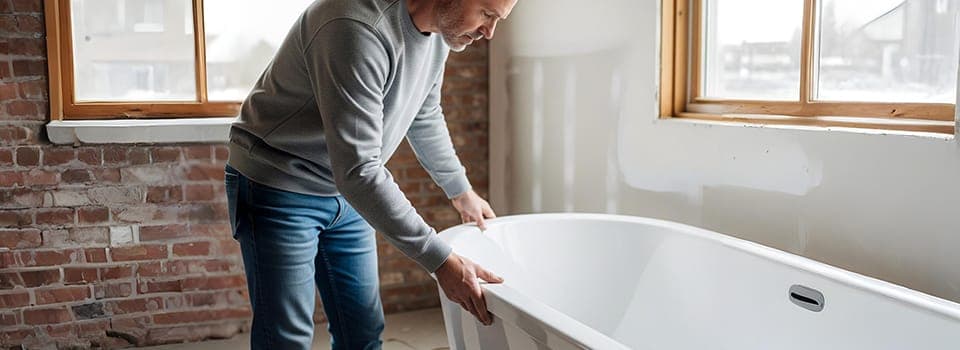
Step-by-Step Bathtub Installation: Let’s Get Started!
Now, let’s get that tub into its new home!
Step 1: Turn Off the Water & Remove the Old Tub
First things first: Find your main water shut-off valve and turn it off. Open a faucet nearby to drain any remaining water. Then, if you’re replacing an old tub:
- Remove any tile or panels overlapping the tub flange. Use a utility knife to cut old caulk and a pry bar for tiles.
- Disconnect the drain and overflow—unscrew the stopper, remove the overflow plate, and detach the P-trap. Keep a bucket ready for leftover water.
- Cut through the flange where it’s nailed or screwed to the studs. A reciprocating saw works well.
- Carefully pry out the old tub—it’s heavy, so get help!
Step 2: Prepare the Rough-in Area
This step is critical for a stable, long-lasting installation.
- Clean the area: Sweep away all debris, dust, and old caulk.
- Inspect the subfloor: Make sure it’s solid, level, and free of rot. Repair any damaged areas now – you won’t get another chance easily.
- Check existing plumbing: Ensure your drain pipe is in the correct position for your new tub. Sometimes you might need to adjust it slightly.
(via.Handyman Startup»)
Step 3: Install the Ledger Board (For Alcove Tubs)
If you have an alcove tub, a ledger board provides crucial support.
- Measure the height: Check your tub manufacturer’s instructions for the exact height of the tub’s lip.
- Mark a level line: Use your level to draw a line on the wall studs at the recommended height for the bottom of the tub’s flange.
- Attach a 2×4 ledger board: Securely screw or nail a 2×4 along this line into the wall studs. This helps support the tub’s weight and keeps it from settling over time.
Step 4: Dry Fit and Level the New Tub
This step is all about making sure your tub fits perfectly before it’s permanently attached.
- Carefully move the new tub into place. Get help! Don’t drag it, as you could damage the tub or your floor.
- Test the fit: Make sure it slides easily into the alcove or onto its frame.
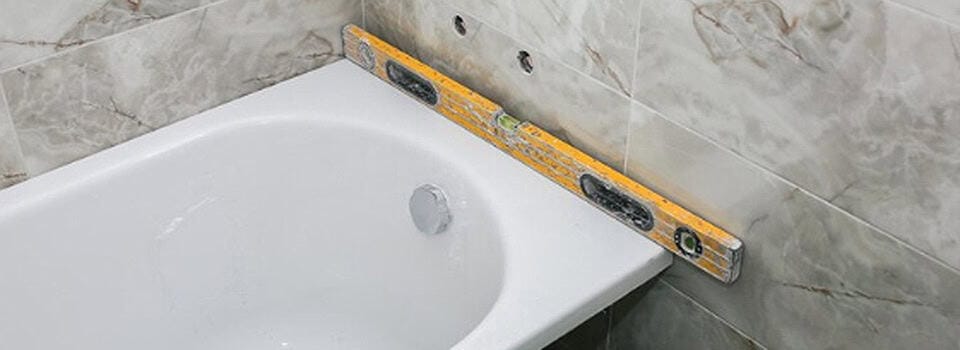
- Level, level, level! Place a long level on the rim of the tub, checking from side-to-side and front-to-back.
- If not level, use wood shims under feet and secure with adhesive.
- For heavy tubs, apply a 1–2 inch mortar bed on the subfloor. Set the tub into mortar and level it.
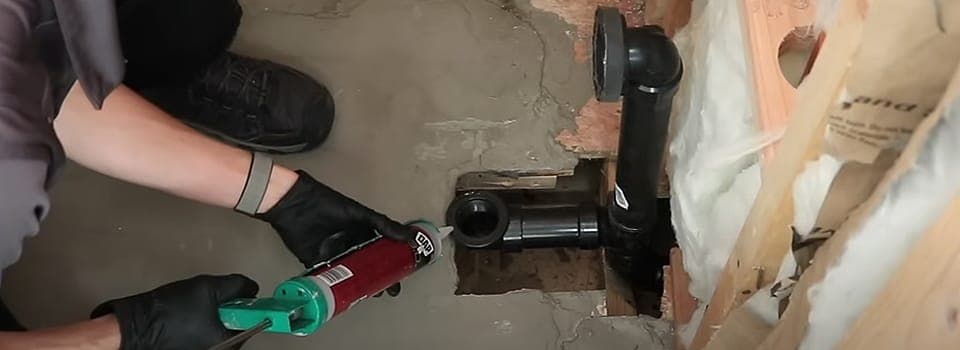
Step 5: Install the Drain and Overflow Assembly
This is where your plumbing skills come in! Follow your tub’s specific instructions, as assemblies vary.
- Roll plumber’s putty and place it under the drain flange.
- Insert the flange into the tub drain hole. From underneath, attach the gasket, washer, and nut. Tighten firmly with a drain wrench.
- Attach the overflow cover plate and gasket. Connect the overflow tube to the main drain tee. Secure all connections tightly, ensuring gaskets seal well.
- Connect the drain assembly to the existing P-trap using PVC cement or compression fittings as needed. Double-check all connections for tightness.
(via.Handyman Startup»)
Step 6: Install Your Faucet (If Applicable)
- For Wall-Mounted Faucets (common with alcove tubs):
- The rough-in hot and cold lines should already be in the wall.
- Connect the spout and handles per the faucet instructions—usually by attaching the spout to a nipple and handles to valve bodies inside the wall.
- Make sure the spout reaches far enough into the tub to avoid splashing.
- For Deck-Mounted Faucets (common with freestanding or drop-in tubs):
- Pre-drilled Holes: If your Lanerdi tub has them, feed the faucet lines through.
Drilling Holes: If not, you’ll need to drill. - Measure carefully. Mark the exact centers for each hole (spout, handles, hand shower).
- Use the right hole saw for your tub’s material (e.g., carbide for acrylic, diamond-grit for stone resin).
- Drill slowly with a pilot hole first. Support underneath to prevent cracks.
- Apply plumber’s putty to each faucet base. Insert components, then tighten nuts and washers underneath.
- Connect the hot and cold supply lines (usually flexible hoses) to the valve bodies.
- Pre-drilled Holes: If your Lanerdi tub has them, feed the faucet lines through.
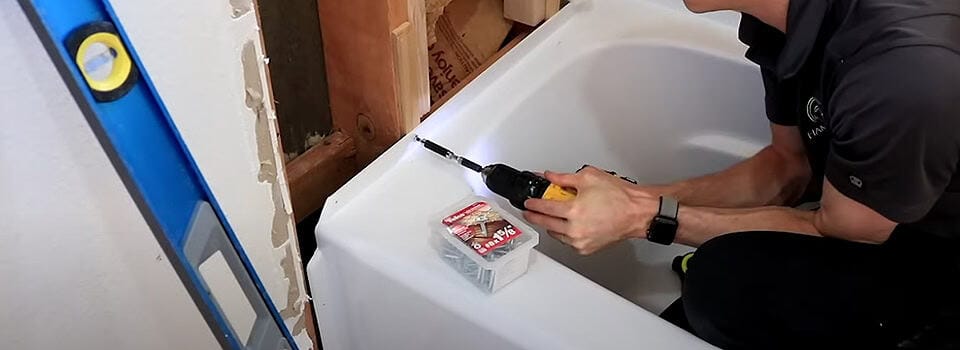
Step 7: Secure the Tub
Now that the tub is level and the plumbing is connected, it’s time to make it permanent.
- Nail or screw the tub flange to every wall stud it touches. Use galvanized roofing nails or appropriate screws. Don’t overtighten, or you might crack the flange.
- For freestanding tubs: Ensure the leveling feet are firmly on the floor and the tub is stable. Some models might require silicone adhesive along the base for extra stability.
(via.Handyman Startup»)
Step 8: Test for Leaks (Crucial!)
Do this before you put up any wallboard or tile!
- Close the drain stopper.
- Fill the tub with water up to the overflow.
- Let it sit for at least 30-60 minutes.
- Inspect every plumbing connection underneath the tub (P-trap, drain, overflow, faucet lines) for any drips or wet spots. Use a flashlight and even a paper towel to check for tiny leaks.
- If you find a leak, drain the tub, tighten the connection, and retest. This step prevents huge headaches later.
Step 9: Finish the Surround & Caulk
- Install the wall surround or tile backer board over the tub flange, leaving a 1/8 inch gap to prevent wicking.
- Caulk all seams with 100% silicone where the tub meets the wall and floor. Use a caulk tool or a dampened finger for a smooth finish.
- Let the caulk cure for 24–48 hours before getting it wet. Check the product label for exact times.
Step 10: Turn the Water Back On & Enjoy!
Once the caulk is fully cured, turn your main water supply back on. Test your faucet, fill up your new Lanerdi tub, and relax! You earned it.
Beyond Installation: Maintaining Your Beautiful Tub
Installing your bathtub is a huge accomplishment, but a little maintenance goes a long way in preserving its beauty and function.
- Regular Cleaning: Use non-abrasive cleaners specific to your tub’s material to avoid scratches and discoloration.
- Check for Leaks: Periodically inspect around your tub for any signs of water damage, especially if you have an access panel.
- Re-caulking: Over time, caulk can crack or peel. Re-caulk every few years to maintain a watertight seal and prevent mold growth.
Your Bathtub Installation: A Confident Finish
You’ve finished your bathtub install—a big DIY win! From Luxuryhome’s view, precision in leveling and leak testing is key. Don’t rush—these steps prevent future issues. Keep the instructions nearby, and if you run into trouble, call a pro. Great job—now enjoy that beautiful tub!
FAQs
About Luxuryhome
Luxuryhome is not just a faucet manufacturer or wholesaler, but more like a partner who can provide you with more added value.
We are united in our determination to produce China-made bath and kitchen fixtures adhering to the highest ethical principles. You have our promise!
More post you may interested in

