Hey homeowner! That annoying “drip, drip, drip” from your shower hose isn’t just a nuisance — it wastes water, raises bills, and can cause hidden damage with mold and mildew. This guide will show you how to fix a leaking shower hose with a clear, expert approach to diagnosing, repairing, and preventing leaks. You’ll understand how your shower works, make a lasting repair with confidence, and save the cost of a service call.
Decoding Your Shower – Anatomy and the “Seal Hierarchy”
A successful repair always starts with understanding what you’re working with. It’s like being a detective for your shower!
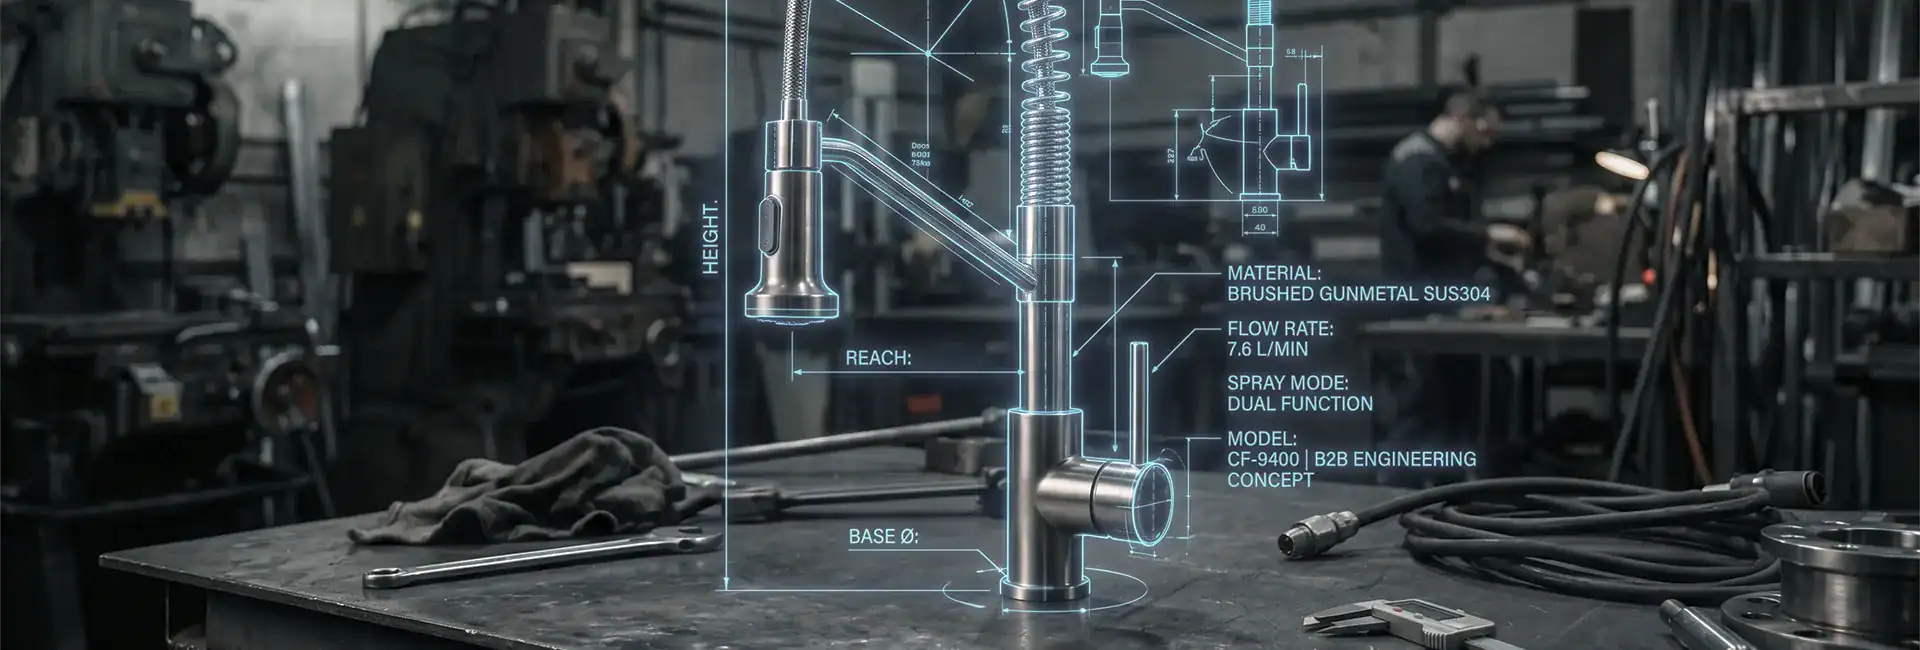
Key Components of Your Handheld Shower Assembly
Your handheld shower assembly is actually a pretty straightforward system, but every single part plays a super important role. Let’s break it down from the wall right to your hand:
- Shower Arm: The short pipe from your wall that connects to plumbing and supports the rest.
- Diverter/Mount Bracket: Screws onto the arm, holds the handheld wand, and may switch water flow.
- Shower Hose: The flexible tube with a PVC or rubber core and a protective metal or plastic shell.
- Hose Fittings (Couplings): Nuts at each end — a hex nut for the mount and a conical nut for the wand.
- Washers (Gaskets/O-Rings): Small rubber or silicone discs inside the fittings that seal the assembly.
- Handheld Shower Head (Wand): The nozzle part where the water sprays out.

The Physics of a Watertight Seal: The “Seal Hierarchy”
Here’s where we clear up a common misunderstanding! Many people think threads or plumber’s tape are what stop a leak, but the truth is a bit more nuanced. It’s all about a “hierarchy” of components working together.
- Primary Sealant: The Washer: The rubber washer is the key to a watertight seal. Tightening the coupling presses it against the pipe or fitting to block water. Leaks usually mean the washer is worn, cracked, missing, or not seated correctly.
- Secondary Role: The Threads: Threads mainly pull parts together to compress the washer. They aren’t waterproof on their own.
- Tertiary Role: Plumber’s Tape (PTFE/Teflon): Tape lubricates threads and fills tiny gaps to prevent minor leaks. It cannot replace a failed washer, and too much tape can stop proper compression, causing leaks.
Forensic Diagnostics – Pinpointing Your Leak’s Exact Location
Before you grab any tools, you need to become a detective and figure out exactly where that leak is coming from and why it’s happening.
Systematic Inspection: How to Find the Leak
It’s pretty simple: First, turn on your shower. Then, meticulously examine the entire hose assembly from the shower arm all the way to the handheld wand. A super handy trick? Use a dry paper towel to wipe down each connection point. This makes it much easier to spot fresh drips as they form.
Common Leak Locations and Their Causes (with Diagnostic Chart)
Once you’ve spotted the drip, here’s what it usually means:
- Leak at Shower Arm Connection: Drips here usually mean a failed washer or loose fitting; less often, damaged threads.
- Leak at Handheld Connection: Drips at the conical nut almost always come from a worn or missing washer.
- Leak Along Hose Body: Water seeping or spraying from the hose shows a crack in the inner lining, which can’t be repaired.
- Leak When Water Is Off: Dripping nozzles with the faucet off point to a faulty cartridge or diverter, not the hose.

External Factors Magnifying Leaks
Sometimes, external forces are contributing to your leaks. It’s good to be aware of them:
- Mineral Buildup (Limescale): Hard water leaves deposits that block washers from sealing and clog shower nozzles, creating back-pressure and stressing the system.
- High Water Pressure: Pressure above 60–80 PSI strains plumbing, wears out washers faster, and can rupture the hose.
Your Professional Repair Arsenal – Tools & Materials for Success
Getting your tools and materials ready before you start is a game-changer! It ensures a smooth, successful repair and helps you avoid any frustrating trips back to the hardware store.
Essential Tools Every DIYer Needs
These are your basic must-haves:
- Adjustable Wrench or Channel-Lock Pliers: Use them to loosen fittings and tighten new ones.
- Soft Cloths or Rags: Always wrap fixtures to protect finishes when using tools.
- Needle-Nose Pliers or Small Flathead Screwdriver: Use them to pry out old or stuck washers.
- Stiff Plastic Brush or Old Toothbrush: Scrub off tape, mineral deposits, and grime from threads.

Recommended “Pro-Level” Tools for Protecting Finishes
If you have expensive or designer fixtures, a little extra investment here can save you a lot of heartache (and scratches!).
- Strap Wrench: Grips round or polished surfaces with a rubber strap without damaging the finish.
- Smooth-Jaw Pliers (or with Plastic Covers): Work like pliers but protect decorative finishes, a good alternative to a strap wrench.
Essential Materials for the Fix
Once you know what’s leaking, here’s what you might need to buy:
- Replacement Washers (Gaskets/O-Rings): Get the right size by matching your old washer; most new hoses include them.
- Plumber’s Tape (PTFE/Teflon): Use 1/2-inch tape on shower arm threads for a tight seal.
- White Vinegar: Dissolve mineral buildup on threads or the shower head.
- Replacement Shower Hose: Use this if the leak comes from the hose body.
The Repair Protocol – Step-by-Step for a Permanent Fix
You’ve diagnosed the problem and gathered your tools. Now follow these steps for a straightforward, durable, leak-free repair!
Preparatory Steps (Applicable to All Repairs)
These two steps are always your starting point, no matter what kind of repair you’re doing:
- Shut Off the Water Supply: Don’t just turn off the faucet — close the shower’s valve or the main shut-off to avoid accidental sprays.
- Protect Your Workspace: Place a towel or drop cloth in the tub to protect surfaces and cover the drain so small parts don’t get lost.
Procedure for Fixing a Leak at a Connection Point (Washer Replacement)
This is the process you’ll follow for leaks specifically where the hose connects to the shower arm or your handheld wand.
- Disconnect the Hose: Loosen the coupling nut by hand or with a wrench/pliers wrapped in cloth.
- Remove the Old Washer: Pry out the washer with pliers or a screwdriver; old ones may break apart.
- Clean and Inspect: Brush away tape, scale, and grime from threads; check for scratches or cracks.
- Install the New Washer: Press the new washer flat into the groove; if it has a screen, face it inward.
- Apply Plumber’s Tape (if on Shower Arm): Wrap metal threads 2–4 times clockwise. Skip this step on plastic wand threads.
- Reconnect and Tighten: Hand-thread the nut, then snug it another quarter- to half-turn with a protected wrench.
- Test the Repair: Turn water back on, check for drips, and tighten slightly if needed. Reseat the washer if leaking continues.

This is the process for when the hose itself is cracked, split, or otherwise damaged.
- Disconnect Old Hose: Use a protected wrench to unscrew it from the shower arm/diverter and handheld head.
- Prepare New Hose: Unpack it and locate the two washers.
- Install Washers: Press one washer flat into each coupling nut.
- Attach to Shower Arm/Diverter: (Optional) Wrap plumber’s tape on the threads, then screw on the hex-nut end until snug.
- Attach to Handheld Head: Screw the conical-nut end onto the handheld base until snug.
- Test Installation: Turn water back on, run the shower, and tighten connections if leaks appear.
The Repair vs. Replace Calculus: An Expert Analysis
For a DIY project, deciding between a simple repair or full replacement of a leaking shower hose depends on the leak’s location and type.
When to Repair (Cost-Effective & Sustainable)
Repair is the best choice when the leak is at the hose connections to the shower arm/diverter or handheld wand. A worn, missing, or misaligned washer is the cause, and fixing it is quick, cheap, and effective—usually just a few dollars for washers and minutes to install.
When to Replace (The Only Reliable Solution)
Sometimes, a full replacement of the hose is the only reliable solution. Here are the situations where you’ll want to swap out the whole hose:
- There’s any visible crack, split, or hole along the flexible body of the hose.
- The outer metal or plastic sheathing is unraveling or broken, which is a big sign that the inner core is under stress and probably won’t last much longer.
- The plastic coupling nuts on the hose ends are cracked or their threads are stripped, meaning you can’t get a secure connection anymore.
- Your hose is old, low-quality, and has become stiff, kinked, or inflexible.
Patching a leak in the hose body with tape or sealant is only temporary. Flexing, temperature changes, and water pressure will make it fail. A new replacement hose is usually cheap, easy to get, and the most durable long-term solution.
| Problem / Symptom | Repair Feasibility | Replacement Necessity | Expert Recommendation & Rationale |
|---|---|---|---|
| Leak at hose connection to shower arm or wand. | High | Low | Repair. This is a classic washer failure. Replacing the washer is a targeted, low-cost, and highly effective fix. |
| Visible crack, hole, or split in the flexible hose body. | Very Low | High | Replace. The inner waterproof core is compromised. Patches will not hold under pressure and flexing. Replacement is the only permanent solution. |
| Outer metal/plastic sheathing is unraveling. | None | High | Replace. This is a sign of imminent failure of the inner core. Replace the hose proactively before a major leak occurs. |
| Plastic coupling nuts are cracked or threads are stripped. | None | High | Replace. The hose can no longer be securely fastened to create a seal. A new hose is required. |
| Hose is old, stiff, and frequently kinks. | None | Recommended | Replace. While not an active leak, a stiff hose is inconvenient and prone to cracking. Upgrading to a new, flexible metal hose improves function and prevents future leaks. |
Beyond the Fix – Proactive Maintenance & Prevention Strategies
The best repair? The one you never have to make! A few simple, proactive habits can seriously extend the lifespan of your shower hose assembly and save you the hassle of future leaks.
Routine Inspections and Cleaning
- Scheduled Visual Inspections: Every 3–4 months, check the hose and connections for wear, cracks, discoloration, or mineral buildup.
- Regular Cleaning: Soak the shower head in white vinegar periodically to remove limescale and prevent clogs that stress the hose and seals.

Water Pressure Management
- Monitor Water Pressure: Watch for banging pipes or splashing faucets; ideal pressure is 40–60 PSI.
- Install a Pressure-Reducing Valve: If pressure is high, a whole-house valve protects your hose and all plumbing fixtures.
Proper Handling
It sounds simple, but it makes a difference! Avoid sharply twisting, kinking, or pulling on your shower hose. Gentle handling reduces stress on the inner lining and the connection points, which prevents premature failure.
Investing in Quality: Materials Matter
When it’s time to replace your hose, don’t just grab the cheapest one! Investing in quality pays off in durability and longevity.
- Hose Material:
- Inner Core (PVC» vs. EPDM Rubber): PVC is common and cheap; EPDM rubber is more flexible, heat-resistant, and chemical-resistant.
- Outer Shell (Stainless Steel, Chrome Brass, Plastic): Metal shells are more durable and kink-resistant; quality outer shells protect the inner core.

- Washer Material:
- Rubber (Black): Standard general-purpose washer.
- Silicone (Clear): More flexible and durable, handles high heat, lasts longer.
- Choosing: Consider water temperature and hardness; silicone is better for hot water or long-lasting use.
Aesthetic & Practical Considerations
Beyond just stopping leaks, you can also make smart choices for comfort and style!
- Hose Lengths: Standard lengths include 59″, 69″, and 79″. Consider user height and reach when choosing.
- Finish Matching: Hoses come in chrome, brushed nickel, matte black, or oil-rubbed bronze. Pick one that complements your fixtures.
Advanced Troubleshooting & When to Call a Pro
Most leaks are DIY-friendly, but sometimes, even with all your best efforts, a leak can be stubborn.
Persistent Leaks After Washer Replacement
- Double-Check Everything: Did you clean the threads perfectly? Is the new washer seated absolutely flat?
- Hairline Cracks: Sometimes, tiny hairline cracks can develop in metal fittings, not just the plastic nuts. These can be hard to spot.
- Thread Damage: Double-check that you didn’t accidentally cross-thread anything during installation. This can cause damage that’s not immediately visible but compromises the seal.
- Fixture Age/Quality: For very old or lower-quality fixtures, internal component wear might be the real culprit, even if the hose looks fine.
Signs of a Deeper Plumbing Issue
- Leaks Inside the Wall: Water coming from the wall at the shower arm is a major issue.
- Persistent Low Water Pressure: Low pressure not caused by clogs or city supply may signal a complex plumbing problem.
- Faulty Faucet Cartridge: A bad main cartridge or diverter valve requires a professional if you’re not comfortable replacing it.
Knowing When to Call a Professional
It’s smart to know your limits! You should definitely call a licensed plumber if:
- You’ve followed all the steps in this guide carefully, and the leak still persists.
- You suspect the issue is originating inside the wall or with the main shower valve, as these are more complex repairs.
- You’re dealing with very old, corroded pipes that seem like they might break with even minimal manipulation.
Conclusion: Empowered and Leak-Free
You’ve done it! By reading this guide, you now have the knowledge and confidence to diagnose, repair, and prevent handheld shower hose leaks like a pro. Remember, a leaky hose isn’t just an annoyance – it can be a costly problem, and tackling it yourself is incredibly rewarding.
So go ahead, grab your tools, and fix that drip! With regular maintenance and by making informed choices (like investing in quality materials), you’re well on your way to enjoying a perfectly serene, leak-free shower for years to come. Happy showering!