You pull up the diverter knob on your tub spout with diverter, expecting a shower, but instead get a weak spray and water still pouring into the tub. It’s wasteful, annoying, and turns a simple routine into a plumbing puzzle.
The good news? You can fix this. Many guides claim it’s a quick 15-minute job, but they skip the tough details—like a rusted, stubborn spout. This guide is different. I’ll walk you through everything, from diagnosing the problem to tackling the hard parts, so you get it right the first time.
First Things First: Are You Solving the Right Problem?
Before grabbing a wrench, make sure the tub spout is really the problem. Other issues can mimic a faulty diverter and checking them first can save time and money.
- Check Your Showerhead: A clogged showerhead can force water back down the spout even when the diverter is up. Unscrew it and run water—if the pipe flows freely with no spout leak, the showerhead is the culprit. Soaking it in vinegar usually fixes it.
- Consider a Simple Repair: If the showerhead isn’t the issue, the problem may be a worn washer or gasket inside the diverter. A repair kit costs only a few dollars. Remove the spout, inspect the gasket, and replace it if worn or cracked.
- What Counts as a “Leak”: Most pull-up diverters dribble a little by design. A small drip isn’t a defect if it doesn’t reduce shower pressure. The goal is strong shower flow, not a completely dripless spout.
When Is It Time for a New Tub Spout? The Telltale Signs
Before replacing your tub spout, it helps to know the signs of failure:
- The “Shower-Bath” Effect: If water keeps flowing from the spout after you pull the diverter, it wastes water and weakens pressure. A tiny dribble can be normal, but if it’s a steady stream, the diverter’s internal gasket is likely worn out.
- Stuck or Stiff Diverter: If the pull-up knob is hard to move or gets stuck, mineral deposits or corrosion are likely the cause.
- Leaks at the Base: Water seeping where the spout meets the wall signals a bad seal that can damage tile.
- Corrosion or Flaking Finish: Even if it works, a rusty or peeling spout is worth replacing for a cosmetic upgrade.
Step 1: Identify Your Opponent – What Kind of Spout Do You Have?
Okay, you’ve done your due diligence and confirmed the spout needs replacing. The single most important step is figuring out how it’s attached to the wall. There are two main types :
- Slip-On Spout: This type slides over a smooth copper pipe and is held in place by a small set screw, usually an Allen screw, on the underside of the spout near the wall.

- Screw-On (or Thread-On) Spout: This type has threads inside the spout itself and screws directly onto a threaded pipe nipple coming out of the wall. It has no set screw.
 Spout – C503 01 31 13")
To figure out which one you have, grab a flashlight and maybe a small mirror. Carefully inspect the underside of the spout right where it meets the tile. If you see a small hole or a screw head, you have a slip-on. No screw? It’s a screw-on.
Step 2: The Action Plan for Removal and Replacement
Now we get to the hands-on part. Let’s walk through this step-by-step.
Tools and Materials You’ll Need:
- New tub spout
- Allen key set (for slip-on)
- Pipe wrench or large channel-lock pliers (for screw-on)
- Utility knife
- Rag or towel
- PTFE tape (also called plumber’s tape or Teflon tape)
- Silicone caulk for kitchens and baths
The Process:
- Prep Your Workspace: First, use the utility knife to carefully cut through any old caulk between the spout and the wall.
- Pro Tip: Before you go any further, plug the tub drain with a rag. Trust me, you do not want to lose a tiny set screw down the drain.
- Remove the Old Spout:
- For Slip-On: Use the correct size Allen key to turn the set screw counter-clockwise. You only need to loosen it a few turns; you don’t need to remove it completely. Once it’s loose, the spout should pull straight off the pipe with a little twisting.
- For Screw-On: Wrap your rag around the spout to protect the finish (and give you a better grip), then use your pipe wrench to turn the entire spout counter-clockwise (“lefty-loosey”). It may take some muscle.
- TROUBLESHOOTING: The Stuck Spout: This is where most projects go off the rails. If the spout won’t budge, don’t just apply more force—that’s how you break the pipe inside the wall. Here’s a better approach:
- Apply Heat: Try running hot water through the spout for a few minutes to help expand the metal.
- Use a Strap Wrench: If you have one, a rubber strap wrench provides excellent grip without marring the surface.
- Last Resort (for Screw-On): If it’s a seized screw-on spout, the safest option is to destroy it to protect the pipe. Carefully cut it off with a hacksaw or Dremel, rather than twisting and risking a broken copper pipe—which needs a professional plumber to fix.
- Measure and Buy the Right Replacement: With the old spout off, now is the time to buy the new one. Don’t just guess.
- Measure the length of the pipe (the “stub-out”) that comes out of the wall.
- Take your old spout with you to the hardware store. This is the surest way to get a new one that will fit correctly without leaving an ugly gap.
- Prepare the Pipe: Clean any old tape, putty, or gunk off the pipe stub-out. If you have a screw-on spout, wrap the threads of the pipe with PTFE tape 3-4 times in a clockwise direction. Wrapping it this way ensures the tape tightens as you screw the new spout on, rather than unraveling.
- Install the New Spout:
- For Screw-On»: Thread the new spout on by hand until it’s snug and pointing straight down. Don’t overtighten with a wrench unless absolutely necessary, and if you do, use a towel to protect the new finish.
- For Slip-On: Simply slide the new spout over the copper pipe until it’s flush with the wall. Tighten the set screw with your Allen key until it’s firm.

- Seal and Test: Apply a neat bead of silicone caulk around the top and sides where the spout meets the wall.
Knowing When It’s Time to Call a Professional
I’m a huge advocate for DIY, but I also believe in knowing your limits. You should stop and call a licensed plumber if you encounter any of these situations:
- The pipe coming out of the wall is loose, wiggles, or feels unstable.
- You accidentally break or kink the pipe during removal.
- You discover you’re working with old, heavily corroded galvanized pipe instead of copper.
- You’ve tried all the troubleshooting steps, and you simply cannot get the old spout off without risking major damage.
Making the Right Choice for Your Home
Now that you’ve seen the process, you can tackle this project confidently. A little diagnosis upfront saves a lot of trouble. By deciding whether to repair or replace, identifying your spout type, and handling a stuck fixture, you’ve avoided the most common pitfalls.
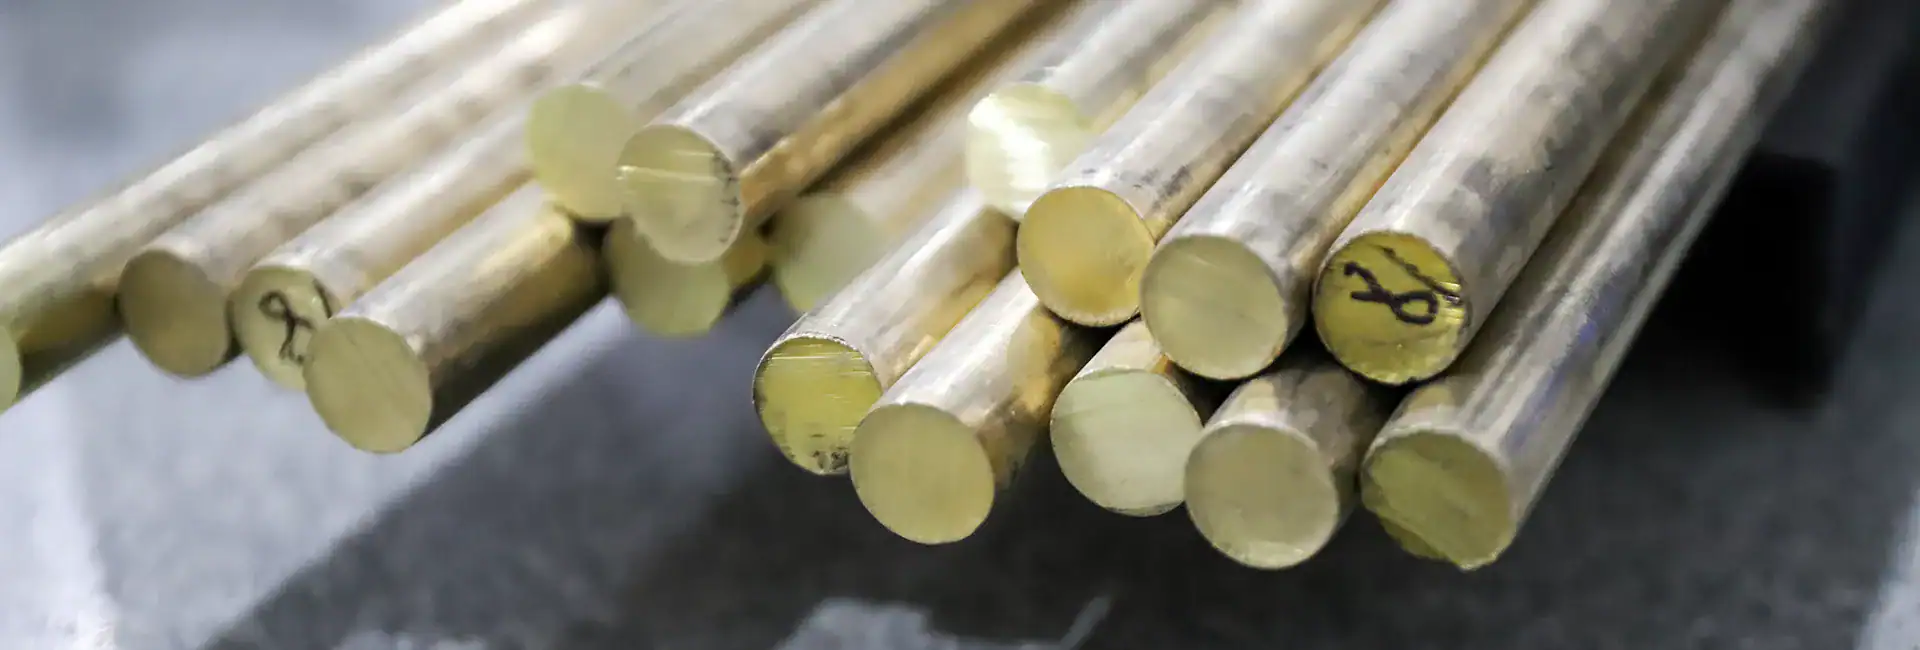
At the store, consider your situation. Older homes may benefit from a slip-on spout for easier fit. For screw-on spouts, choose solid brass threads over plastic—they’re more durable and less likely to strip. Your shower is ready.

Brushed nickel tub filler with diverter – C130 01

Brushed gold wall mounted tub spout with diverter – C129 01

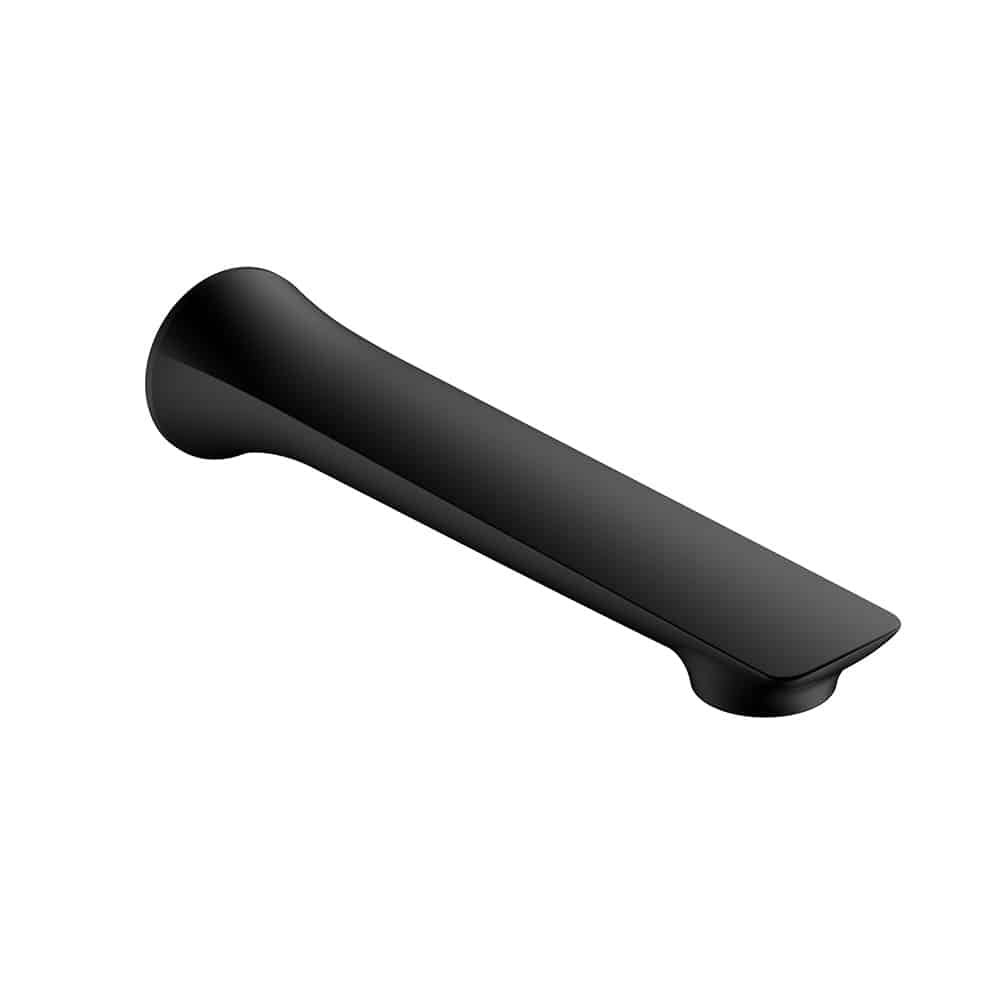
Matte black roman tub spout with diverter – C122 02

Brass material swivel spout tub filler – C121 02

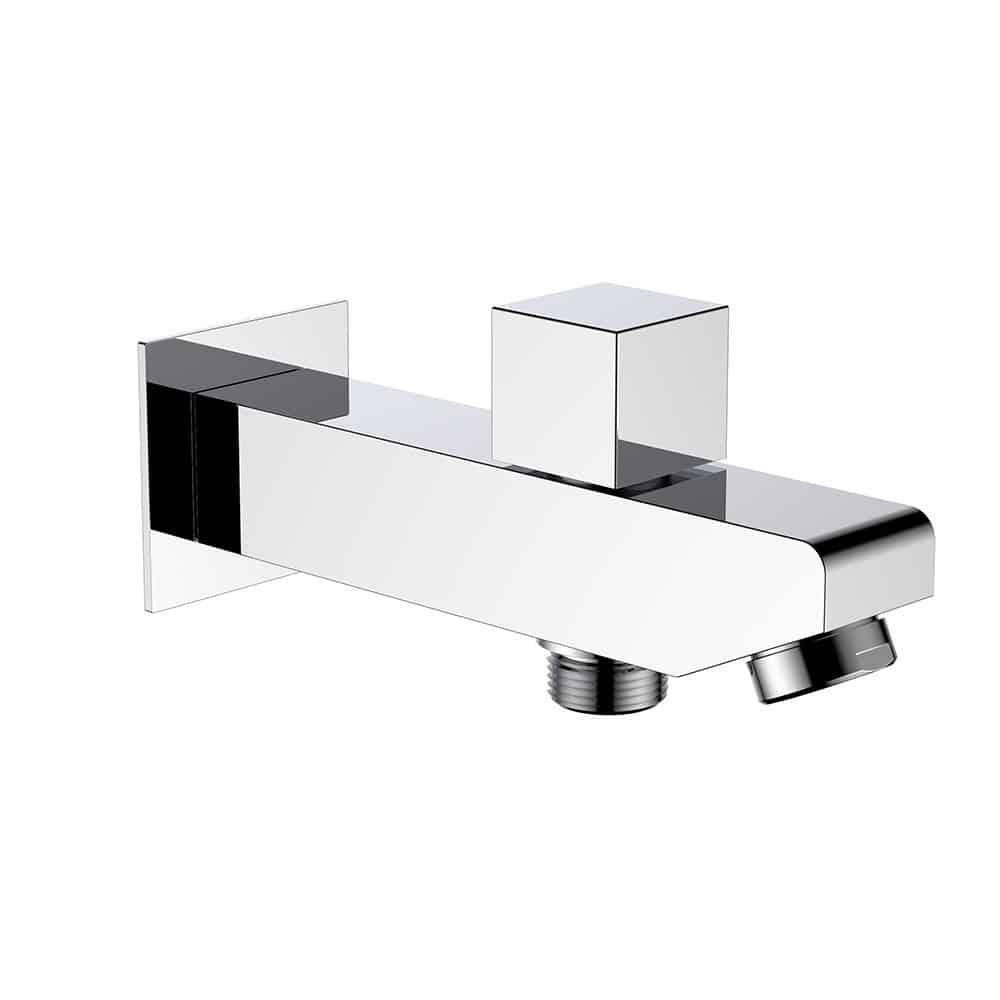
Tub spout with front diverter – C117 01

Stainless steel bath filler spout – C116 02

Stainless steel wall mount tub filler spout – C115 02

Round type long reach wall mount tub faucet – C114 02

Square chrome tub spout without diverter – C110 02
Brass material wall mount diverter tub spout – C107 03