When I know that something is wrong with my home—a light fixture flickers, a door squeaks, or in this case, a faucet handle feels like it’s cemented in place—I get that familiar sense of frustration. You just want to turn the water on or off without a fight, but that handle is putting up a serious struggle. You’re not alone. I’ve heard this issue come up time and time again.
The good news is, a stiff faucet handle is almost always a fixable problem you can handle yourself. I’m going to walk you through a complete guide, from figuring out the exact cause to solving the problem and making sure it doesn’t happen again. My goal is for you to feel confident and prepared, so you can fix this issue and get back to your day.
Why Your Faucet Handle Gets Stiff
The Core Role of the Cartridge: The “Engine” of the Faucet
A stiff faucet handle is a common but frustrating issue. The cause usually lies not in the handle, but in the internal control component—the cartridge. In a single-handle faucet, the cartridge regulates both water flow and temperature. When the user moves the handle, it drives precise mechanical adjustments inside the cartridge to control water flow. Understanding the cartridge is key to effective diagnosis and repair.
The cartridge contains components like the stem, splines, guide pins, and ceramic discs, which work together to ensure accurate water control. When these parts stick due to wear, mineral buildup, or lack of lubrication, the handle feels stiff. Handle stiffness is thus a direct sign of cartridge malfunction.

The Silent Culprit: Hard Water Chemistry
Hard water» is the main cause of stiff faucet handles. It contains high levels of minerals like calcium and magnesium, which form scale inside the faucet, especially on the cartridge, valve seat, and seals. This buildup increases friction and makes the handle hard to turn or even stuck.
The damage develops gradually. At first, light deposits cause only minor stiffness, often solved with simple cleaning and lubrication. If ignored, the minerals speed up the aging of rubber washers and O-rings, making them lose elasticity or crack. This not only raises friction but also causes leaks, turning a small issue into a bigger failure. Understanding hard water means linking short-term stiffness with long-term chemical damage, which is key for both repair and prevention.
Multiple Causes: Beyond the Surface
A stiff handle can signal several internal faults, so diagnose it step by step. Besides mineral buildup, other possible causes include:
- Corrosion: A more severe form of chemical damage than mineral buildup, which can seize components completely and often requires replacement.
- Damaged O-rings or washers: Rubber seals may lose elasticity or crack over time, increasing friction and causing leaks.
- Misalignment or loose parts: Incorrect installation or reassembly can leave components out of alignment, leading to stiffness.
Handle stiffness often has multiple causes, so accurate diagnosis is key. Effective repair starts with identifying the exact problem—like a doctor diagnosing before prescribing.
| Symptom | Potential Cause | Initial Action |
|---|---|---|
| Handle only stiff | Minor mineral buildup, lack of lubrication | External cleaning and lubrication |
| Handle completely stuck | Severe corrosion or damaged components | Internal inspection and cleaning; replace cartridge if needed |
| Leakage at handle base | Worn O-ring or cartridge fault | Check O-rings and cartridge; replace if necessary |
| Difficult temperature control | Cartridge fault | Inspect and replace cartridge |
| Spout dripping constantly | Cartridge, washer, or valve seat wear | Check and replace cartridge, washer, or valve seat |
How to Figure Out What’s Causing the Stiff Handle
Layered Approach: From External Checks to Internal Diagnosis
Professional troubleshooting starts simple and non-invasive, then moves to complex repairs. This saves time and cost while avoiding unnecessary disassembly. Always ensure safety first: shut off the supply valve under the sink and cover the drain to keep small parts from falling in. Careful preparation is the foundation of every successful repair.
Preliminary Diagnosis: Simple Cleaning and Lubrication
Try external cleaning and lubrication before disassembly. This simple step often fixes stiffness from mineral buildup.
- Cleaning: Soak a cloth in equal parts vinegar and water, or use a brush to clean deposits around the handle and base. Let it sit a few minutes to break down scale.
- Lubrication: If stiffness remains, spray a penetrating lubricant (like WD-40) around the handle and gaps to dissolve residue and reduce friction. If this restores mobility, the problem was only minor external buildup.

Going Deeper: When to Suspect Internal Components
If stiffness persists after external cleaning and lubrication, or if additional symptoms appear, the root cause likely lies inside the faucet. Key warning signs of internal issues include:
- Handle remains stiff after external cleaning: Suggests the source of friction is internal, such as the cartridge or O-rings.
- Leakage at the base of the handle: A clear sign of worn or broken internal seals, such as O-rings or washers.
- Constant dripping from the spout: Even when the handle is fully closed, dripping indicates that the cartridge, valve seat, or washer is no longer sealing properly.
- Inaccurate temperature control: Difficulty in adjusting water temperature or mixing hot and cold water is almost always due to cartridge malfunction.
When these symptoms appear, the issue has progressed from simple external friction to internal wear or failure. At this stage, disassembling the faucet to thoroughly inspect and repair its internal components becomes necessary.
What to Do When the Problem Is Inside the Faucet
The Tools You’ll Need
Before you start, gather your tools. Having everything ready will make the job much easier. I think you’ll need most of these:
- Allen wrench or screwdriver: This depends on your faucet model, as it’s used to loosen the set screw.
- Adjustable wrench or pliers: These can help you grip and loosen parts, especially if they are stuck.
- Silicone-based plumber’s grease: You need to use a silicone-based grease to lubricate the internal parts.
- White vinegar: Use this for cleaning away mineral deposits.
- A soft cloth or toothbrush: These are for scrubbing away buildup.
- Replacement parts (if needed): This might be a new cartridge, new O-rings, or new springs.

Step 1: Turn Off the Water Supply
This is the most important step. Find the shut-off valves under your sink and turn them clockwise to stop the water flow. If you can’t find them or they don’t work, turn off the main water supply to your home. I also recommend you put a rag in the drain to prevent any small parts from falling down it.
Step 2: Remove the Faucet Handle
Most single-handle faucets have a set screw that holds the handle in place.
- Look for a small decorative cap on the top or side of the handle. You can usually pry it off with a utility blade or a flathead screwdriver.
- Once you remove the cap, you’ll see a screw inside.
- Use your Allen wrench or screwdriver to loosen the screw and lift the handle straight off. If it’s a little stuck, try wiggling it gently.
Step 3: Inspect the Cartridge and Internal Parts
After you remove the handle, you can see the faucet’s internal parts.
- First, inspect the cartridge. This is a plastic or brass cylinder with a stem on top. Look for any signs of visible damage, like cracks or discoloration. If you see damage, a new cartridge is probably your answer.
- Also, check for any springs and O-rings. If they look worn out or damaged, I think you should replace them.

Step 4: Clean Away Mineral Buildup
If your parts are still in good condition, mineral buildup is likely the cause.
- Mix equal parts of white vinegar and water in a container.
- Soak the handle, cartridge, and other small parts in the solution for about 15-20 minutes.
- Use a toothbrush or a no-scratch pad to scrub away any residue.
Step 5: Lubricate the Moving Parts
Once all the parts are clean and dry, it’s time to lubricate.
- Apply a small amount of silicone-based plumber’s grease to the O-rings, the stem extension, and any other contact points.
- A little goes a long way. This will ensure everything glides smoothly.
Step 6: Reassemble the Faucet
- Put the cartridge back in place, making sure it’s aligned correctly.
- Reattach the handle and tighten the set screw.
- Turn the water supply back on and test the handle’s movement. It should feel smooth and easy to turn now.

Troubleshooting: What to Do If Things Go Wrong
Sometimes, a DIY project hits a snag. Here’s how to handle a few common problems that I’ve seen pop up in plumbing forums:
- “The handle is still stiff after cleaning.” This means you probably have a worn-out cartridge. You need to replace it. Take the old one with you to a hardware store to find an exact match.
- “My faucet is leaking after I replaced the cartridge.” This is a common issue. A plumber noted that the rubber cup washer should sit above the hole, not flush. The spring presses it against the stem to stop water, so ensure the washer is positioned correctly.
- “I can’t get the handle off.” This can happen if the set screw is stripped or if the handle is corroded. A strap wrench can sometimes help, but be careful not to damage the finish. If it’s a very difficult job, you might want to consider calling a professional.
When to Call a Professional
I’ll be honest, most of the time you can fix a stiff faucet handle yourself. But there are a few situations where you might want to call a professional:
- You have a very old or unique faucet, and you can’t find replacement parts.
- You’ve tried the cleaning and replacement methods, but the problem persists.
- You run into an unexpected issue, like a broken pipe or a stripped screw you can’t remove.
In my opinion, the DIY route is an affordable option, often costing less than $20 for parts and materials. But calling a plumber can save you time and prevent a bigger mess.
Keeping Your Faucet Working Smoothly
I think an ounce of prevention is worth a pound of cure. Once you have a working faucet, you can take a few simple steps to keep it that way for years.
- Clean Regularly: Wiping down your faucet prevents mineral buildup on the exterior.
- Lubricate Annually: A little plumber’s grease once a year goes a long way toward preventing friction.
- Check Your Water: If you have hard water, consider installing a water softener to reduce mineral deposits inside your pipes and on your fixtures.
By taking these steps, you’re not just fixing the problem; you’re becoming a more informed and capable homeowner. You’ve got this.
Considering a Faucet Replacement or Upgrade?
I understand that sometimes, despite your best efforts, a faucet might be beyond repair, or maybe you’re just ready for an upgrade. When it’s time to replace your old faucet, I think it’s a great opportunity to enhance your kitchen or bathroom’s style and functionality.

Dual-Tone vessel bathroom faucet with flat spout – B076C 02
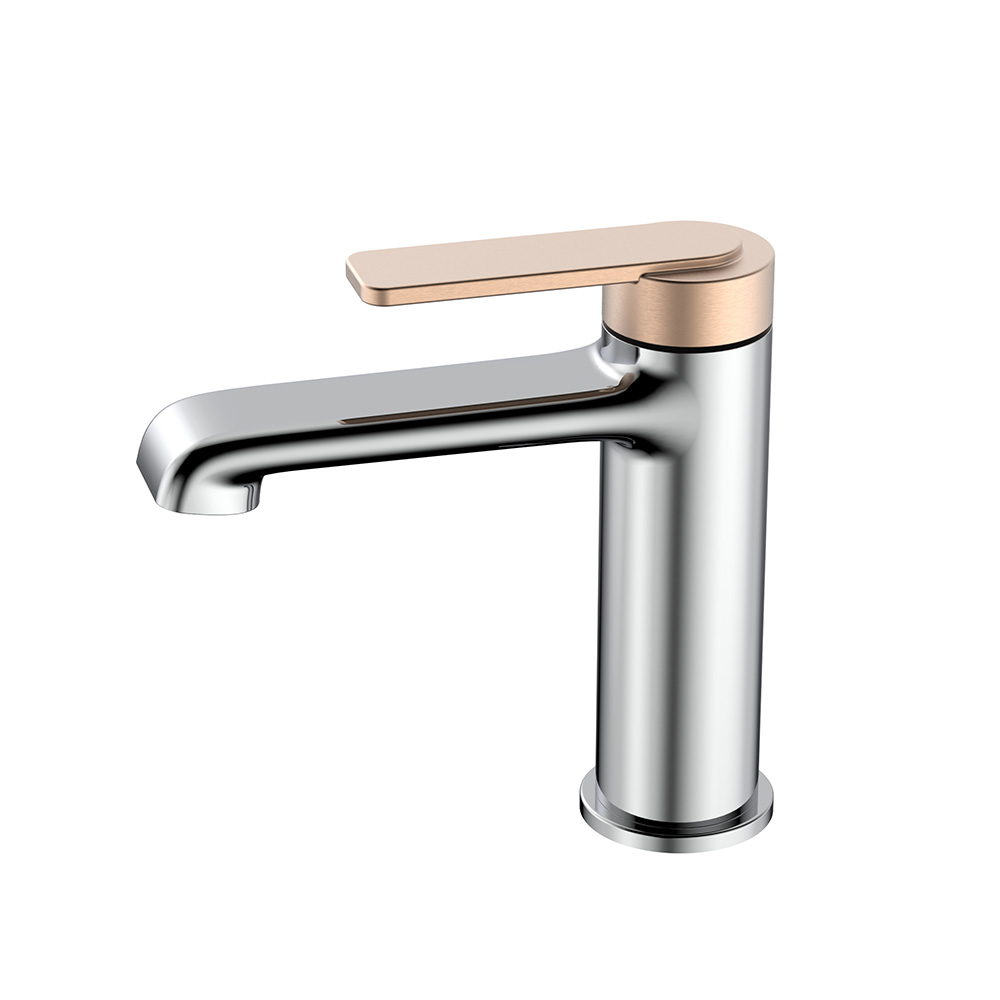
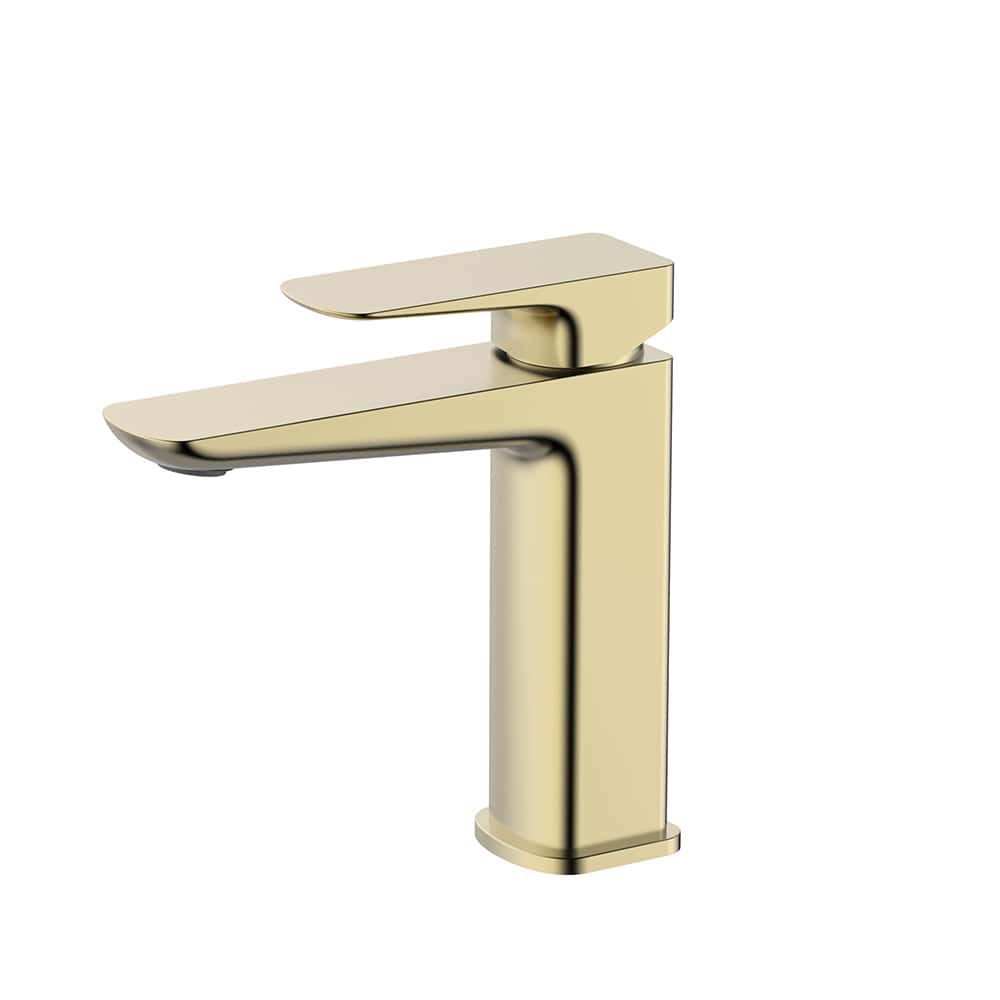
Modern basin faucet with broad handle – B076C 01
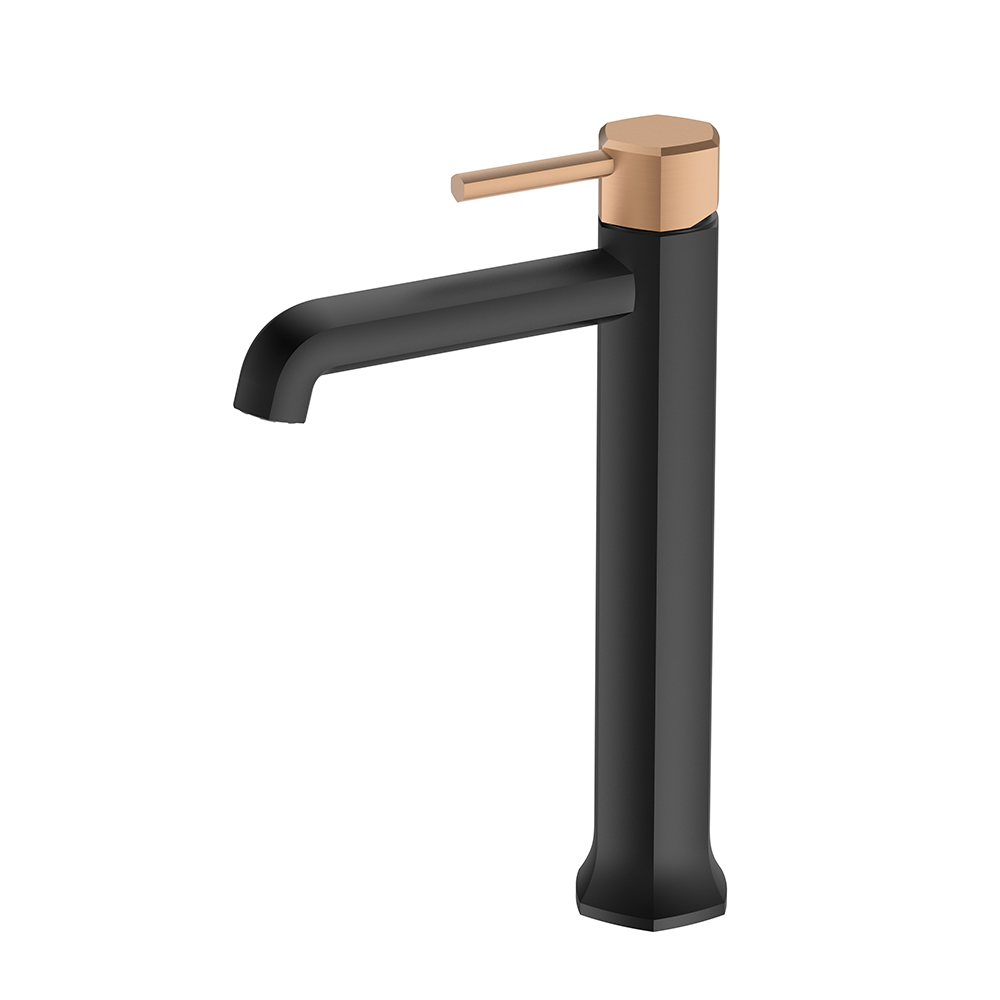
Tall Vessel bathroom faucet with hexagonal design – B1026 02
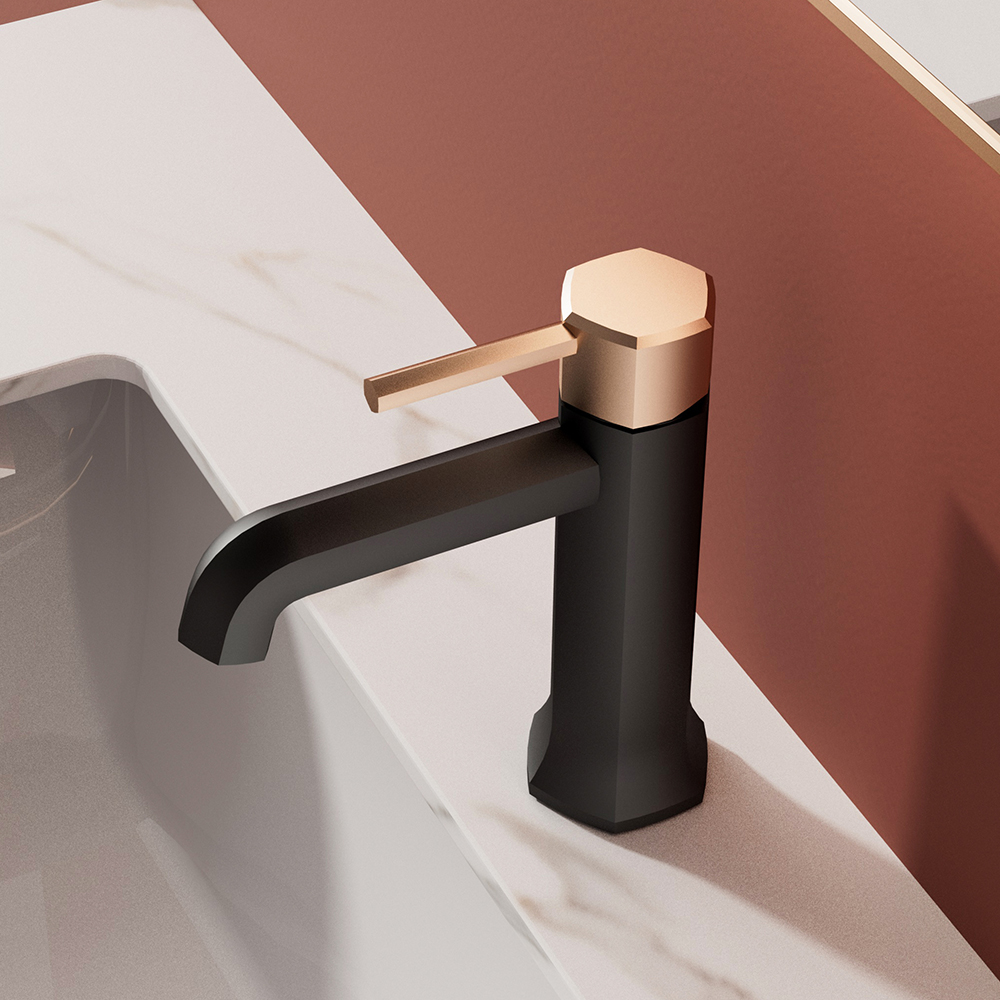
Hexagonal basin faucet with mixed finishes – B1026 01

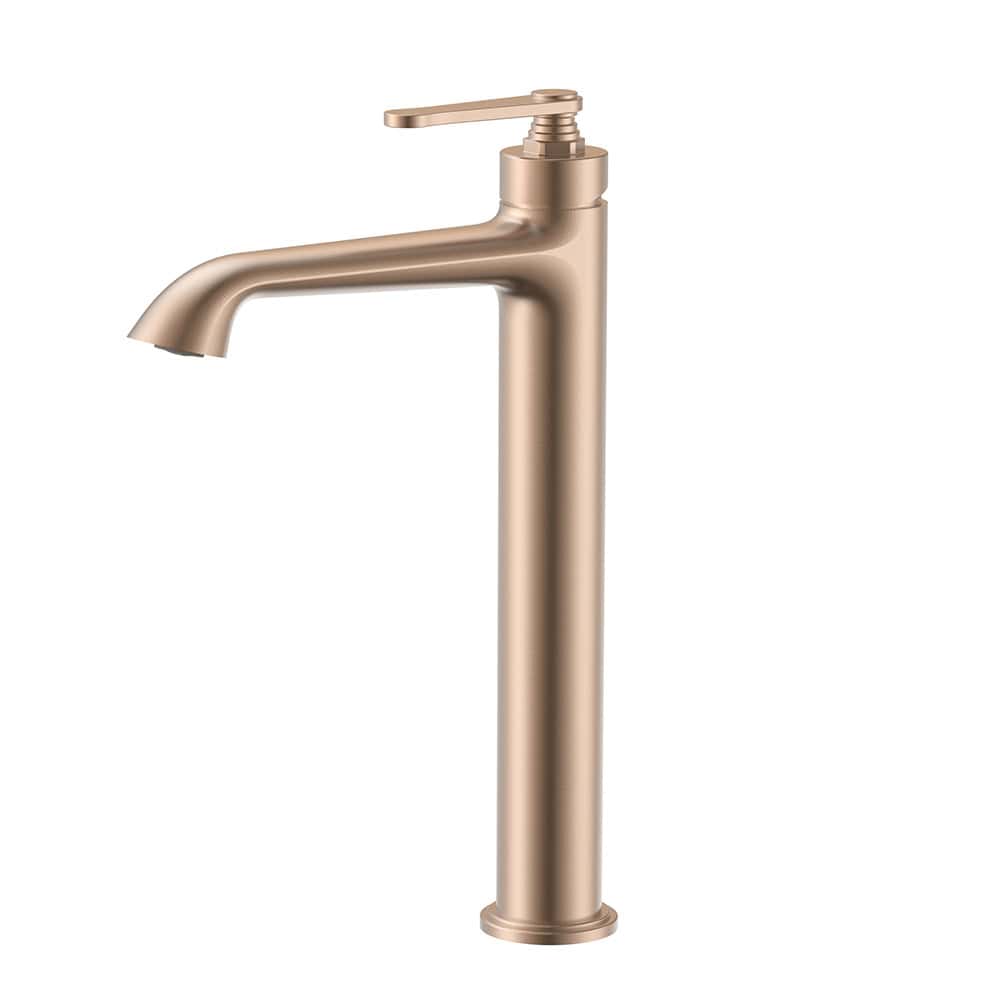
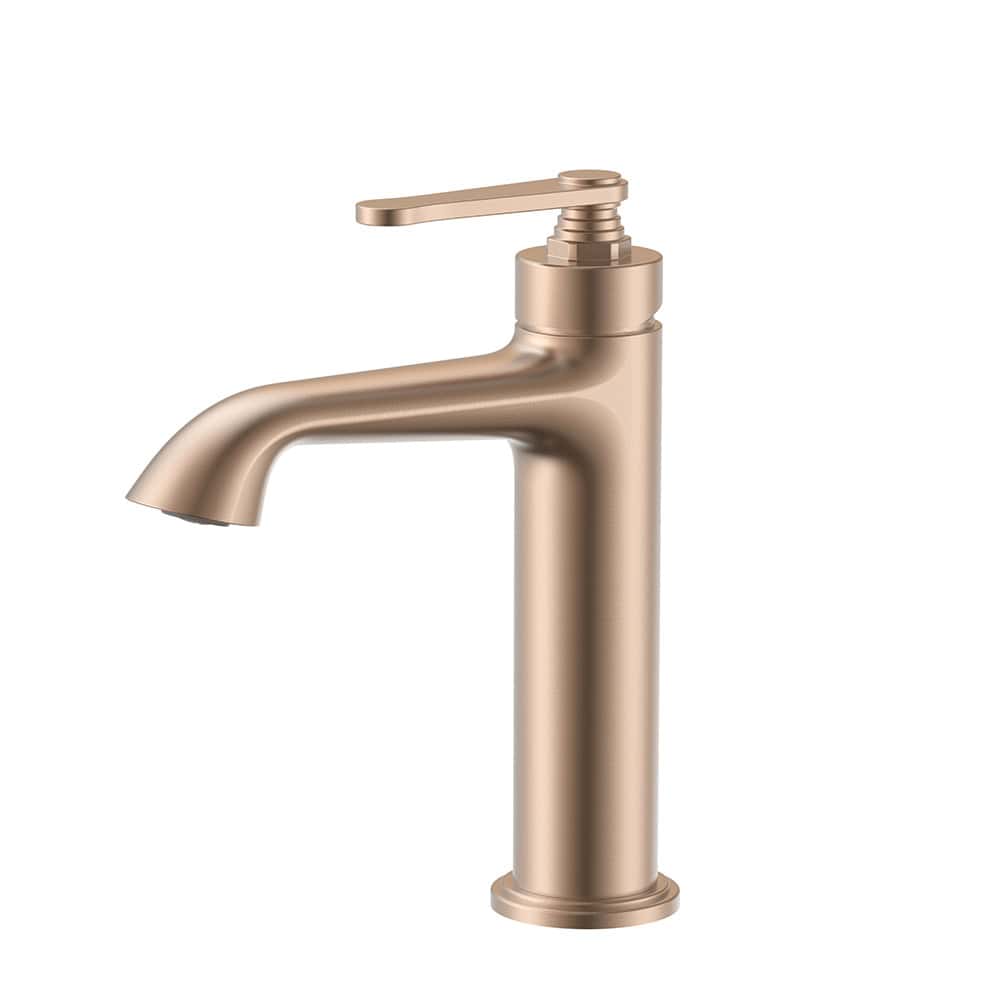
Tall Brass Bathroom Sink Tap With Single Handle design | B1007 02
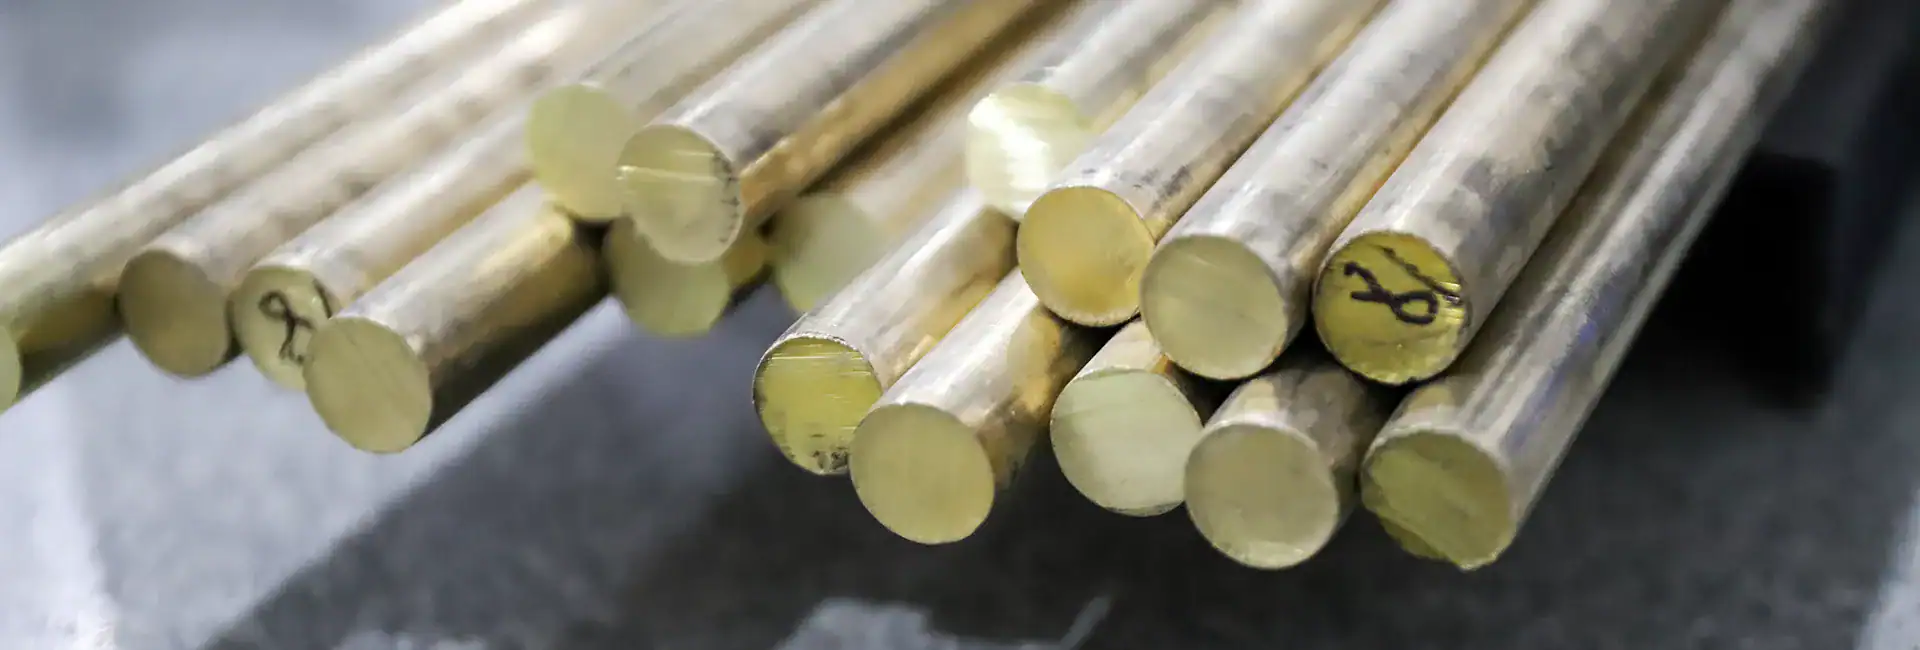
Simple Modern Bathroom Faucet Solid Brass Material
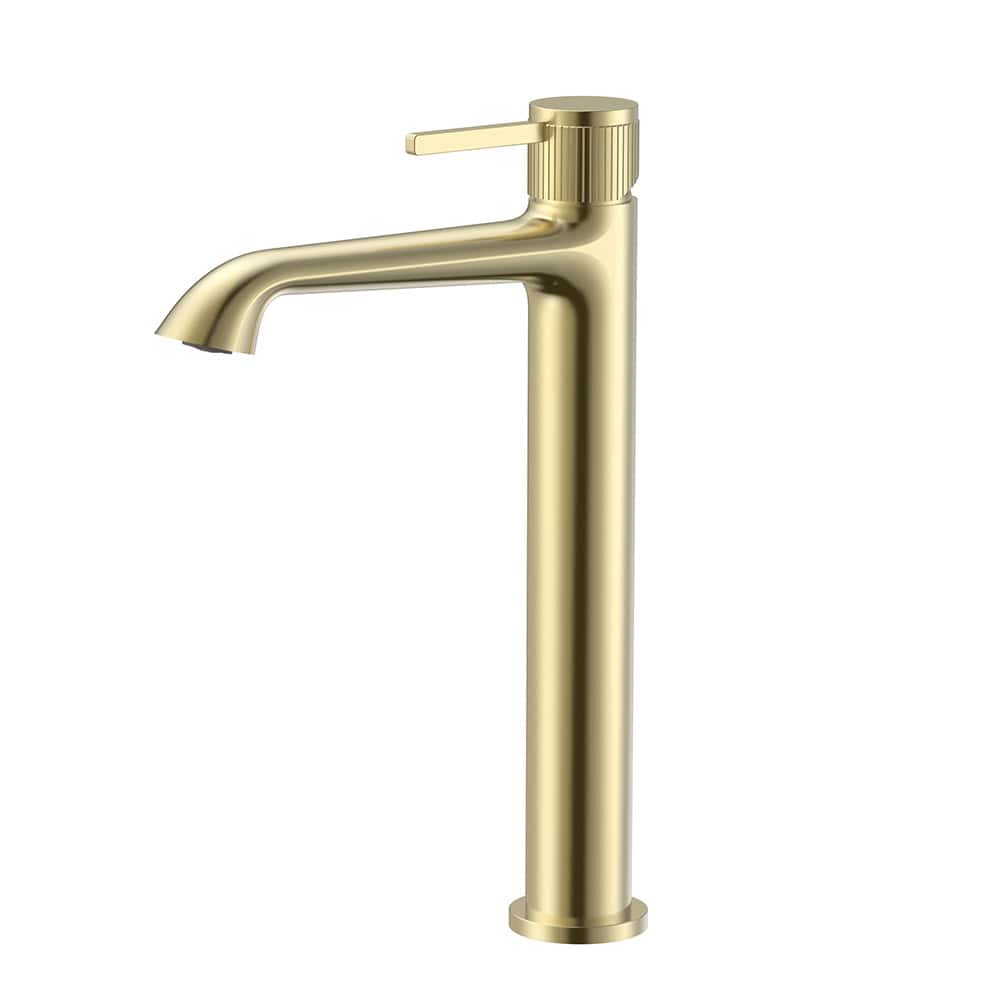
Single Handle Tall Bathroom Sink Mixer Tap With Spiral Pattern Design | B1006A 02
Solid Brass Single Handle Bathroom Sink Mixer Faucet With Thread Design | B1006A 01
Single Hole Tall Bathroom Mixer Tap Knurled Design | B1006 02

Solid Brass Knurled Single Hole Bathroom Faucet | B1006 01
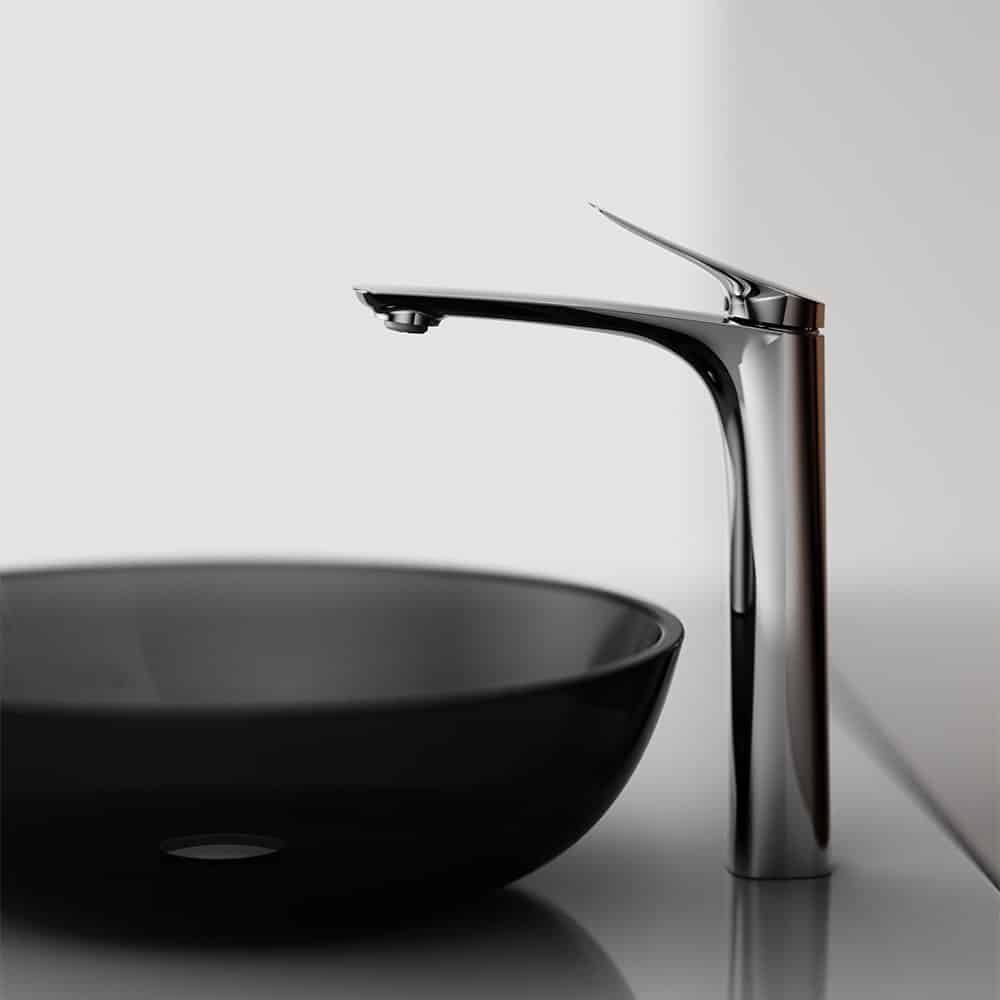
Modern tall taps for countertop basins – B025 02
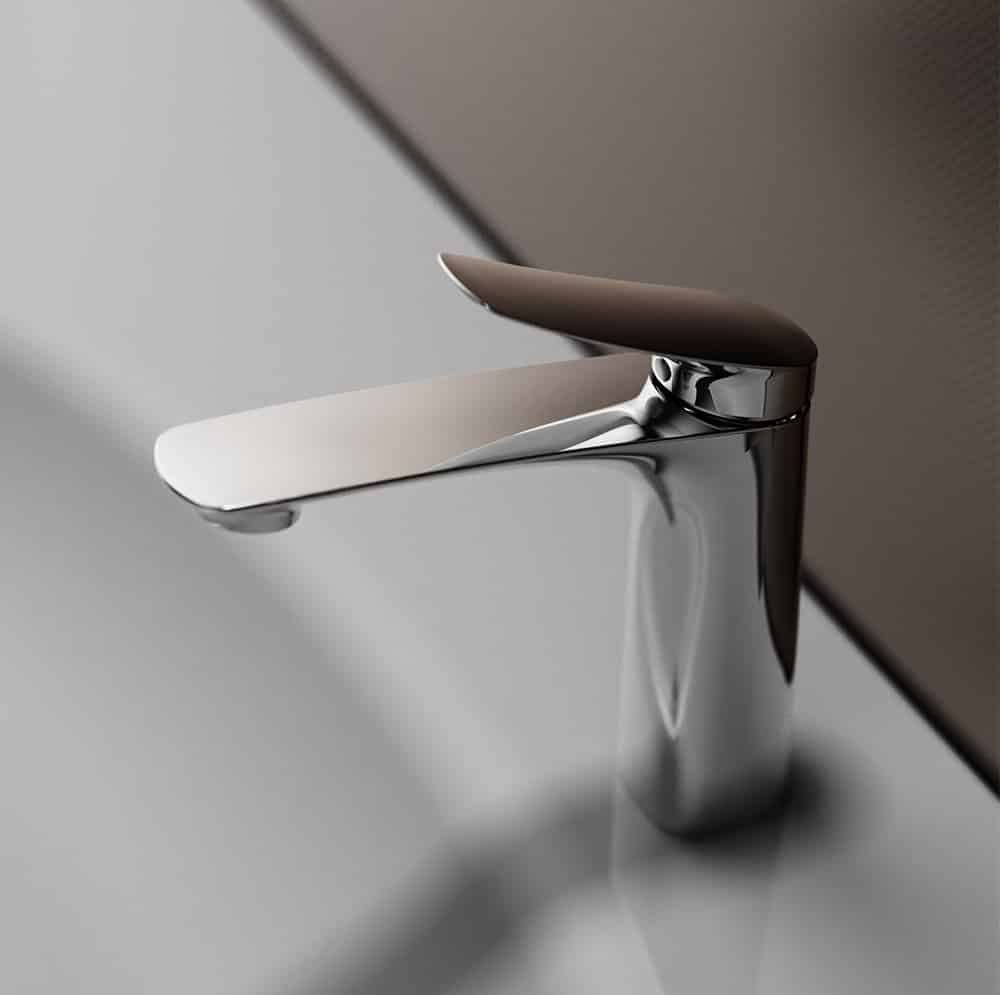
Modern single handle bathroom taps – B025 01
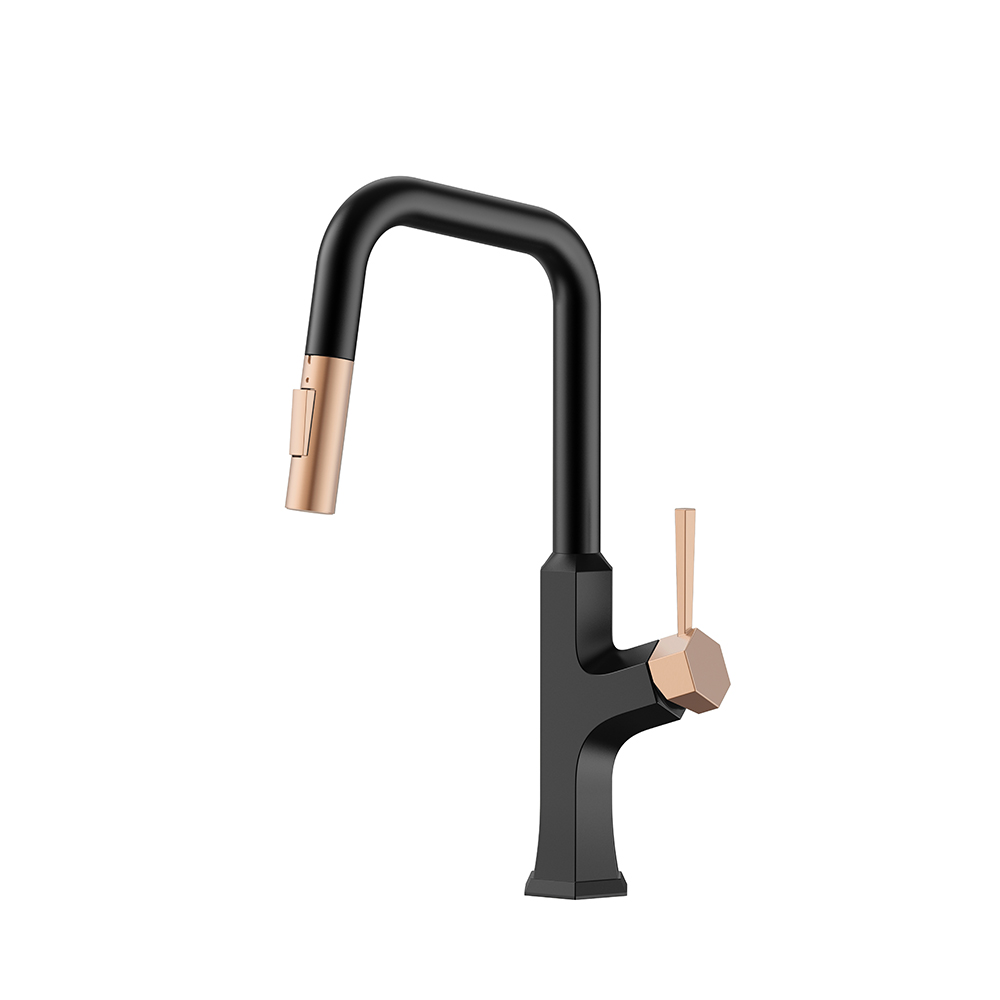
Mixed finishes pull-down kitchen faucet – K794D 01
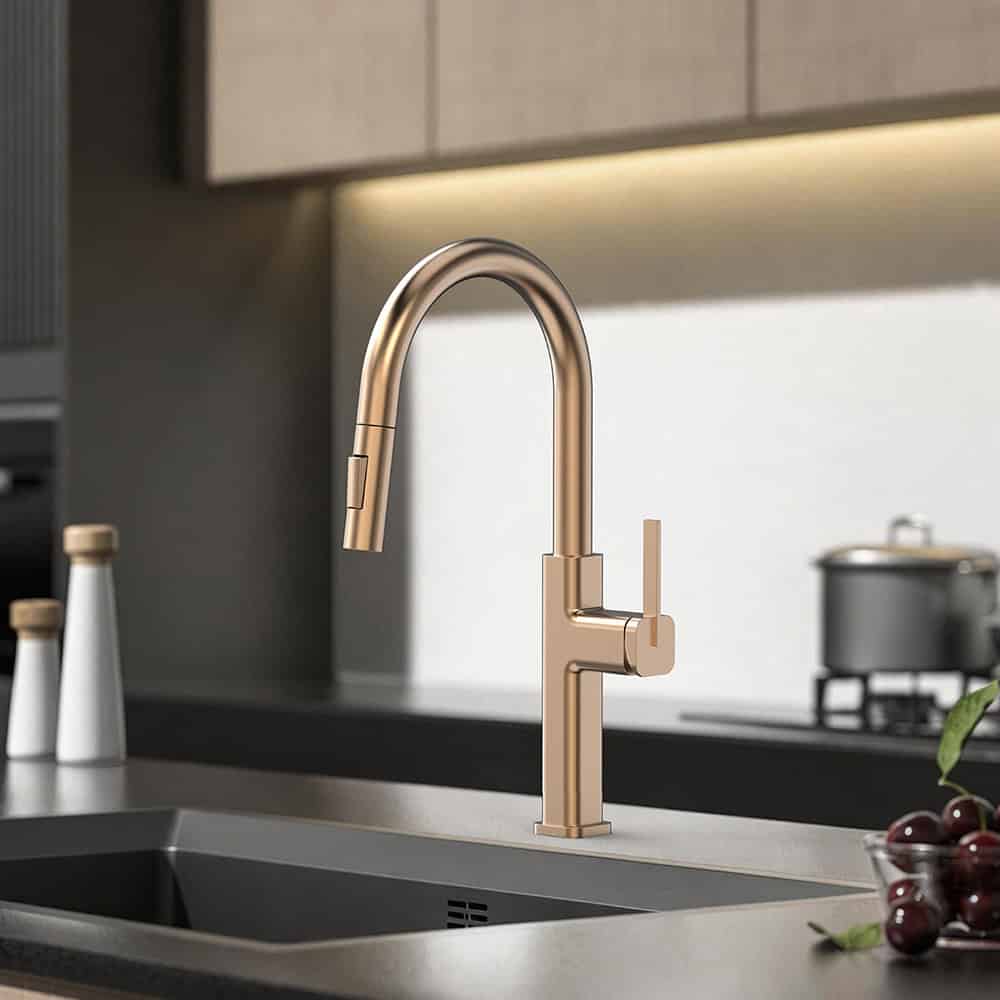
Pull down 2-pattern kitchen faucet with sprayer – K885 01

UPC kitchen faucet with pull out sprayer – K685 01
Brass kitchen sink faucet with flexible hose – K743A 02

Single handle unique flexible kitchen faucet – K562A 01
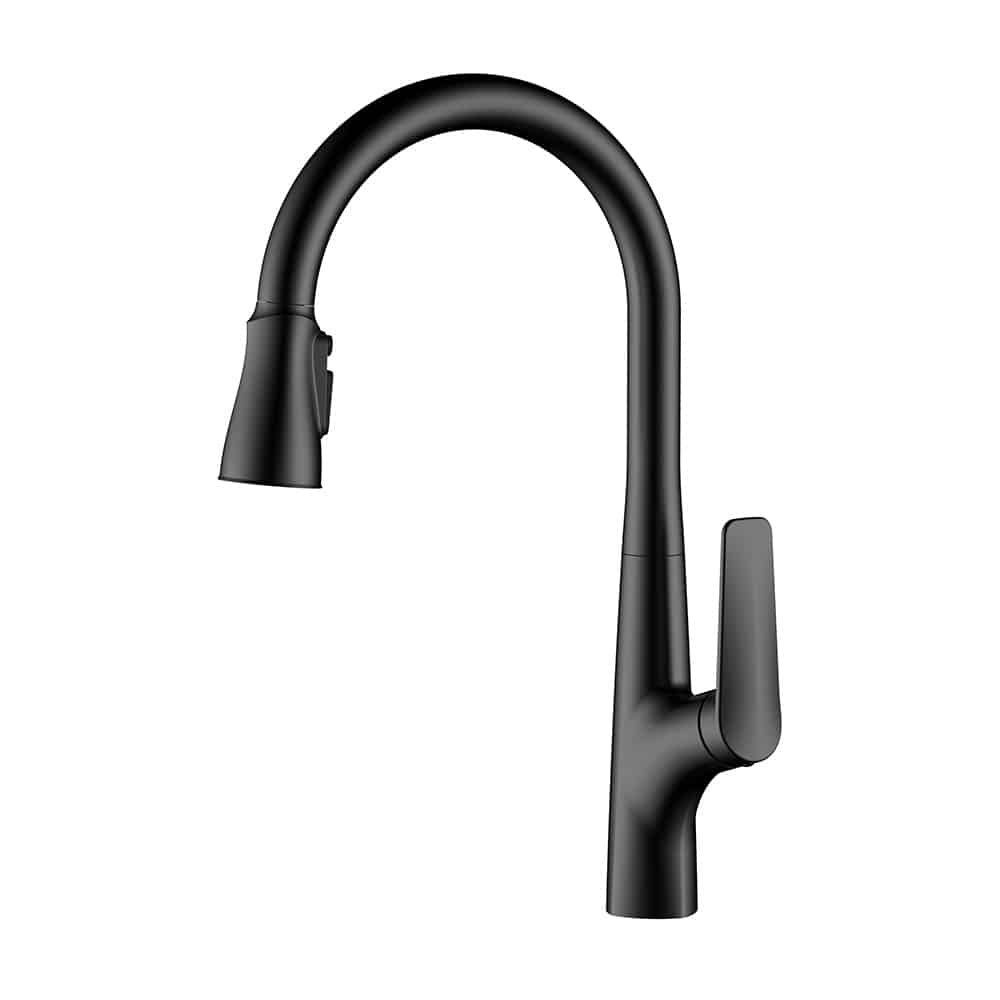
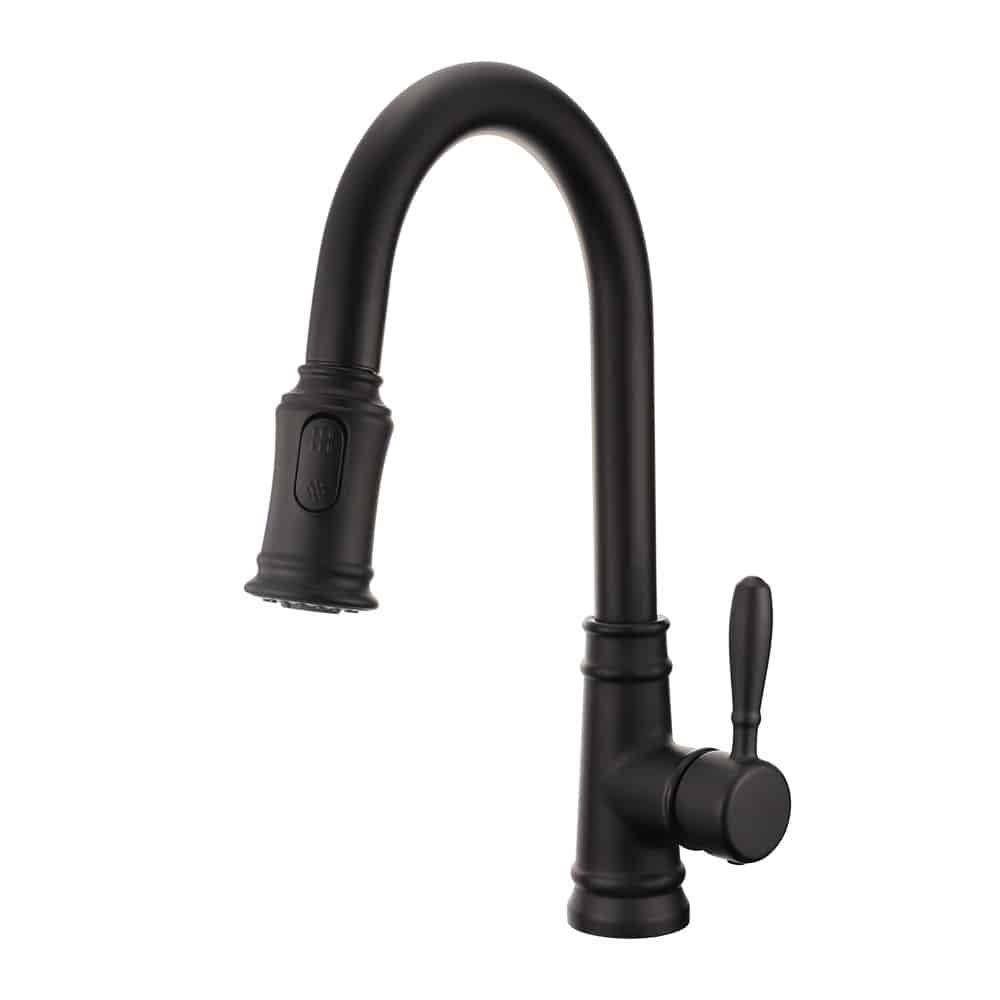
Pull down single hole matte black kitchen tap – K572 01
Single hole pull down swan neck tap for kitchen – K528 01

Muiltiple water modes modern kitchen sink faucet – K570 01

Deck mounted kitchen tap with pull down sprayer – K546C 01

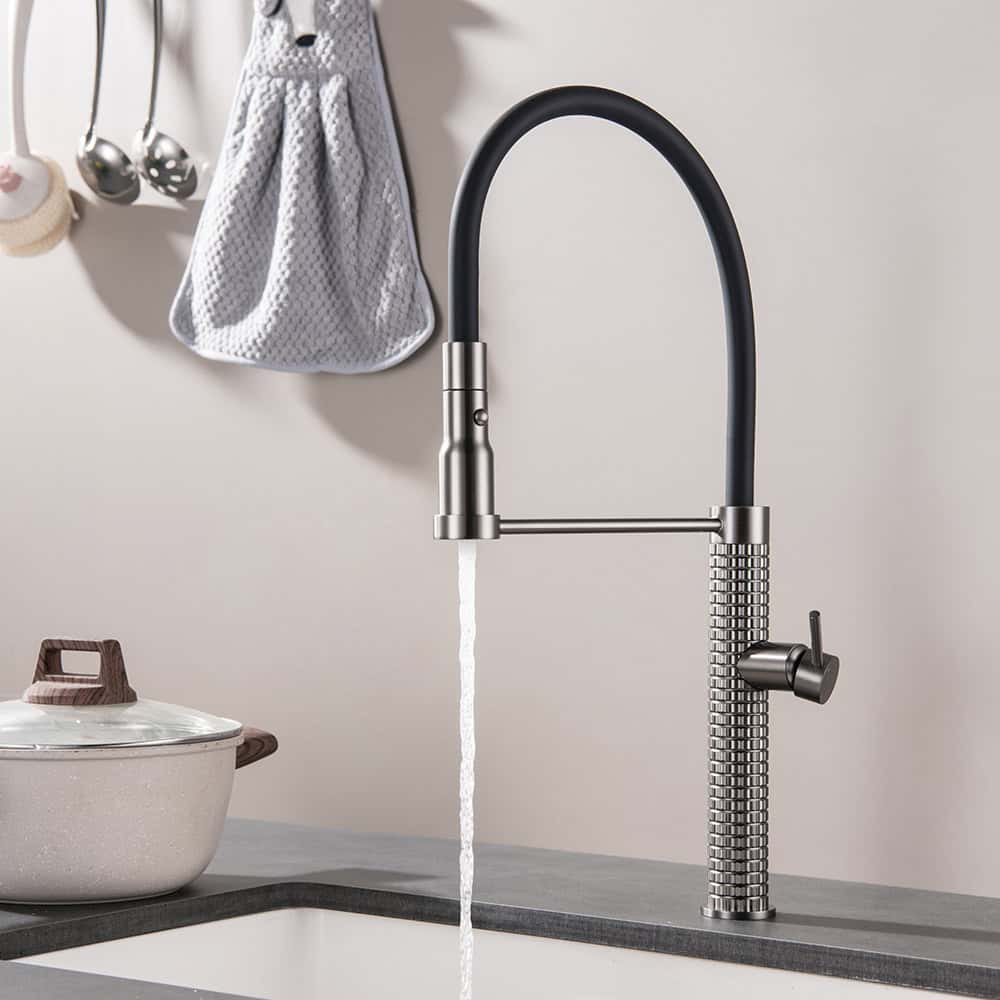
Deck mounted commercial coil kitchen faucet – K541 01

Matte black and brushed gold modern high arch kitchen faucet – K534A 01