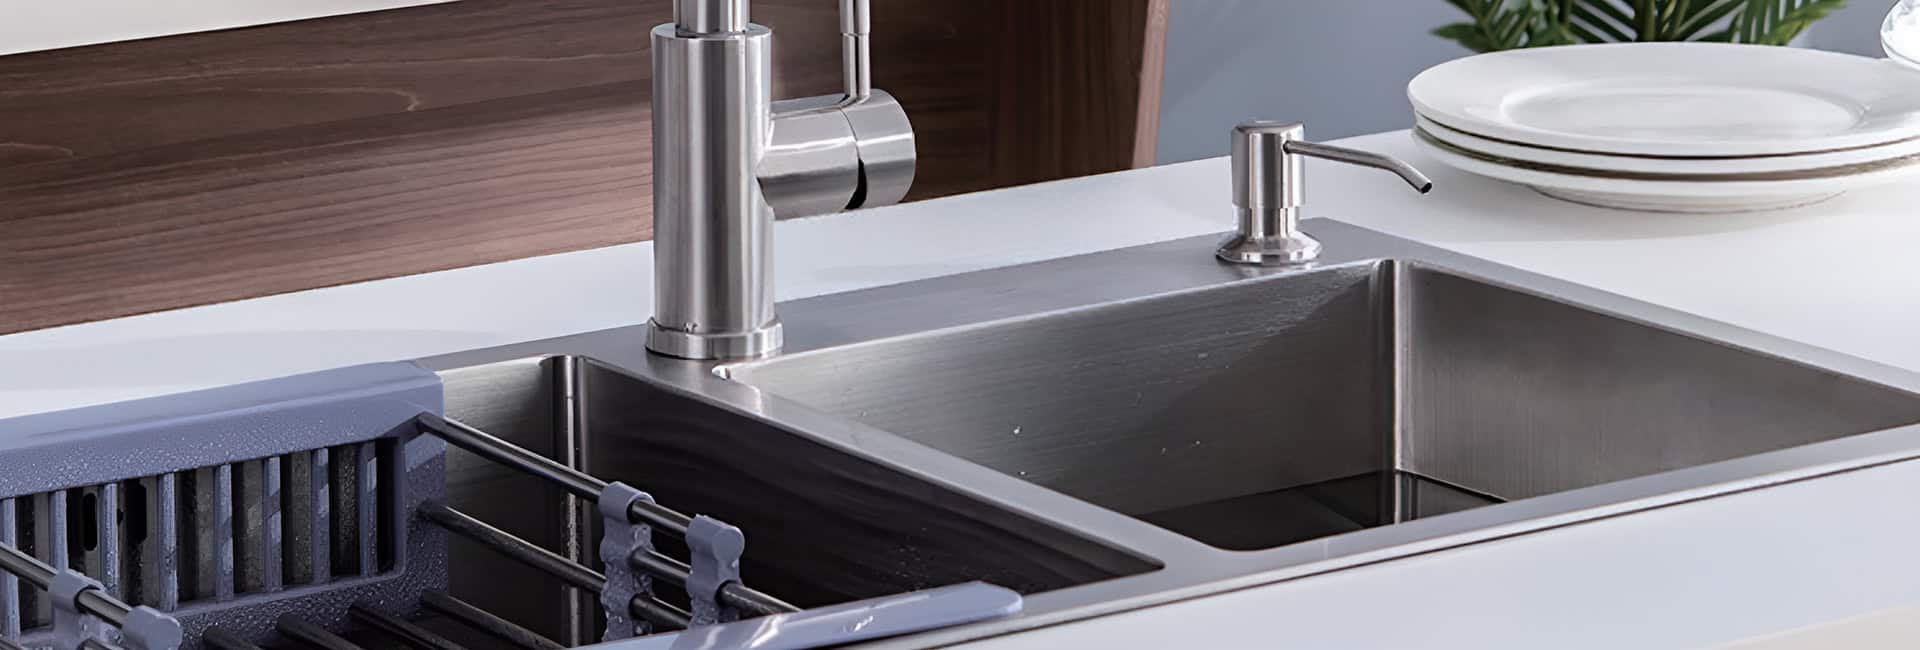
Hey there! Ready to swap out your old kitchen sink for a shiny new one? I know it might feel like a huge task—pipes, tools, and the fear of a watery disaster can make anyone hesitate. I’ve been there, staring at my sink wondering if I’m in over my head. But trust me, you can do this! This guide breaks down every step, from ripping out the old sink to connecting the plumbing like a pro. Whether you’re a total beginner or a DIY veteran, I’ll make it easy to follow and fun to tackle.
Why Upgrade Your Kitchen Sink?
Here’s why I think replacing your sink is worth it:
- Fix Leaks or Damage: Say goodbye to drips and water stains.
- Boost Style: A new sink can make your kitchen look fresh and modern.
- Improve Function: Deeper basins or cool accessories make chores easier.
- Feel Like a Boss: Doing it yourself saves money and feels awesome.
Let’s get started with the nitty-gritty details.
Step 1: Pick the Right kitchen Sink Type
Before you grab your tools, you need to know your sink options. Each type has its own vibe and installation quirks. Here’s the lowdown:
- Drop-in (Top-mount) Kitchen Sinks
-
- Sit on the countertop with a rim that overlaps the edge.
- Pros: Super easy to install, works with any countertop (laminate, granite, etc.).
- Cons: The rim can trap crumbs, making cleaning a bit annoying.
- Best for: Beginners or tight budgets.
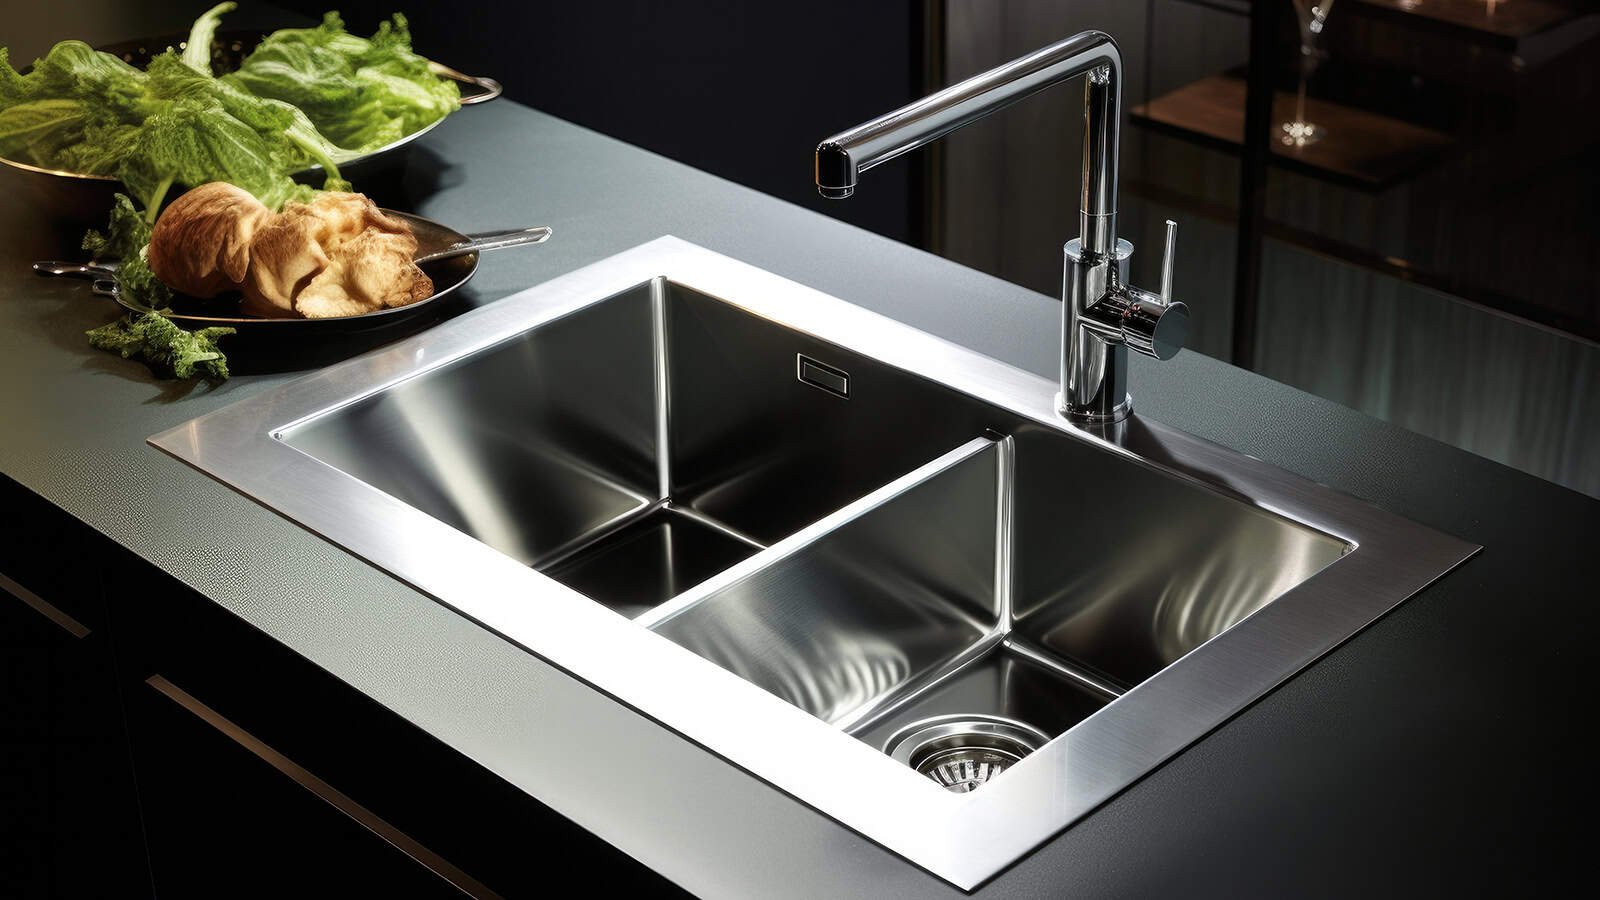
- Undermount Kitchen Sinks
-
- Mount under the countertop for a sleek, seamless look.
- Pros: Easy to wipe crumbs into the sink, looks modern.
- Cons: Needs strong countertops like granite or quartz.
- Best for: Modern kitchens or clean freaks.
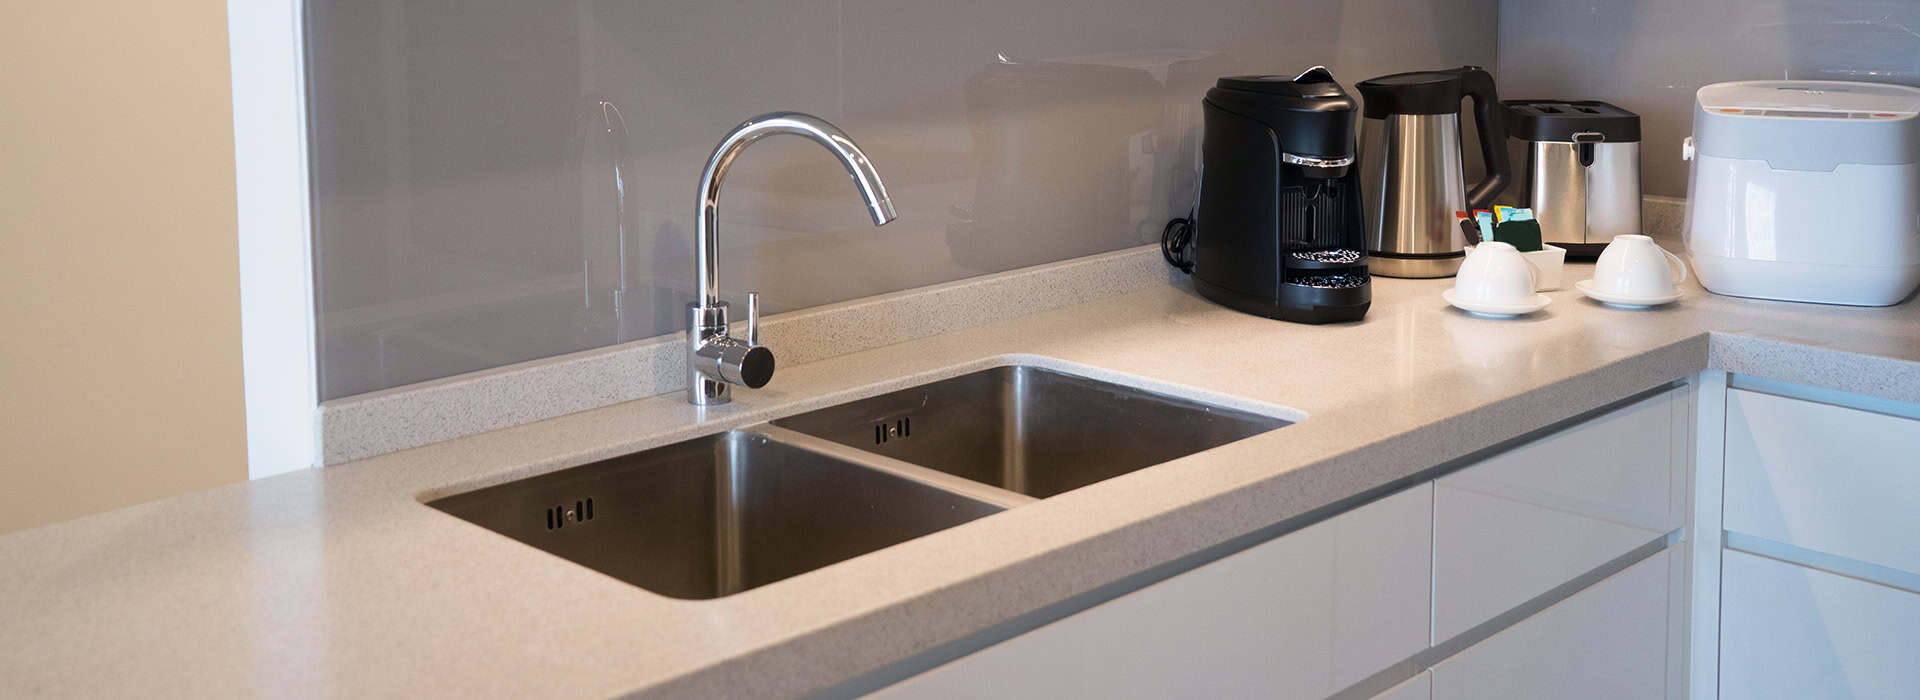
- Farmhouse (Apron-Front) Kitchen Sinks
-
- Have a front panel that sticks out past the countertop.
- Pros: Gorgeous, deep basins for big pots.
- Cons: Might need cabinet tweaks or extra support.
- Best for: Rustic or cozy kitchens.
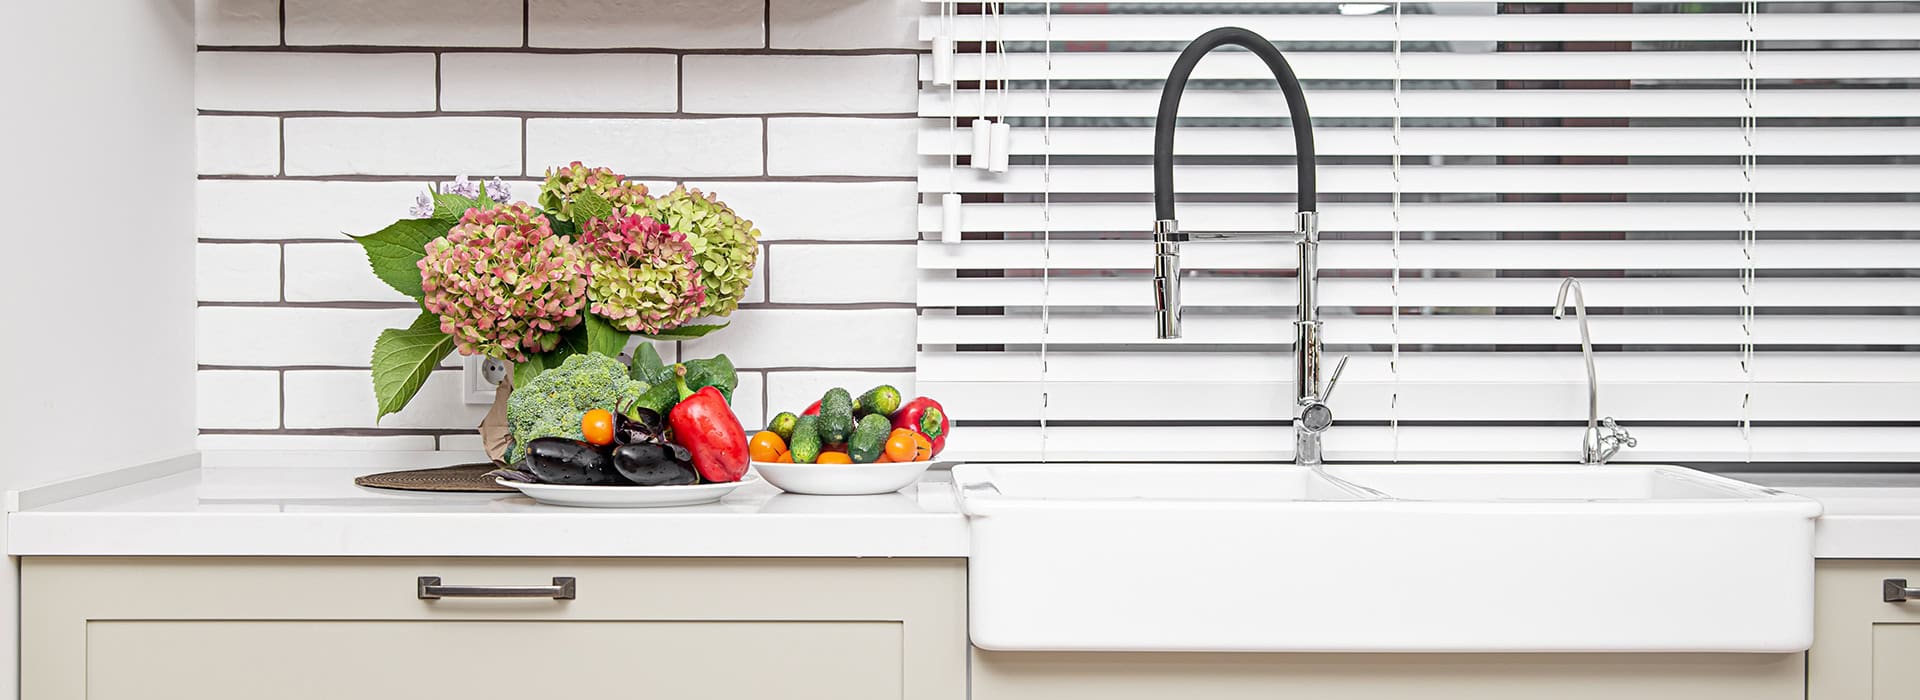
Pro Tip: Make sure your countertop and cabinets can handle your sink choice. Undermount sinks need solid surfaces, and farmhouse sinks might need cabinet mods .
Step 2: Choose Your Sink Material
The material you pick affects how long your sink lasts and how it looks. Here’s a quick guide:
| Material | Pros | Cons | Best For |
|---|---|---|---|
| Stainless Steel | Tough, heat-proof, budget-friendly | Shows water spots if you don’t dry it | Busy kitchens, tight budgets |
| Porcelain/Ceramic | Lots of colors, resists chips | Heavy, can crack if you drop something | Classic or colorful kitchens |
| Cast Iron | Super durable, smooth finish | Crazy heavy, needs strong support | Farmhouse sinks, long-term use |
| Composite Granite | Resists stains, looks like stone | Costs more | Low-maintenance, modern kitchens |
| Fireclay | Tough, timeless charm | Heavy, pricey | Farmhouse or traditional kitchens |
| Silgranit | Durable, quiet, color options | High-end price | Stylish, high-performance kitchens |
Pro Tip: If you’re watching your wallet, go for stainless steel. For a luxe look, fireclay or Silgranit are awesome, but check your cabinets can handle the weight .
Step 3: Get Ready for the Job
Good prep makes everything smoother. Here’s how to set up like a pro:
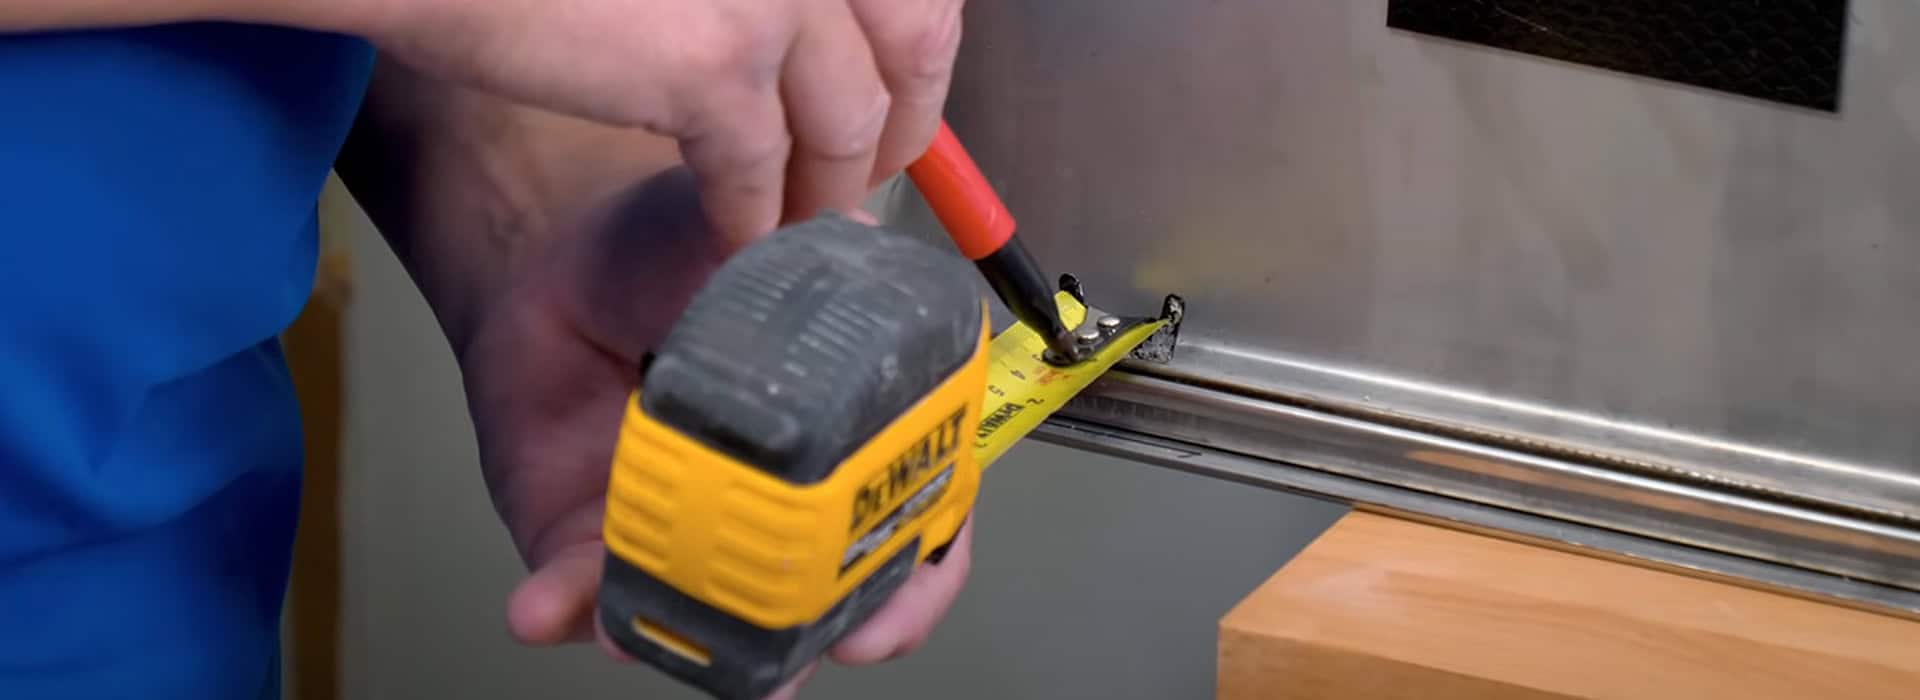
- Measure Everything
-
- Grab a tape measure and note the width, depth, and height of your current sink.
- Check the distance from the sink edge to the backsplash (usually 1.5 inches).
- Measure the countertop opening and cabinet width to confirm your new sink fits.
- Example: Single bowl sinks are often 22″x30″, double bowls around 33″x22″ .
(via.Home RenoVision DlY»)
- Pick Your New Sink
-
- Match the new sink’s size to your measurements.
- If you’re switching types (like drop-in to undermount), you might need to cut the countertop more.
- Think about function: single bowl for small spaces, double bowl for multitasking.
- Gather Your Tools and Materials
-
- Adjustable wrench (for nuts and bolts)
- Basin wrench (for tight faucet nuts)
- Pipe wrench (for PVC pipes)
- Plumber’s putty (for drain seals)
- Plumber’s tape (Teflon tape for threads)
- Silicone sealant (like Loctite 100% Silicone)
- Jigsaw (for cutting countertops)
- Screwdriver (flathead and Phillips)
- Bucket (to catch water)
- Towels (for cleanup)
- New sink, faucet, drain basket, and PVC pipes (if needed)
Step 4: Remove the Old Sink
Taking out the old sink is a big part of the job, and doing it carefully saves you headaches. Here’s exactly how to do it:
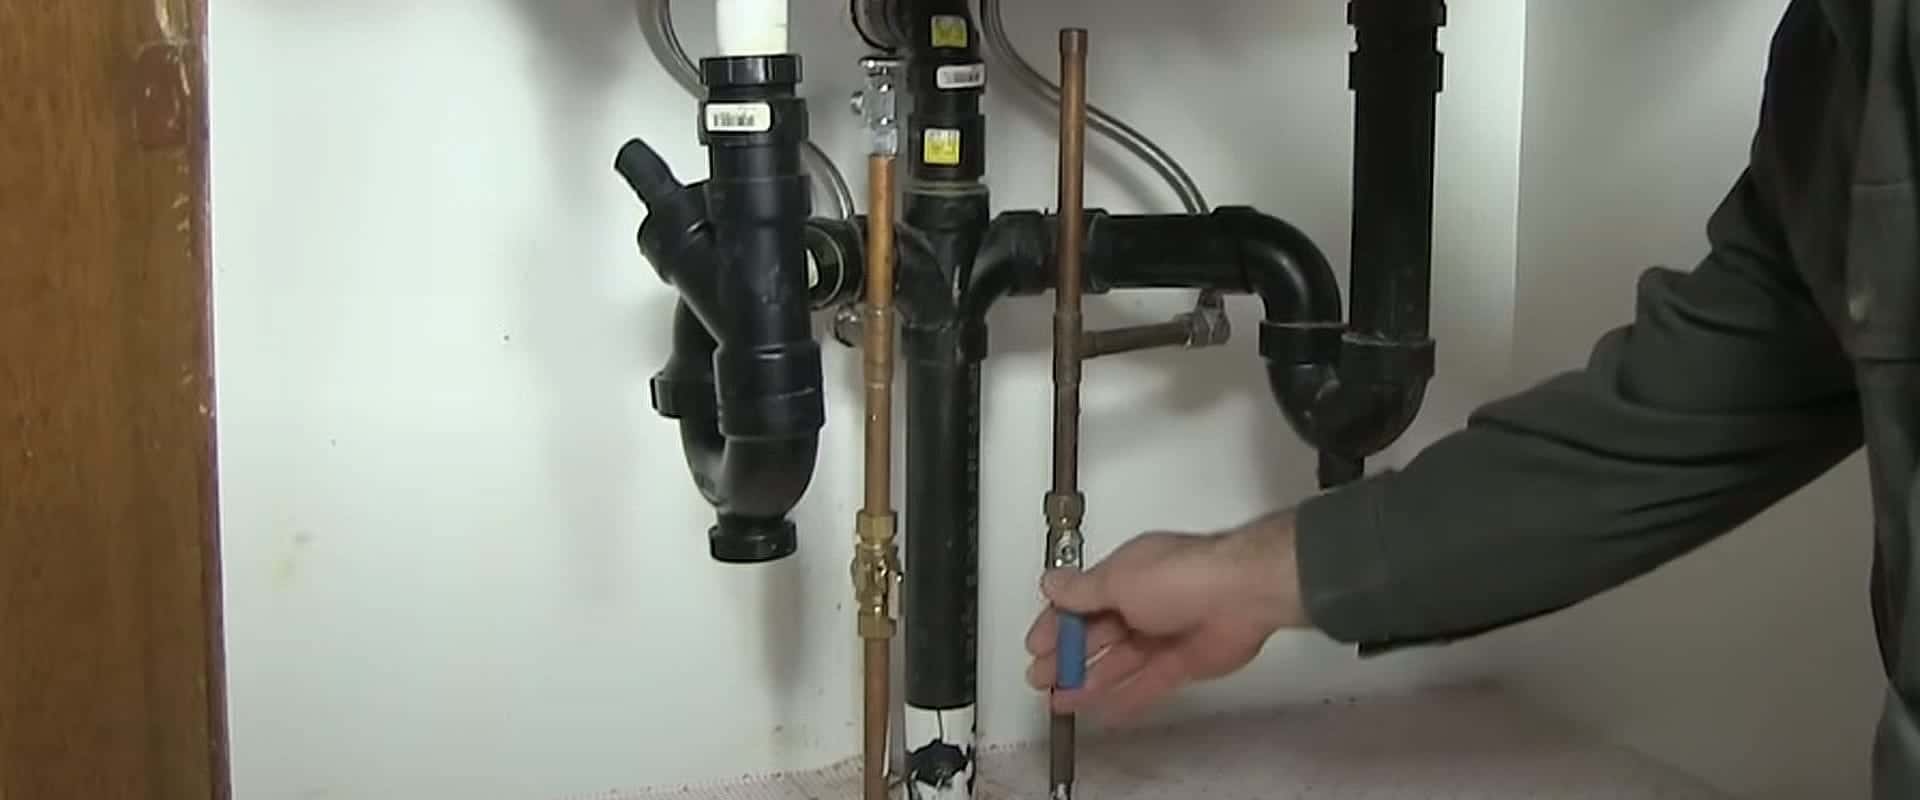
- Turn Off the Water Supply
- Find the shut-off valves under the sink (usually two, for hot and cold water).
- Turn them clockwise until they stop to cut off the water.
- Open the faucet to drain any leftover water into a bucket.
- Double-check no water comes out to be safe.
(via.Houselmprovements»)
- Disconnect the Water Supply Lines
- Place a bucket under the sink to catch drips.
- Use an adjustable wrench to loosen the nuts connecting the water supply lines to the shut-off valves.
- Turn the nuts counterclockwise and gently pull the lines off.
- If the faucet has flexible hoses, unscrew them from the faucet base with a basin wrench.
- Remove the Faucet
-
- Look under the sink for the faucet’s mounting nuts (usually 1-2 large nuts).
- Use a basin wrench to loosen them by turning counterclockwise.
- If the nuts are stuck, spray with penetrating oil (like WD-40) and wait 5 minutes before trying again.
- Once loose, lift the faucet out from the top of the sink.

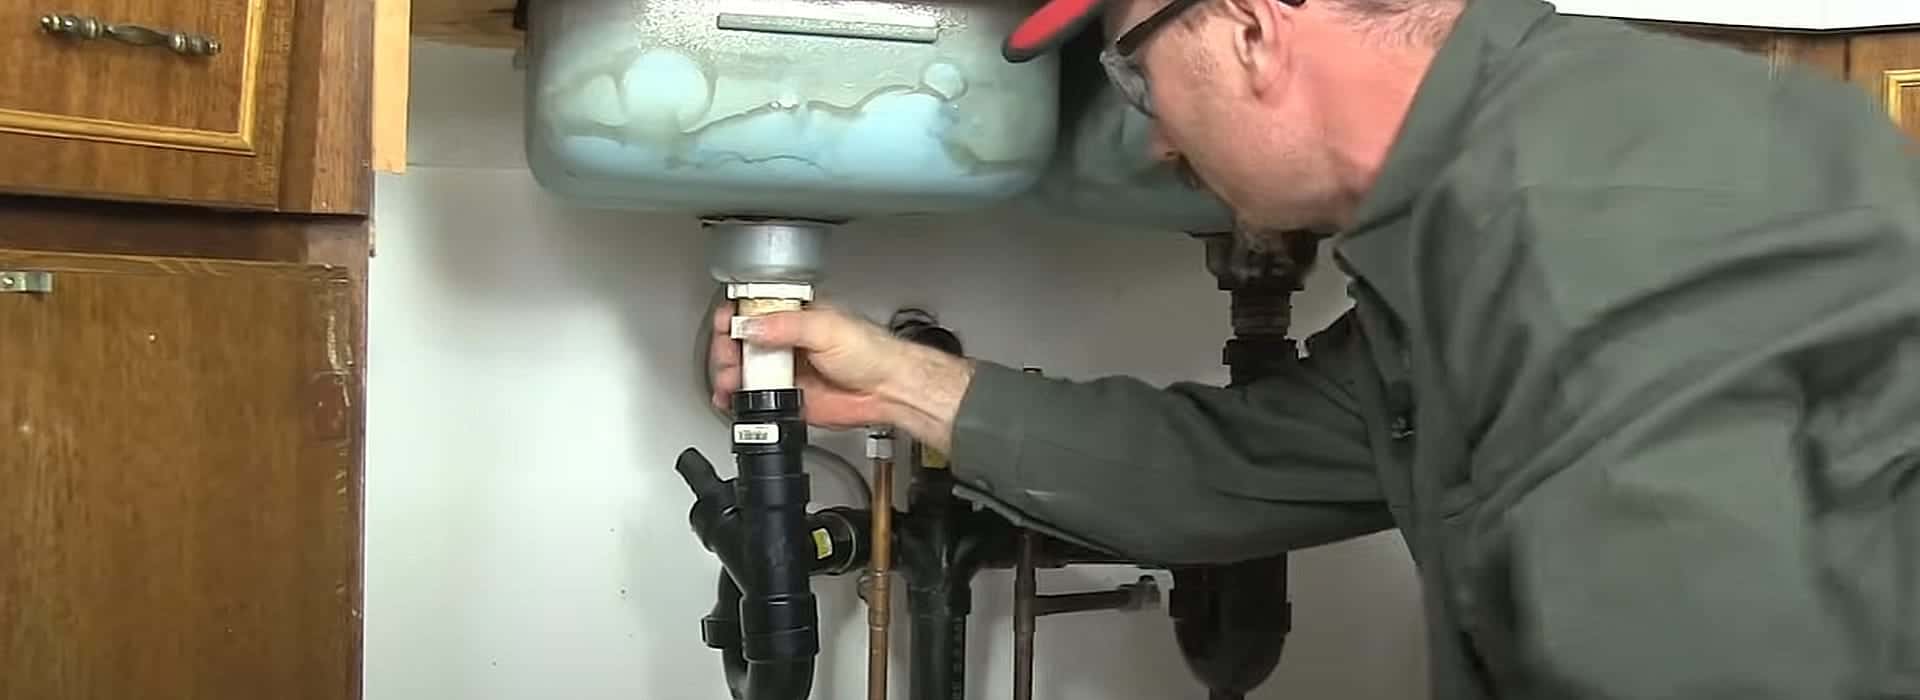
- Disconnect the Drain and P-Trap
- Place a bucket under the P-trap (the U-shaped pipe below the drain).
- Use a pipe wrench to loosen the slip nuts on both ends of the P-trap (turn counterclockwise).
- Remove the P-trap and let water drain into the bucket.
- If you have a dishwasher, unclamp the drain hose from the sink’s tailpiece or garbage disposal.
- Stuff a towel into the open drainpipe to block sewer gases.
(via.Houselmprovements»)
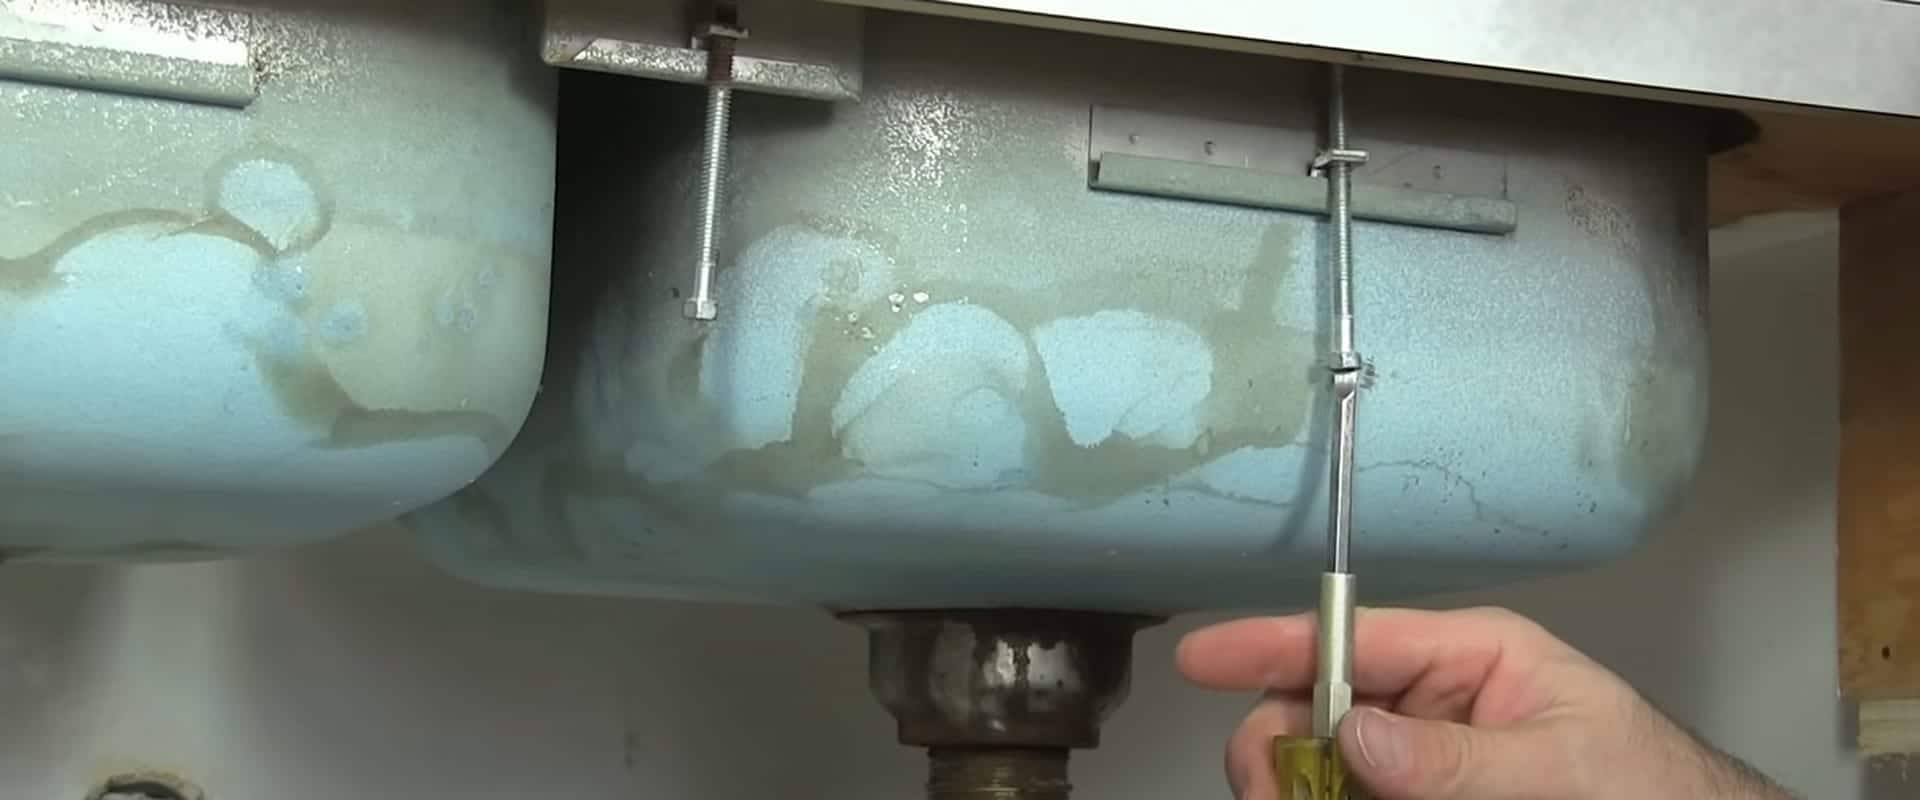
- Loosen the Sink’s Mounting Clips
- For drop-in sinks, look under the countertop for metal clips (usually 4-8) holding the sink in place.
- Use a screwdriver to loosen the screws on each clip (turn counterclockwise).
- For undermount sinks, find the clips or brackets and loosen them with a screwdriver or wrench.
- If clips are rusted, apply penetrating oil and wait before unscrewing.
(via.Houselmprovements»)
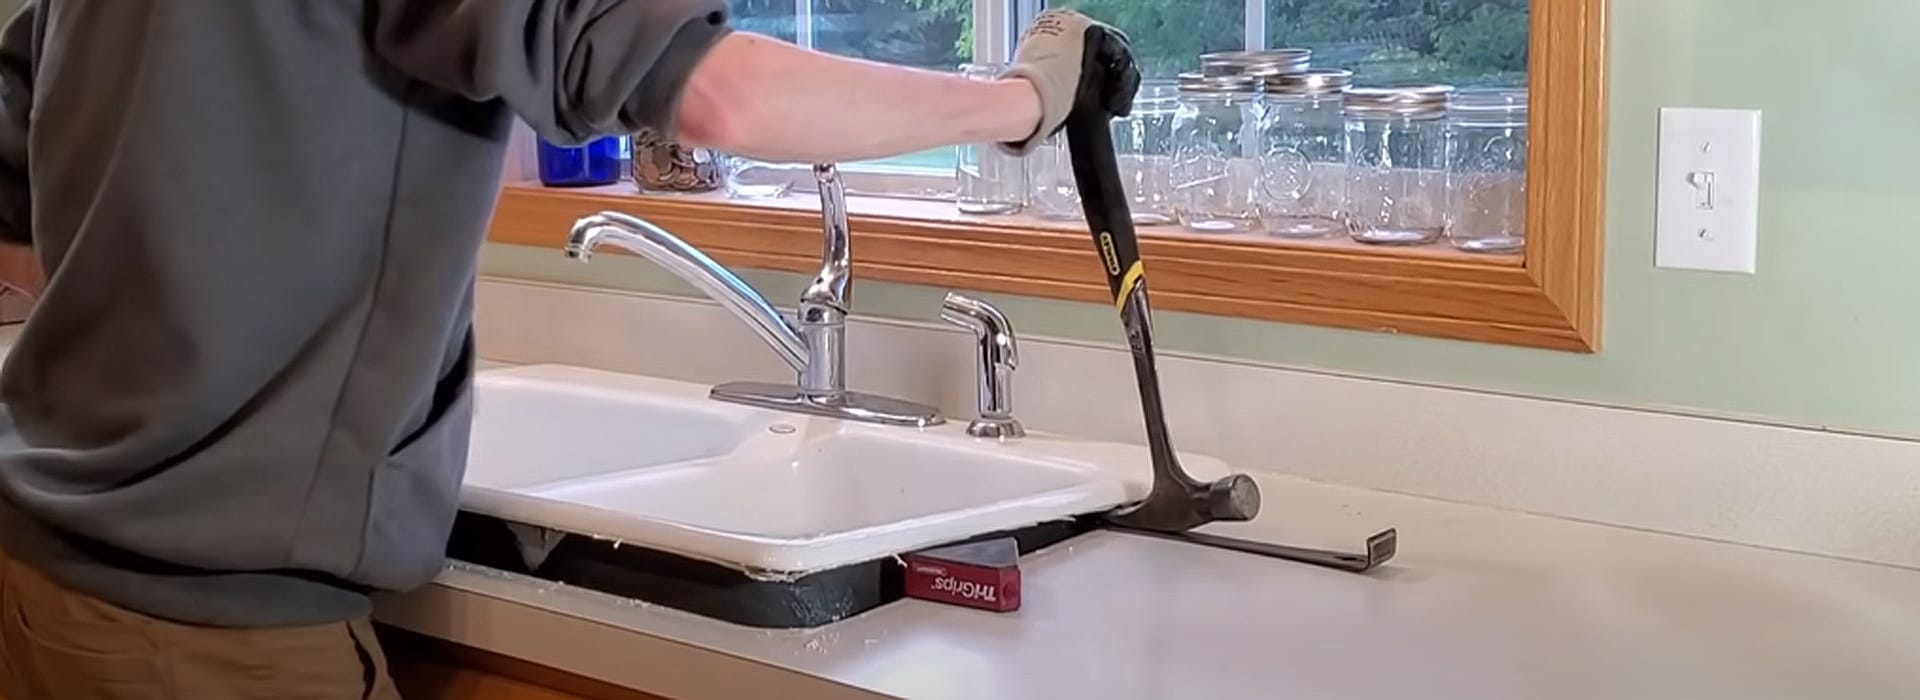
- Break the Sealant Bond
- Run a utility knife along the edge where the sink meets the countertop to cut through old silicone or caulk.
- Move slowly to avoid scratching the countertop.
- For drop-in sinks, push up from below to break the seal. For undermount, pull down gently.
(via.TJ Lawrence»)
- Lift Out the Old Sink
- Have a friend help if the sink is heavy (like cast iron).
- For drop-in sinks, lift straight up from the countertop.
- For undermount sinks, lower it carefully from below.
- Place the sink on a towel or cardboard to avoid floor damage.
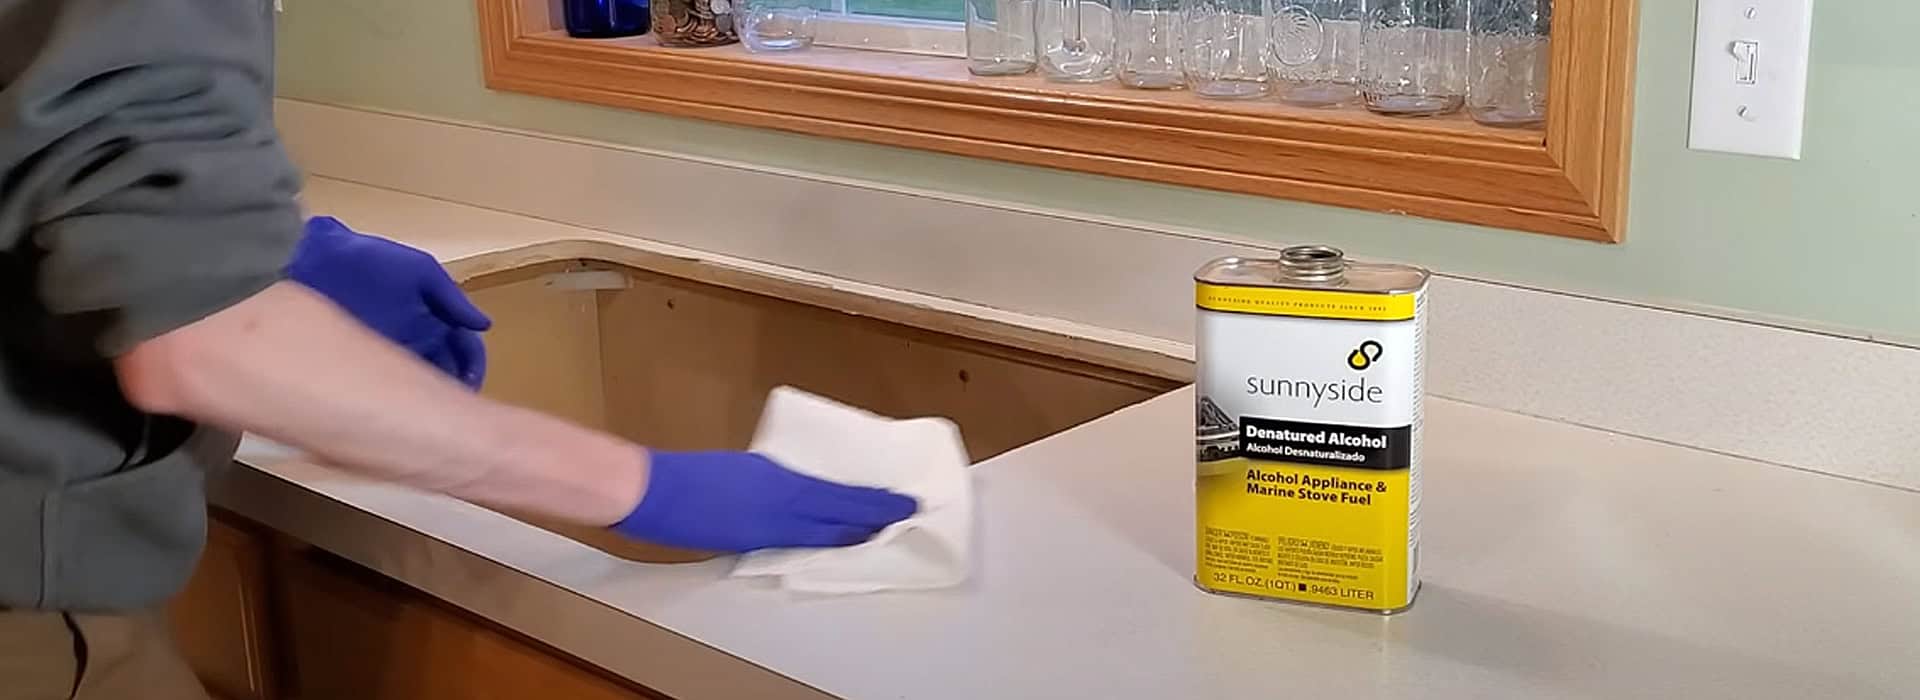
- Clean the Countertop
- Scrape off old caulk or putty with a plastic putty knife (metal can scratch).
- Wipe the area with rubbing alcohol or a mild cleaner to remove residue.
- Ensure the surface is dry and smooth for the new sink.
(via.TJ Lawrence»)
Pro Tip: Take photos of the plumbing setup before disconnecting anything. It’ll help you remember how to reconnect later .
Step 5: Install Your New Sink
Now it’s time to put in the new sink. I’ll start with general steps, then dive into specifics for each sink type.
General Installation Steps
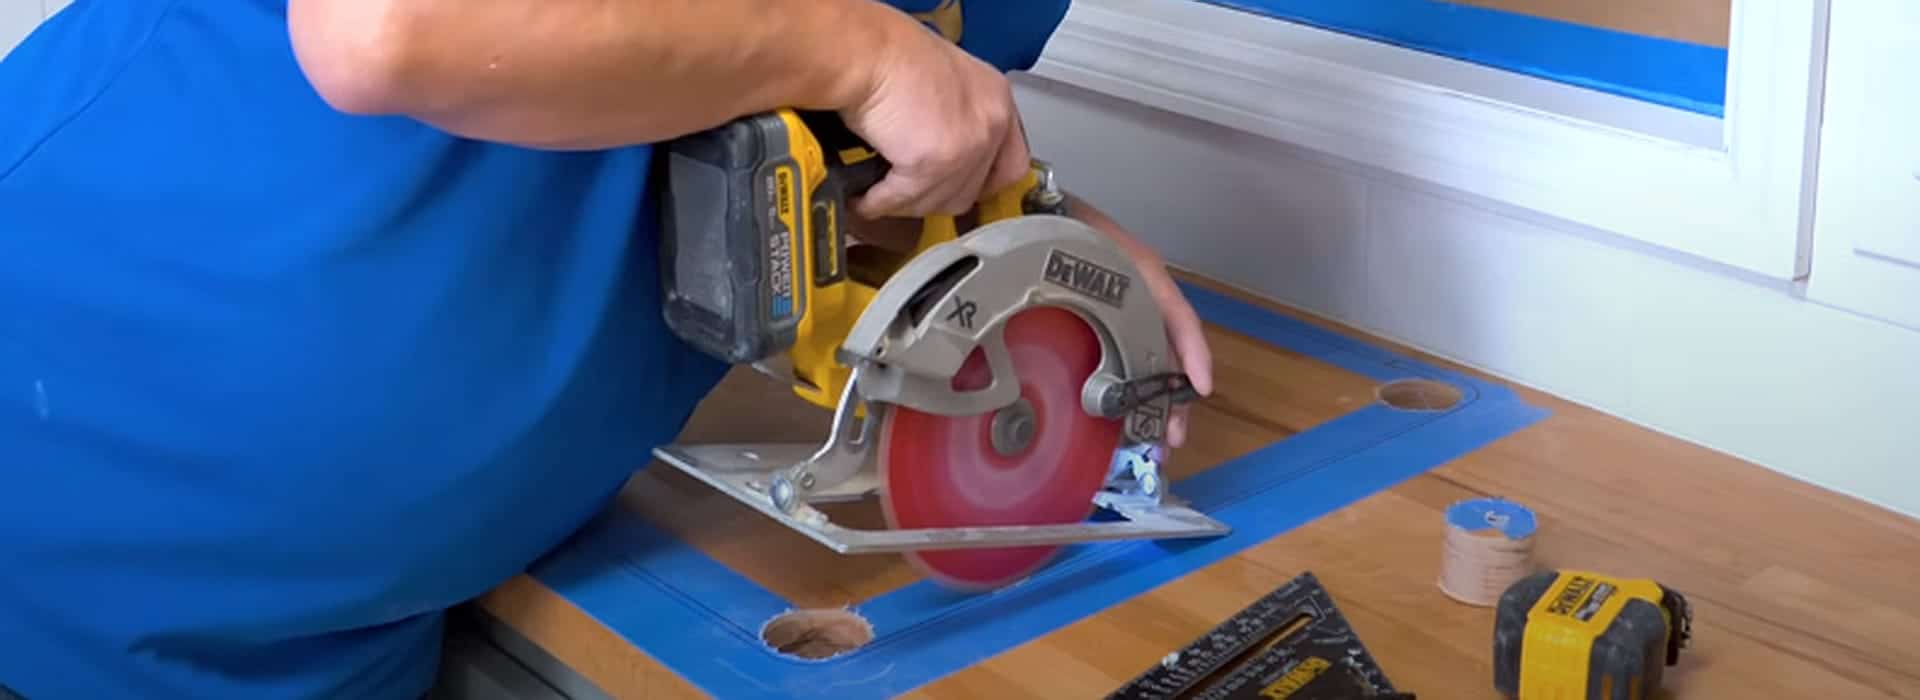
- Prep the Countertop
- For drop-in sinks, trace the new sink’s template (or old sink’s outline) on the countertop.
- Subtract 1/8 inch from the outline for a snug fit, then cut with a jigsaw (use a fine-tooth blade for laminate, diamond blade for stone).
- For undermount sinks, cut from below the countertop for precision, following the sink’s template.
- Sand the cut edges smooth and clean off dust.
(via.Home RenoVision DlY»)
- Dry-Fit the Sink
- Place the sink in the opening to check the fit.
- Adjust the cutout with a jigsaw if it’s too tight.
- Ensure the sink sits level (use a level tool).
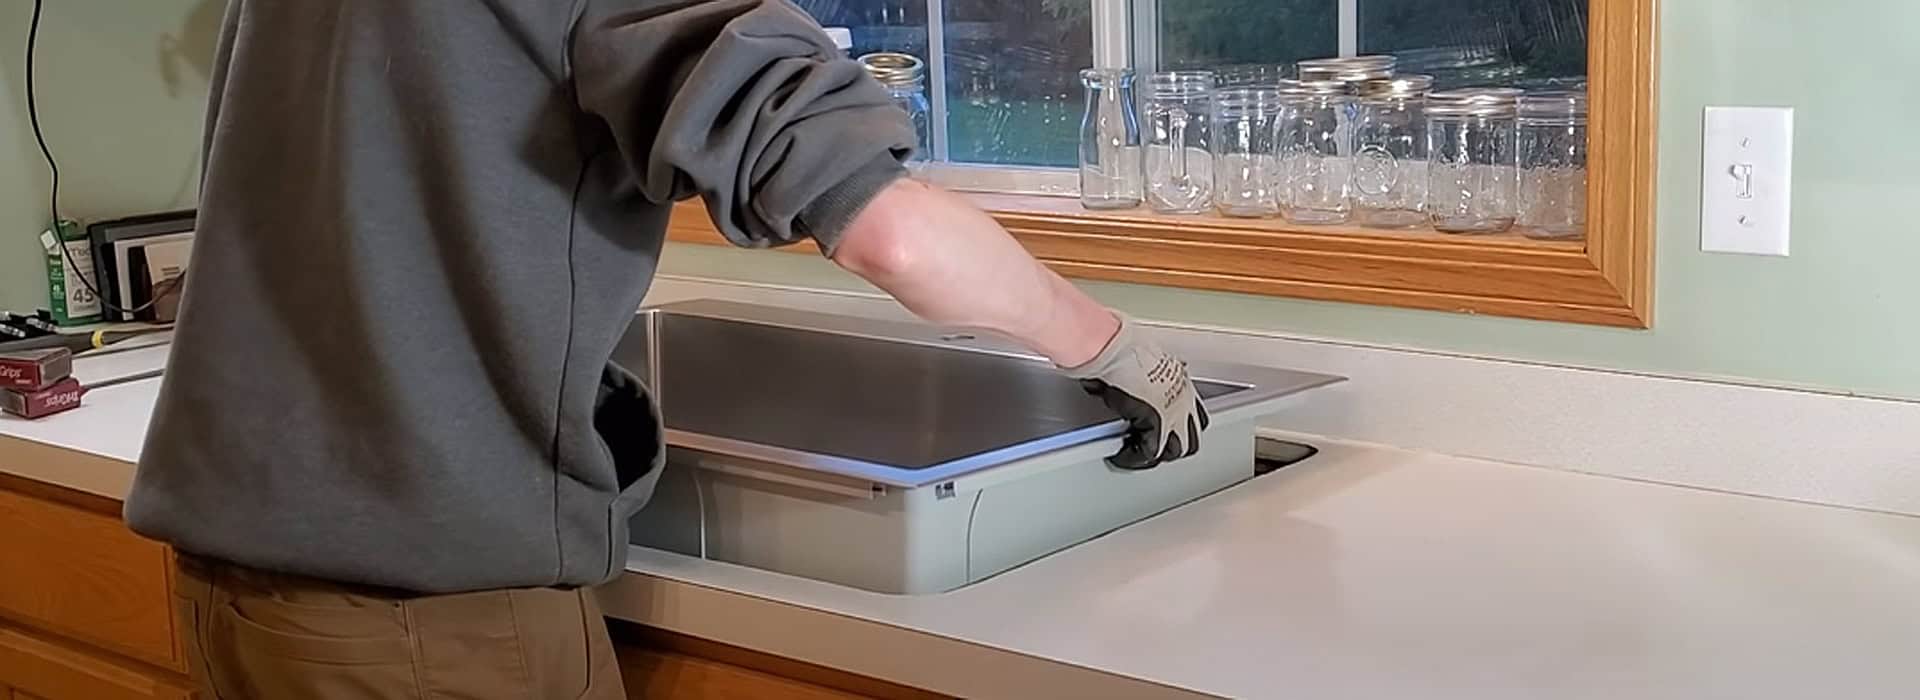
(via.TJ Lawrence»)
- Install the Sink
- Apply a 1/8-inch bead of silicone caulk around the countertop cutout (for drop-in) or sink rim (for undermount).
- Lower the sink into place and press firmly.
- Secure with clips or brackets (tighten evenly to avoid warping).
- Wipe excess caulk with a damp cloth.
(via.Home RenoVision DlY»)
- Install the Faucet
- Insert the faucet into the sink’s pre-drilled holes (or countertop if needed).
- Tighten mounting nuts from below with a basin wrench.
- Attach water supply lines to the faucet’s tailpieces.
- Connect the Plumbing(Detailed Below)
- Hook up the drain, P-trap, and water lines.
- Test for leaks by running water.
Specific Instructions by Sink Type
- Drop-in Sinks
-
- Apply silicone caulk to the countertop cutout.
- Lower the sink into the opening, aligning the rim evenly.
- Secure with clips from below, tightening with a screwdriver .
- Check the sink is level before tightening fully.
- Undermount Sinks
-
- Clean the sink rim and countertop underside with rubbing alcohol.
- Apply silicone adhesive or caulk to the sink rim.
- Use clips or brackets to secure from below, ensuring a flush fit .
- Let adhesive cure per manufacturer instructions (usually 24 hours).
- Farmhouse Sinks
-
- Cut the cabinet front if needed (measure twice!).
- Add support beams inside the cabinet for heavy sinks (use 2x4s or metal brackets).
- Secure with heavy-duty brackets per manufacturer specs.
Skill Level Tips
- Beginners: Go for drop-in sinks—they’re forgiving. Watch a video first .
- Intermediate: Try undermount sinks if you can cut countertops accurately.
- Advanced: Farmhouse sinks are trickier but doable with patience.
Step 6: Connect the Plumbing (Super Detailed)
Hooking up the plumbing is where things get real. I’ll break it down so you nail every connection without leaks.
- Install the Drain Basket
- Roll a 1/4-inch rope of plumber’s putty (about the size of a pencil) and press it around the underside of the drain basket’s flange.
- Insert the drain basket into the sink’s drain hole from above.
- From below, slide the rubber gasket, then the metal washer, onto the drain basket’s threads.
- Screw on the locknut by hand, then tighten with a pipe wrench (don’t overtighten—snug is enough).
- Wipe excess putty from the sink’s interior with a cloth.
- Attach the tailpiece (straight pipe) to the drain basket’s threads with a slip nut and washer.
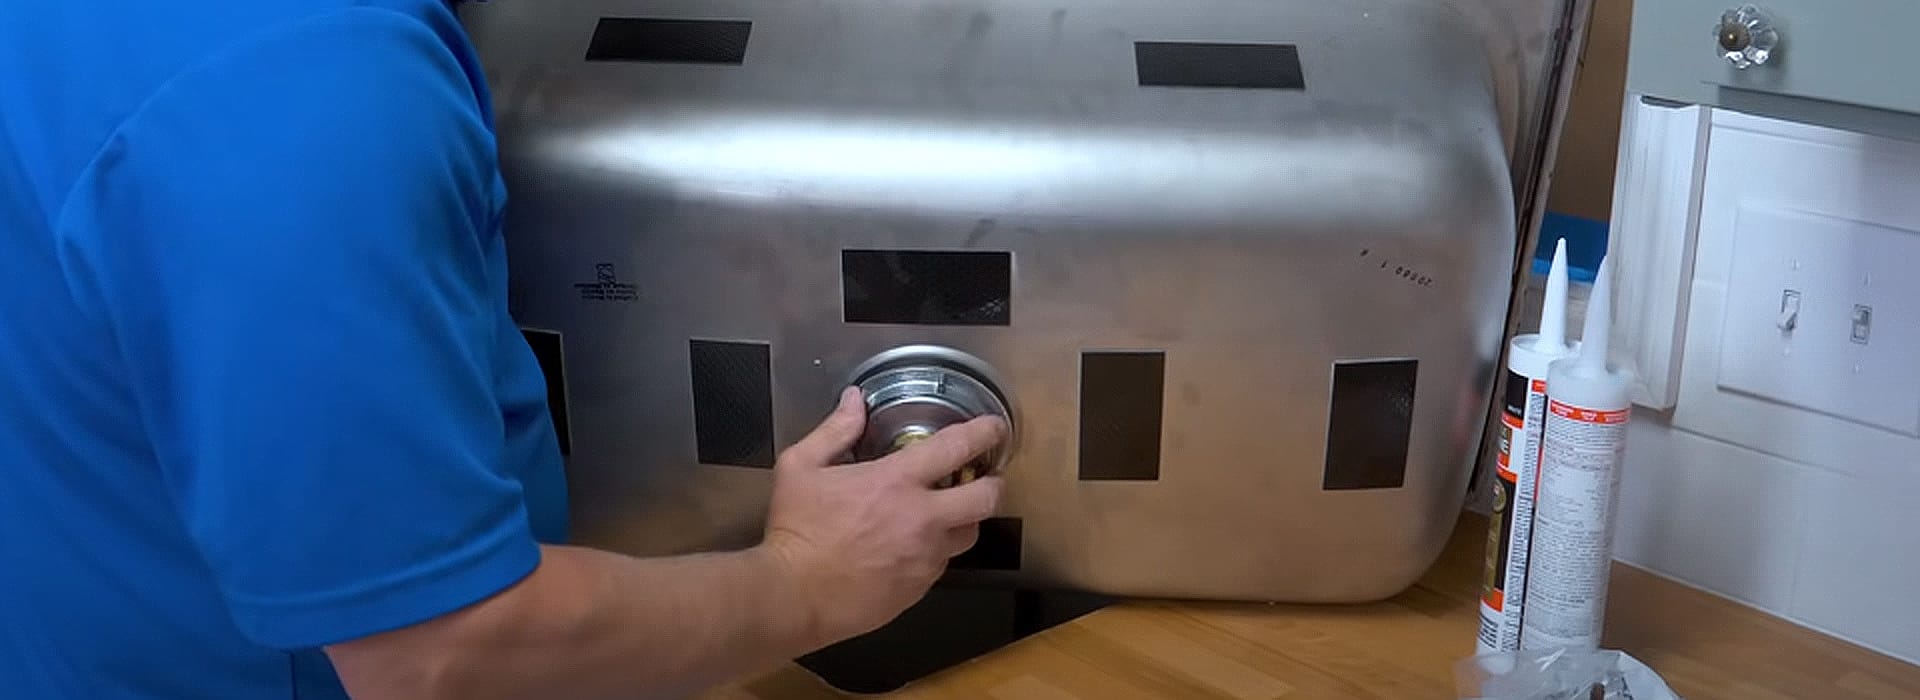
(via.Home RenoVision DlY»)
- Reinstall the P-Trap
- If reusing the old P-trap, clean it with a brush to remove gunk.
- Measure the distance between the tailpiece and the drainpipe in the wall.
- Cut a new PVC P-trap kit if needed (use a hacksaw for clean cuts).
- Attach the P-trap’s J-shaped section to the tailpiece with a slip nut and washer (hand-tighten first).
- Connect the other end to the wall drainpipe with another slip nut and washer.
- Align the P-trap so it’s level, then tighten slip nuts with a pipe wrench (1/4 turn past hand-tight).
- Wrap plumber’s tape (2-3 wraps clockwise) around the drainpipe threads for extra leak protection.
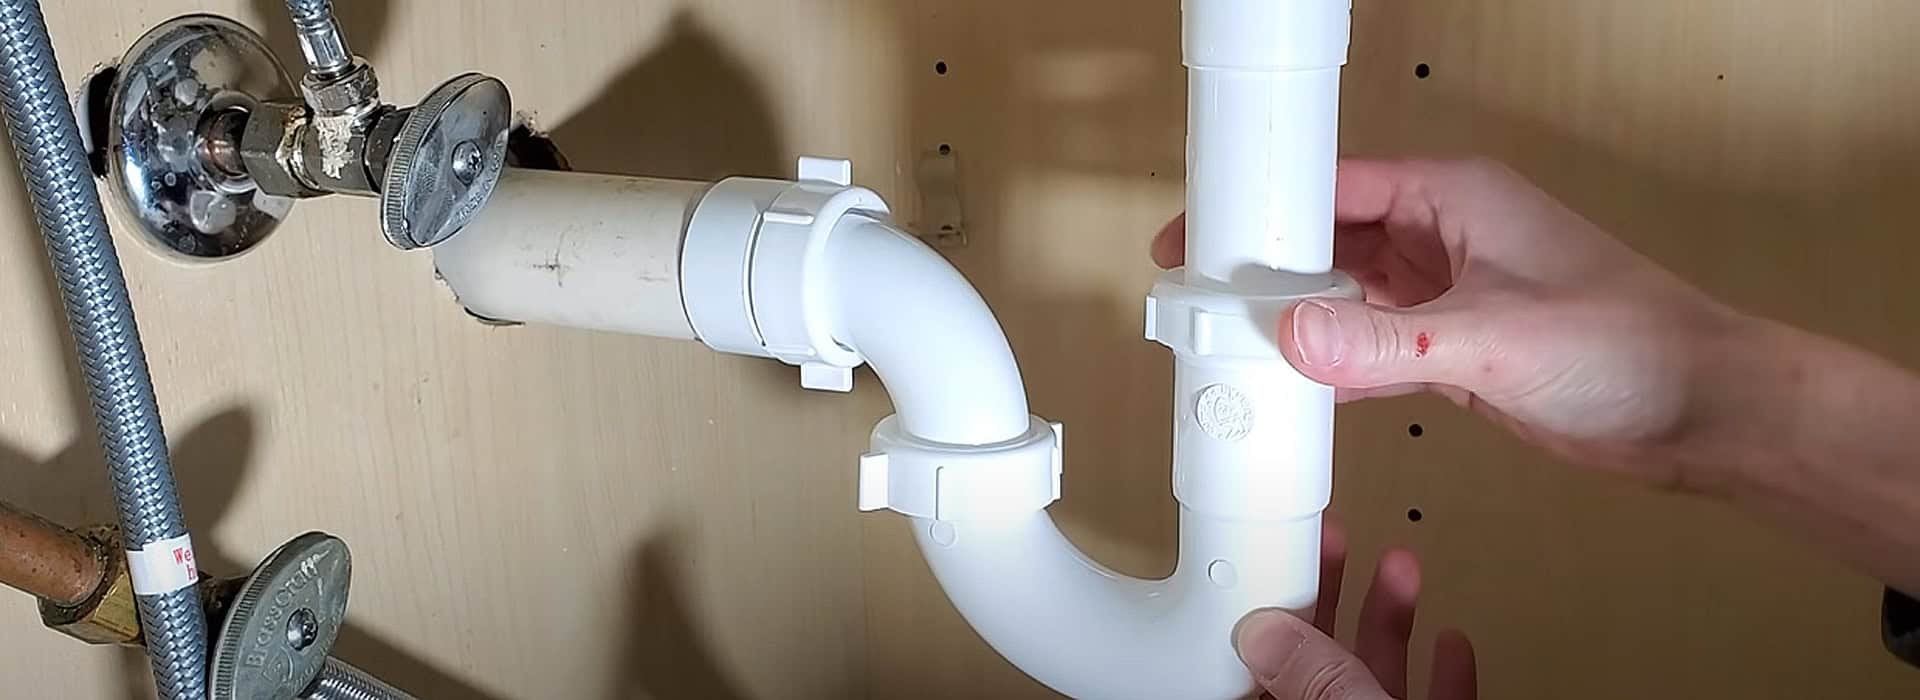
(via.TJ Lawrence»)
- Reconnect the Dishwasher Drain Hose (If Applicable)
- If you have a dishwasher, reattach the drain hose to the tailpiece’s branch or garbage disposal.
- Secure with a hose clamp (tighten with a screwdriver).
- Create a high loop with the hose (zip-tie it to the cabinet’s underside) to prevent backflow.
- Connect the Water Supply Lines
- Wrap plumber’s tape (3 wraps clockwise) around the threads of the shut-off valves.
- Attach the water supply lines (hot to hot, cold to cold) to the shut-off valves.
- Hand-tighten the nuts, then give a 1/4 turn with an adjustable wrench.
- Connect the other ends to the faucet’s tailpipes, tightening the same way.
- If using flexible hoses, avoid kinking them during installation.
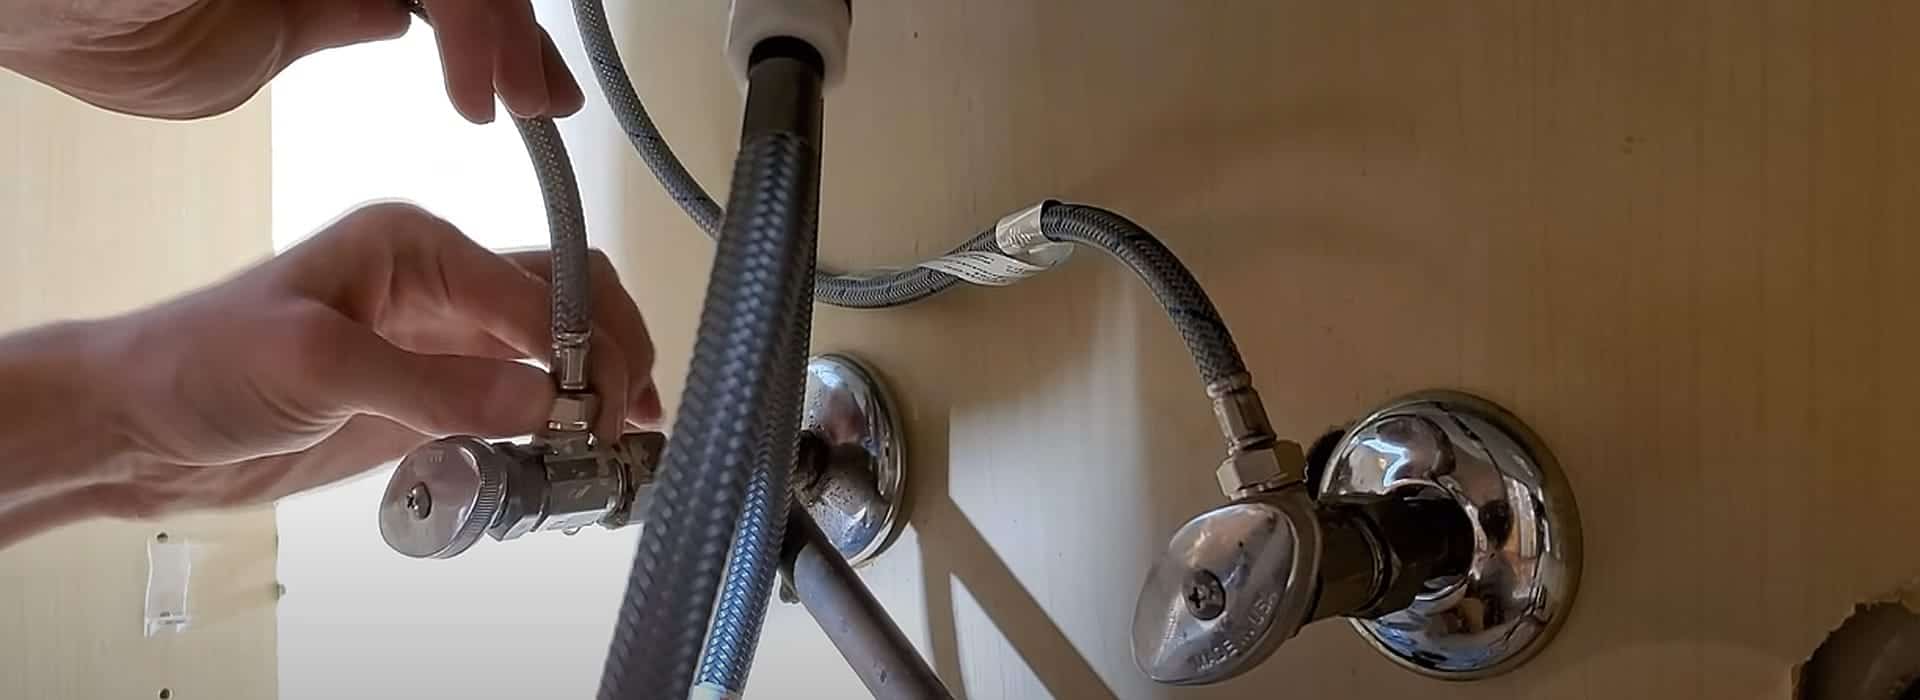
(via.TJ Lawrence»)
- Test for Leaks
- Turn on the shut-off valves slowly (counterclockwise).
- Run water through the faucet for 1–2 minutes, filling the sink halfway.
- Check all connections (drain, P-trap, supply lines) for drips using a dry cloth.
- If you spot a leak, tighten the connection slightly or reapply plumber’s tape/putty.
- Empty the sink and check the drain for leaks as it flows out.
Pro Tip: Keep a bucket under the sink during testing to catch any surprise drips. If a connection keeps leaking, double-check alignment and tape application .
Step 7: Troubleshoot Like a Pro
Sometimes, things don’t go perfectly. Here’s how to fix common hiccups:
- Leak at Sink Edge
-
- Ensure silicone caulk forms a continuous bead.
- Reapply caulk if gaps appear and let cure for 24 hours.
- Sink Doesn’t Fit
-
- Recut the countertop if measurements were off (use a jigsaw carefully).
- If too small, consider a different sink or professional help.
- Plumbing Leaks
-
- Tighten slip nuts or reapply plumber’s tape to threaded connections.
- Replace damaged gaskets or washers if leaks persist.
- Slow Drainage
-
- Check the P-trap alignment (it should slope slightly downward).
- Ensure the sink is level with a bubble level tool.
- Dishwasher Backflow
-
- Confirm the drain hose has a high loop or air gap.
- Secure the hose to prevent sagging .
Step 8: Plan Your Budget
Here’s what you might spend on this project:
| Item | Cost Range |
|---|---|
| Drop-in Sink | $100–$300 |
| Undermount Sink | $200-$500 |
| Farmhouse Sink | $300–$1,000+ |
| Faucet | $50–$500 |
| PVC Pipes/Adapters | $10–$50 |
| Countertop Mods | $100–$500 |
| Pro Installation | $200–$500 |
Pro Tip: DIY saves $200–$500, but call a pro for heavy sinks (like fireclay) or tricky plumbing. Shop deals at Lowe’s» or Home Depot».
Step 9: Style Your Sink to Your Kitchen
Your sink’s a focal point, so make it shine:
- Modern Vibes: Undermount or stainless steel for clean lines.
- Cozy Kitchens: Farmhouse or fireclay for warmth.
- Small Spaces: Single bowl sinks to keep counters clear.
- Busy Homes: Double bowls for dishwashers or soaking laundry.
Pro Tip: Add a sleek faucet, soap dispenser, or cutting board for flair.
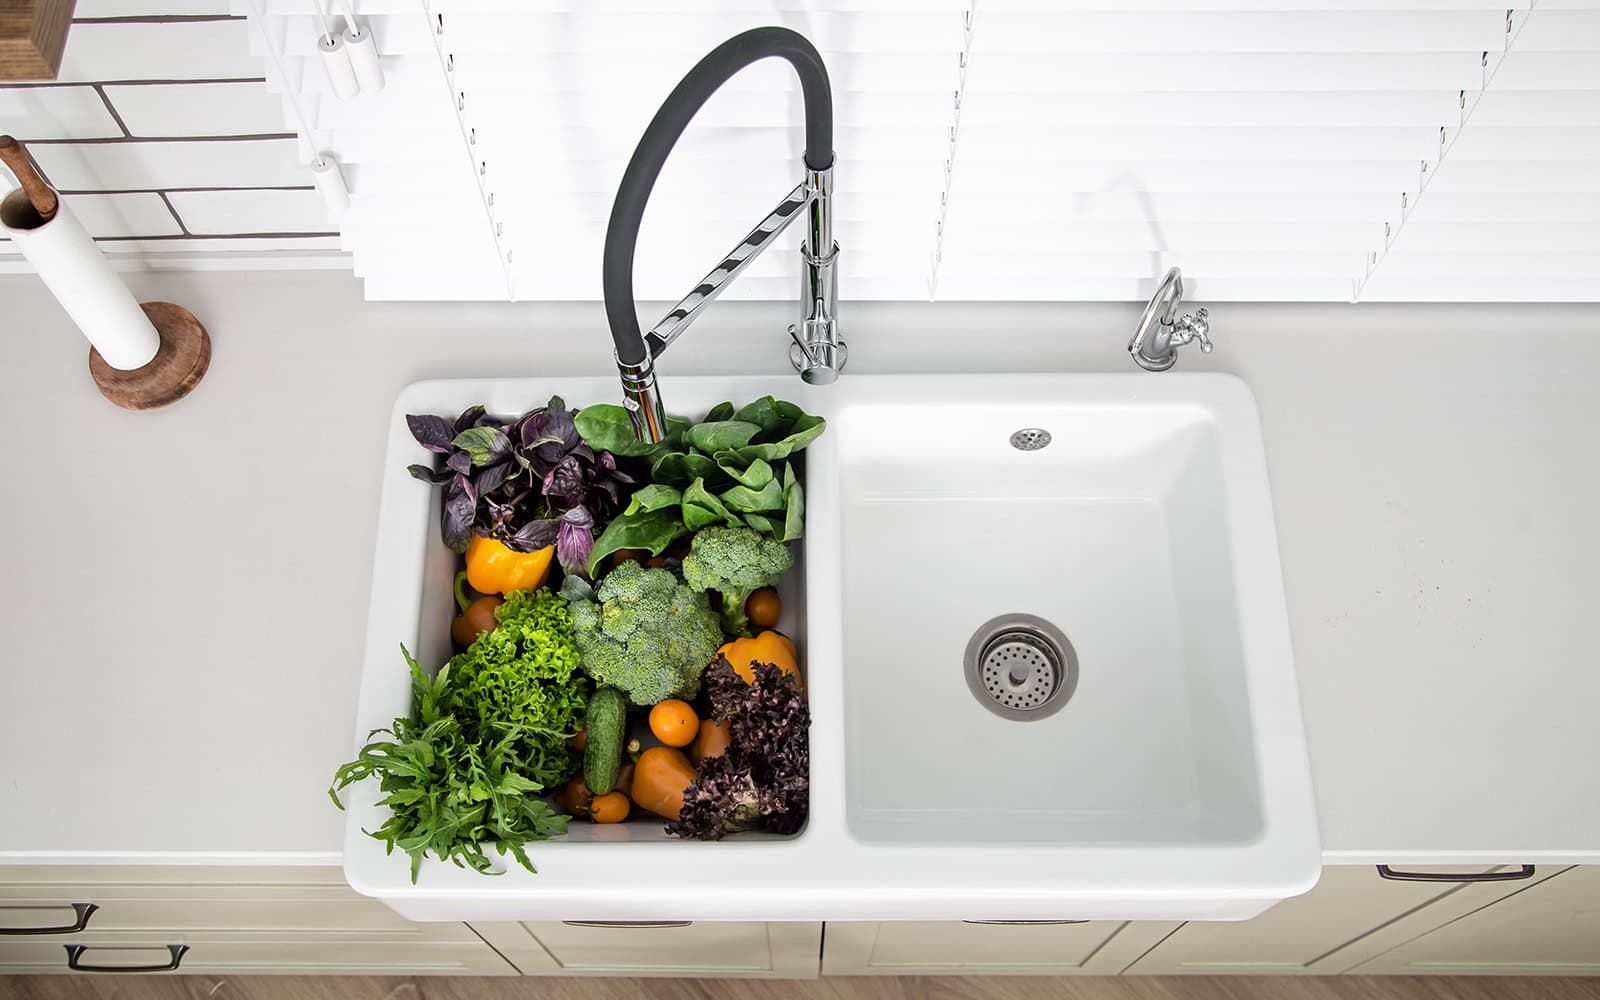
Step 10: Keep Your Sink Sparkling
- Stainless Steel: Dry after use to avoid spots. Use Bar Keepers Friend for stains.
- Porcelain/Ceramic: No abrasive scrubbers to avoid scratches.
- Cast Iron/Fireclay: Mild soap and soft cloths protect enamel.
- Composite/Silgranite/Silgranit: Use household cleaners, skip harsh chemicals.
- Clog Prevention: Clean drains monthly with baking soda and vinegar. Don’t dump grease down them.
Thinking About Adding a Soap Dispenser to Your Kitchen Sink?
Here’s a quick overview to get you started:
Drill a hole in your sink or countertop (if it doesn’t already have one), insert the dispenser pump, secure it with the mounting nut underneath, and connect the soap bottle. Apply silicone caulk around the base to prevent leaks.
For detailed step-by-step instructions, check out the full guide here:
Your Next Move: Pick Your Sink and Get to Work
You’re ready to rock this project! If you’re new to DIY, start with a drop-in sink—it’s the simplest to handle. Love a high-end look? Go for an undermount or farmhouse sink, but plan for extra steps like cabinet tweaks. If your setup’s super complicated (weird plumbing, heavy sink, no experience), a pro might be worth the $200–$500 to avoid trouble.
FAQs
About Luxuryhome
Luxuryhome is not just a faucet manufacturer or wholesaler, but more like a partner who can provide you with more added value.
We are united in our determination to produce China-made bath and kitchen fixtures adhering to the highest ethical principles. You have our promise!
More post you may interested in

