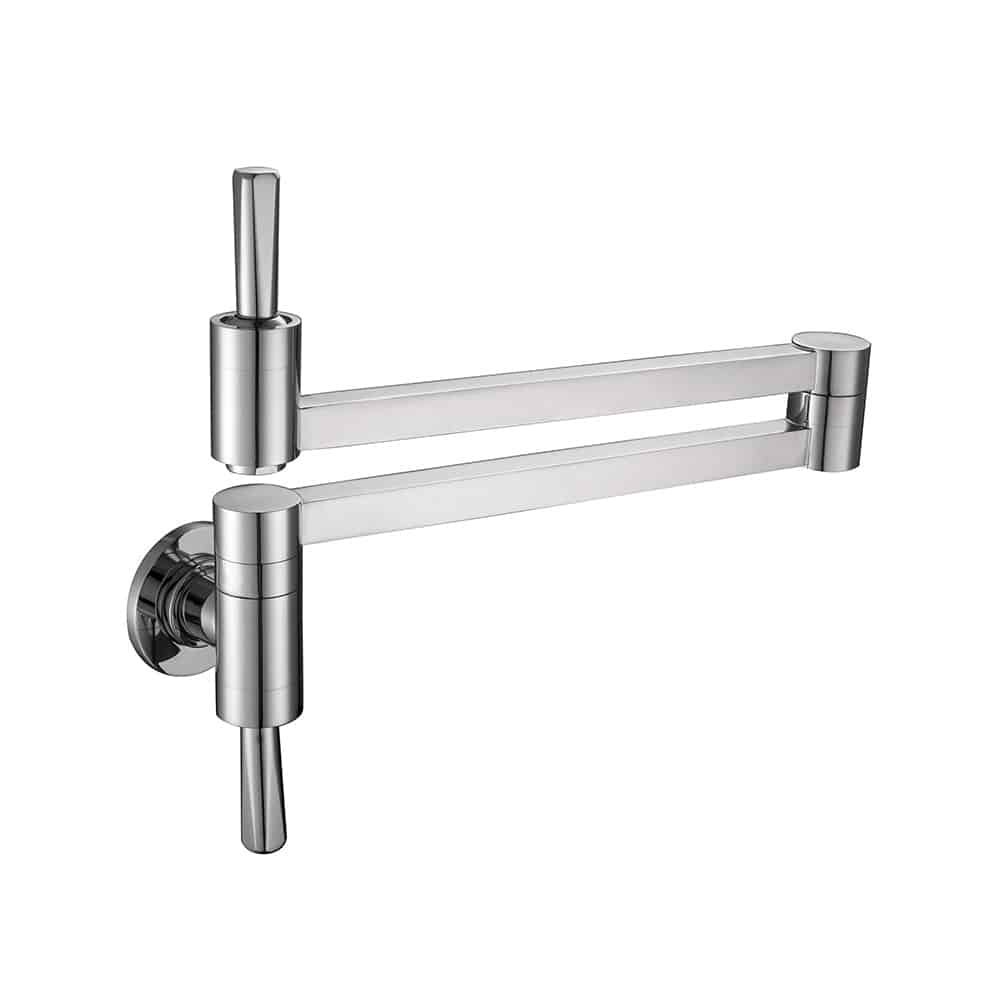
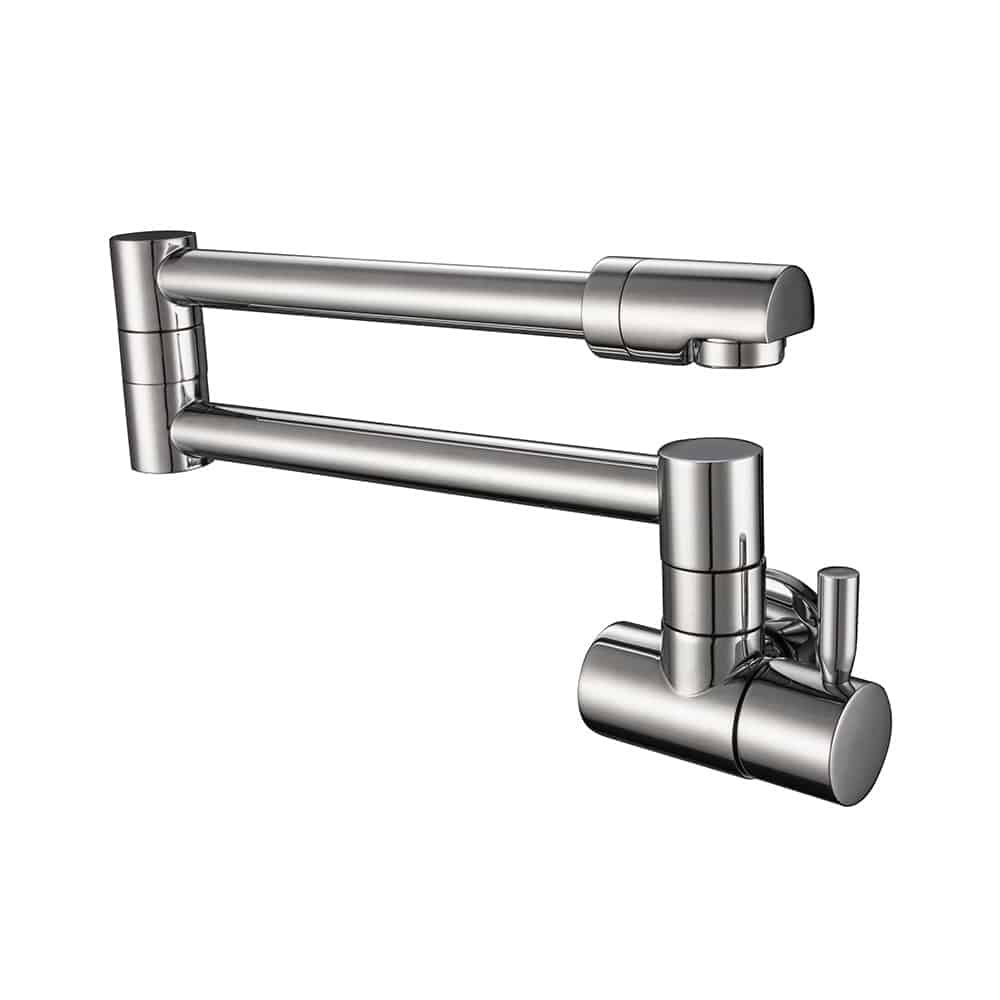
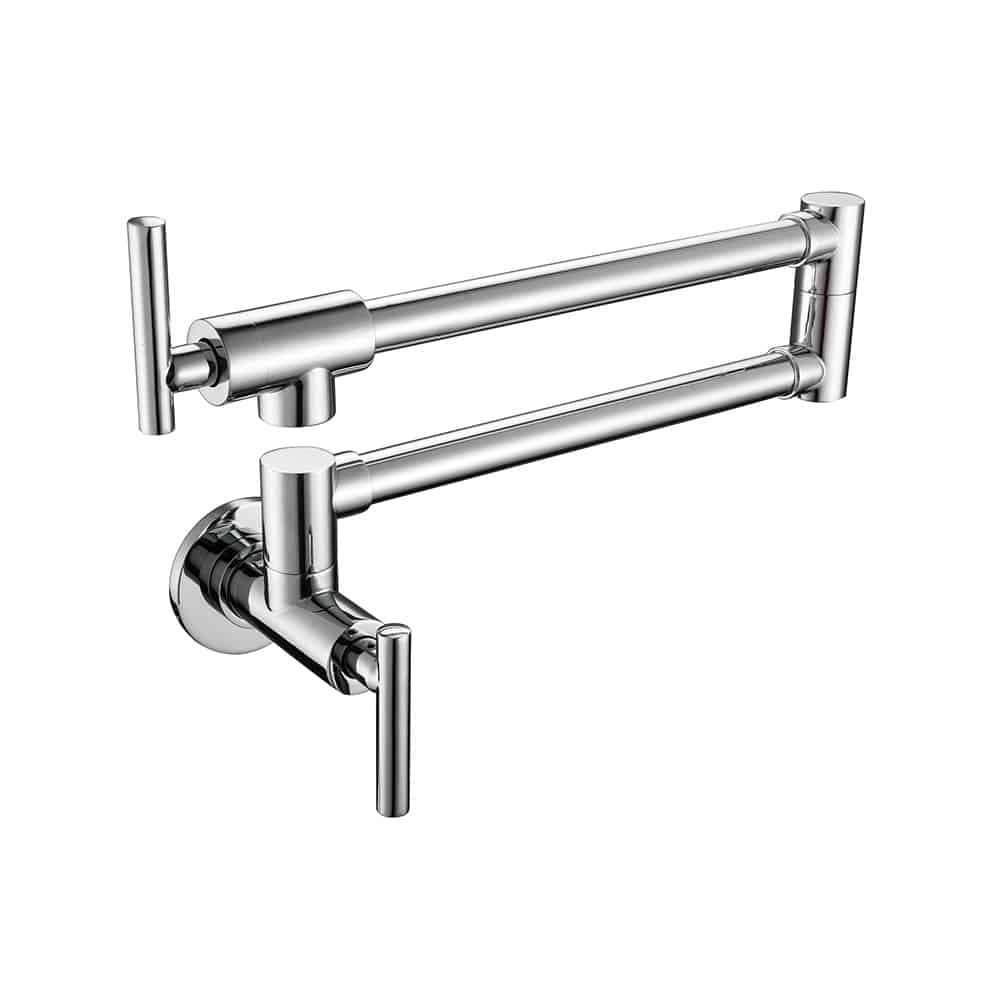
You’re probably here because you’ve seen those stunning wall-mounted kitchen faucets in magazines or on social media and thought, “I want that sleek, modern look in my kitchen!” You’re ready to move beyond your countertop-mounted faucet to something truly transformative.
I get it—wall-mounted faucets free up counter space, make cleaning easier, and instantly elevate your kitchen’s style. But converting from a standard deck-mounted faucet to a wall-mounted one isn’t a simple swap. It’s a real renovation that involves opening walls and rerouting plumbing.
The good news? With the right knowledge, planning, and sometimes a bit of professional help, it’s absolutely doable. This guide walks you through every step—from understanding the project’s scope to managing costs and ensuring a leak-free install—so you can confidently transform your kitchen.
Understanding the “Conversion” Challenge: More Than Just a Swap
First, let’s clarify something important. I think many people confuse a simple faucet replacement with a true “conversion” to a wall-mounted design. They are fundamentally different projects.
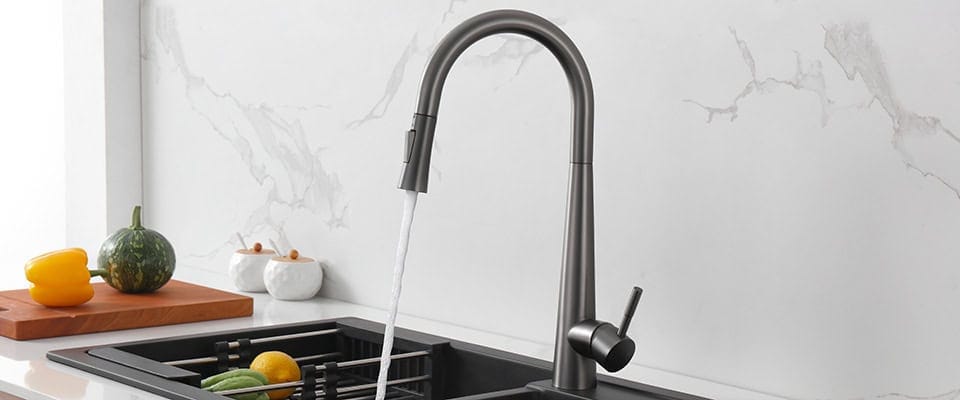
- Deck-Mounted Faucet Installation:
Most homeowners know this setup. You’re replacing a faucet on the countertop or sink deck, using existing holes with plumbing lines right below. It’s often a DIY project if you have basic plumbing skills.
- Wall-Mounted Faucet Installation (New Build/Renovation):
Common in new construction or major remodels when walls are open. Plumbers install components inside the wall during the rough-in phase. It’s about placing a new fixture into a ready space, not rerouting hidden plumbing.
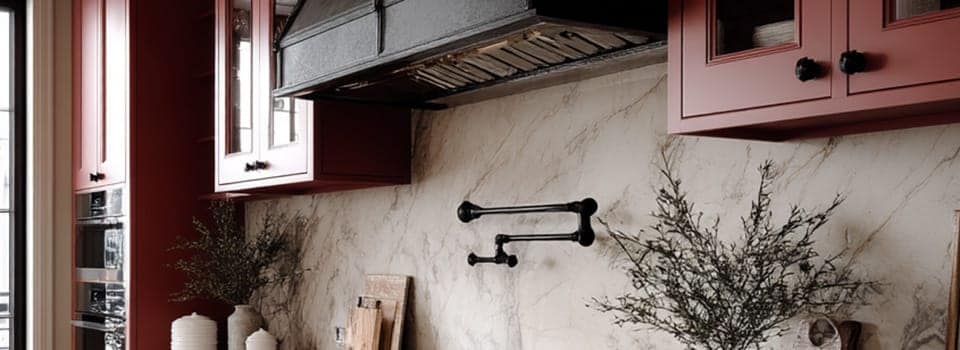
- The “Conversion” Scenario (Deck-to-Wall):
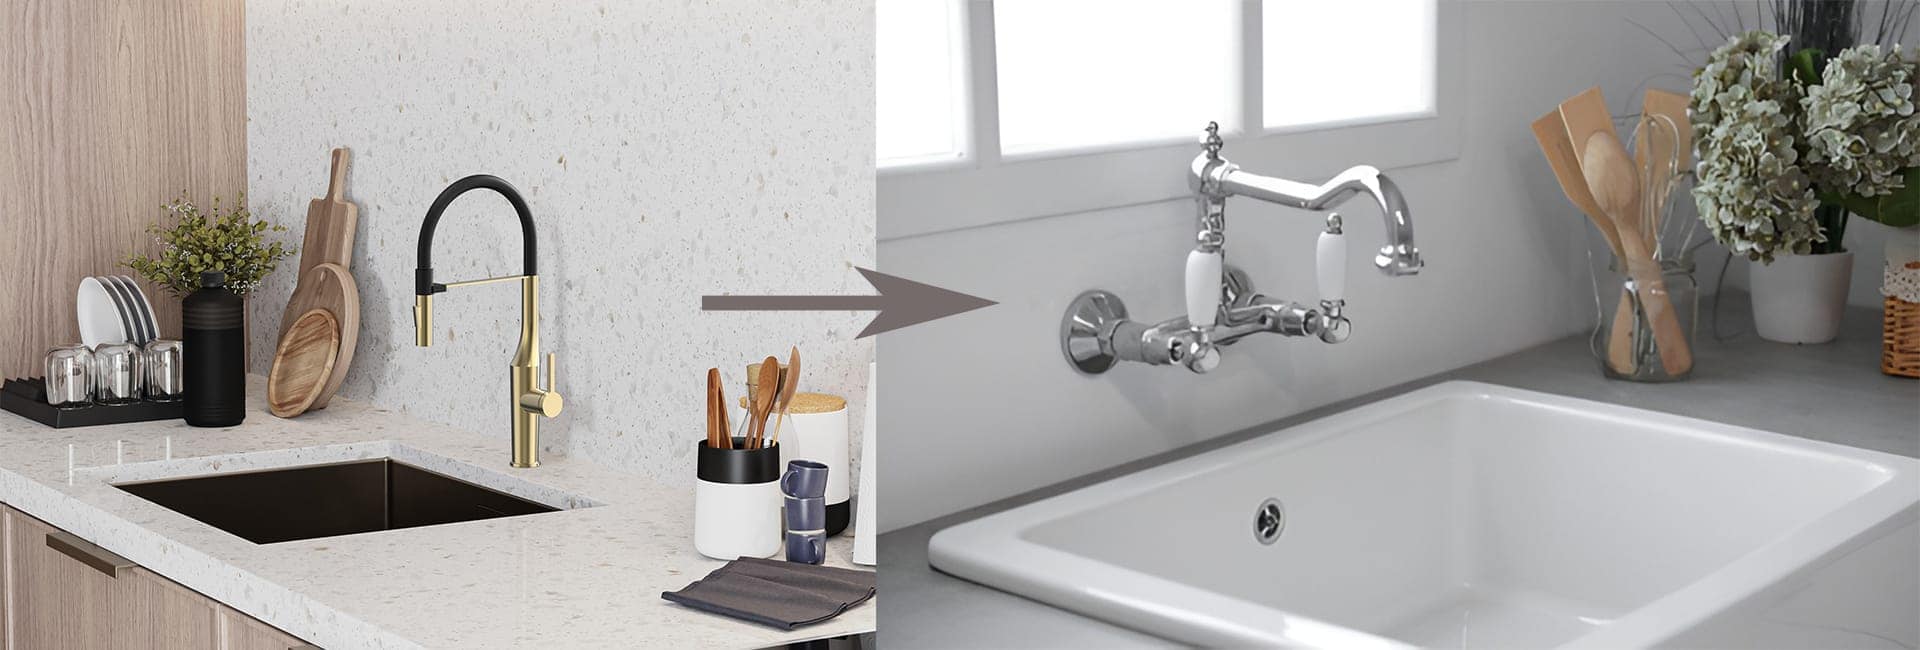
This is your real challenge—and the most complex option. It requires moving your hot and cold water lines from below the sink to inside the wall.
You’ll need to reroute plumbing, install in-wall rough-in valves, and open finished walls to add structural support. Afterward, patching and refinishing (drywall, paint, tile) are necessary, and you’ll also need to deal with the unused countertop holes from your old faucet.
Converting isn’t just a faucet swap—it’s a real renovation. Many guides blur the line between “installing” and “converting,” leaving out essential details. This guide aims to give you the full picture.
Other Options to Consider
Not sold on a wall-mounted faucet yet? I get it—the cost and complexity of a full conversion can be a lot. If you want to refresh your kitchen’s look without major plumbing or wall work, there are easier alternatives worth considering.
- High-Arc Deck-Mounted Faucet:
Tall and stylish, these faucets offer a modern look and plenty of space for big pots. They install into your existing countertop holes—no wall work or plumbing changes needed—making them an easy, impactful upgrade.
- Bridge Faucet:
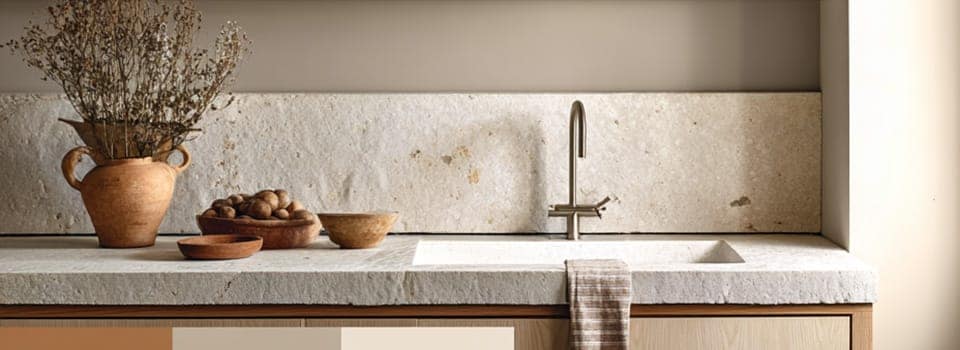
Perfect for a classic or farmhouse vibe, bridge faucets feature two handles connected by a central bridge. They offer vintage charm and mount directly on your countertop, using existing plumbing for a hassle-free install.
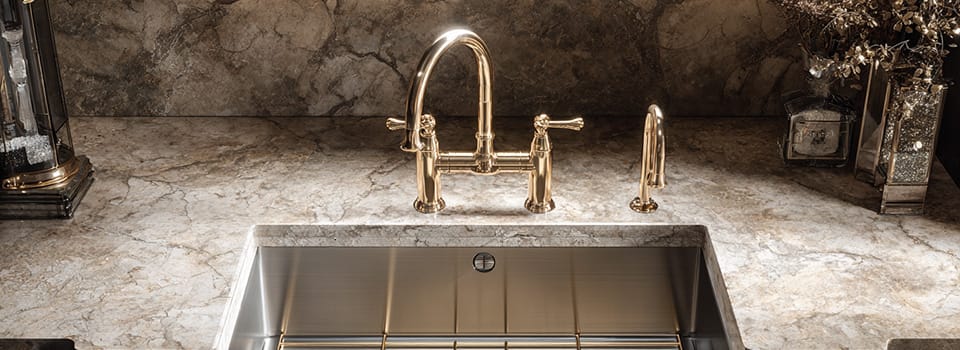
Both options offer a stylish upgrade without the major renovation of a wall-mounted conversion. You get a fresh look with less cost and disruption.
Your Step-by-Step Guide to a Wall-Mounted Faucet Conversion
Let’s break down this project into manageable phases. Remember, while I’m providing detailed steps, some parts of this conversion are best left to licensed professionals. I’ll highlight those areas.
Phase 1: Planning and Preparation – Laying the Groundwork
Proper planning is crucial for a successful conversion. Don’t skip these initial steps!
- Assess Your Space and Existing Plumbing:
-
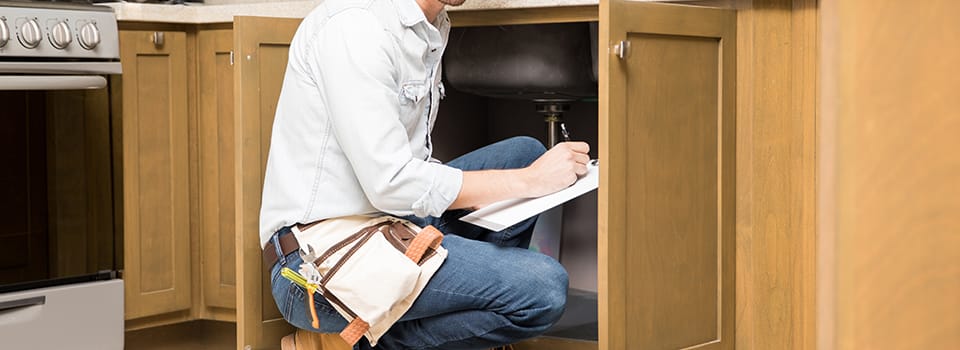
- Under the Sink: Clear out everything under your sink. You need easy access to your existing hot and cold supply lines, shut-off valves, and drain lines.
- Water Shut-Off: Locate your hot and cold water supply valves under the sink and turn them clockwise to shut off the water. If you don’t have individual stop valves or they’re faulty, you’ll need to turn off the main water supply to your entire house.
- Wall Assessment: Carefully examine the wall behind your sink. What material is it? Drywall, plaster, tile? Understanding this helps you plan for demolition and repair. Try to identify where your wall studs are located.
- Measure Twice, Cut Once: Wall-mount faucets require precise planning for alignment, height, and reach. Measure the desired height of your new faucet above the sink, considering splash potential. Also, think about the faucet’s reach – how far it extends from the wall – to ensure it’s comfortable for use with your sink.
- Choose Your Faucet Wisely:
-
- Rough-in Valve Compatibility: Wall-mounted faucets typically come in two parts: the visible “trim kit” (spout and handles) and the “rough-in valve” that installs inside the wall. Make sure your chosen faucet includes or specifies the correct rough-in valve. Some faucets might have eccentric nipples to help with minor alignment issues.
- Style and Function: Consider the finish, style, and features (like a pull-down sprayer) that best suit your kitchen’s design and your needs.
- Gather Your Tools and Materials:
-
- Basic Plumbing Tools: Adjustable wrenches, basin wrench (for tight spaces under the sink) , pipe cutters, Teflon tape.
- Demolition & Wall Repair Tools: Utility knife, drywall saw, stud finder, level, measuring tape, drill, screws, hammer, drywall compound, drywall tape, sanding block, safety glasses.
- Plumbing Rerouting Materials: New pipes (PEX, copper, or PVC), fittings (elbows, couplings), shut-off valves, adapters, and mounting hardware. If you’re working with copper, you’ll need soldering equipment.
- Structural Support: 2x4s or 2x6s for blocking.
- Waterproofing: Waterproof backer board or other moisture barrier.
- Finishing Materials: Drywall sheets, primer, paint, or new backsplash tiles/slab.
- Countertop Hole Solutions: Sink hole covers, or new accessories like a soap dispenser or air gap.

- Permits and Codes: Don’t Skip This Crucial Step!
-
- I can’t stress this enough—rerouting supply lines inside a wall usually requires a plumbing permit from your local municipality.
- Local codes exist to ensure safety and function, and your work must follow them. You’ll likely need a rough-in inspection before closing the wall to confirm everything is up to code.
- Skipping permits can lead to fines, problems when selling your home, and unsafe plumbing. Check your city or county’s building department website or call them to learn the exact requirements.
Phase 2: The Core Conversion – Behind the Wall
This is where the real “conversion” work happens. Proceed with caution, and consider professional help for the plumbing.
- Shut Off Water and Disconnect the Old Faucet:
-
- Confirm the water is off by turning on your old faucet. No water should come out.
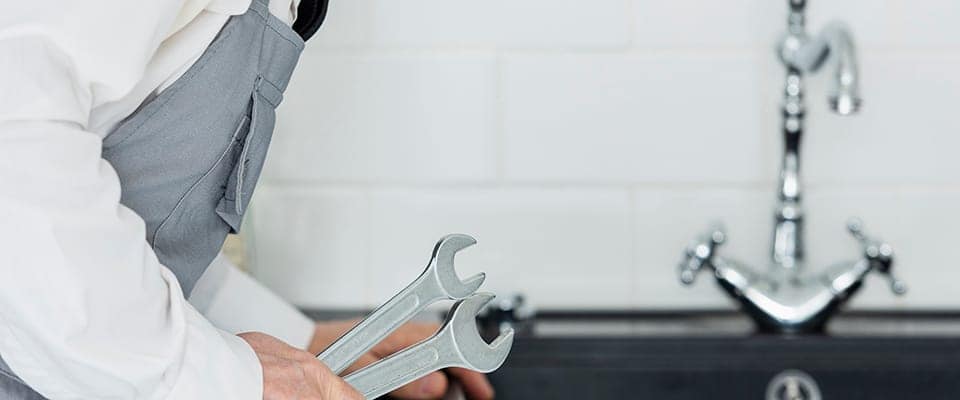
- Under the sink, disconnect the hot and cold supply lines from the old faucet using an adjustable wrench. Have a bucket and towels ready for any residual water.
- Remove the mounting hardware that secures the old faucet to the underside of your countertop. A basin wrench can be very helpful here.
- Lift the old faucet out from above the sink. Clean the area thoroughly.
- Open Up the Wall:
-
- Carefully mark the area where your new wall-mounted faucet will go, considering its height and reach.
- Use a stud finder to locate wall studs. You’ll need to cut out a section of drywall (or other wall material) to expose the stud cavity where your new plumbing will run. Make your cuts clean and straight for easier repair later.
- Install Structural Blocking:
-
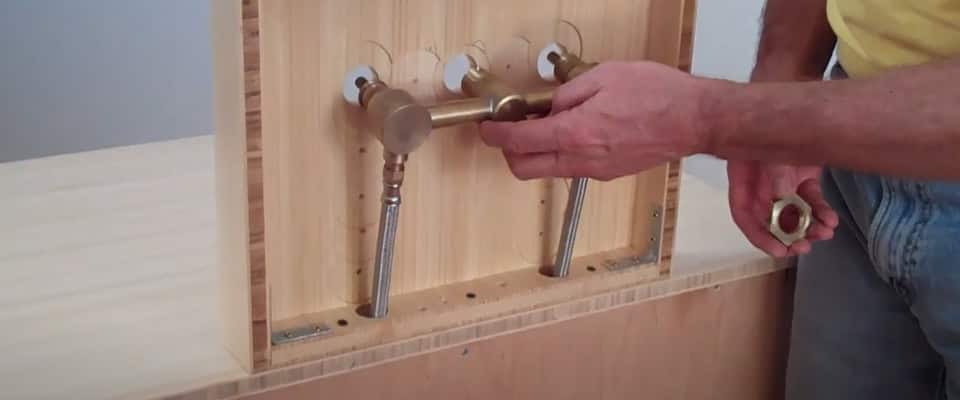
- This is critical for supporting your new faucet. Cut horizontal 2x4s or 2x6s to fit snugly between your wall studs at the desired height of your rough-in valve.
- Securely fasten these wood blocks to the studs. This blocking provides a solid anchor point for the rough-in valve and ensures your faucet is stable and won’t wobble once installed.
- Rough-in the New Plumbing:
-
- This is the most complex part and where I strongly recommend a licensed plumber, especially if you’re not experienced with in-wall plumbing.
- Reroute Supply Lines: You need to extend your existing hot and cold water supply lines from under the sink up into the wall cavity to the location of your new rough-in valve. This involves cutting into existing pipes and connecting new ones using appropriate fittings (e.g., soldering copper, crimping PEX).
- Install Rough-in Valve: Mount the wall-mount rough-in valve securely to the newly installed blocking. Ensure it’s perfectly level and at the correct depth relative to your finished wall surface. Errors here are “expensive and time-consuming” to fix.
- Connect to Valve: Connect the rerouted hot and cold supply lines to the rough-in valve. Make sure all connections are tight and leak-free.
(via.MrBacksplash»)
- Pressure Test Your New Lines:
-
- This is a critical step you must perform before closing up the walls.
- A plumber will typically pressure test the new plumbing lines to identify any leaks. This prevents costly water damage and mold growth within your walls later on. Do not skip this!
Phase 3: Finishing Touches – Bringing It All Together
Once the hidden work is done and tested, you can focus on the visible transformation.
- Repair and Finish the Wall:
-
- Install new drywall patches to cover the opened wall section. Secure them to the studs and blocking.
- Apply joint compound (mud) and tape over the seams and screw holes. Allow it to dry, then sand smooth. Repeat as needed for a seamless finish.
- Install any necessary waterproof backer board behind the faucet area, especially if you plan to tile.
- Prime and paint the repaired wall section, or install your new backsplash (tile, stone slab, etc.). Ensure any holes for the faucet trim are perfectly centered and aligned with grout lines if using tile.
- Install the Faucet Trim:
-
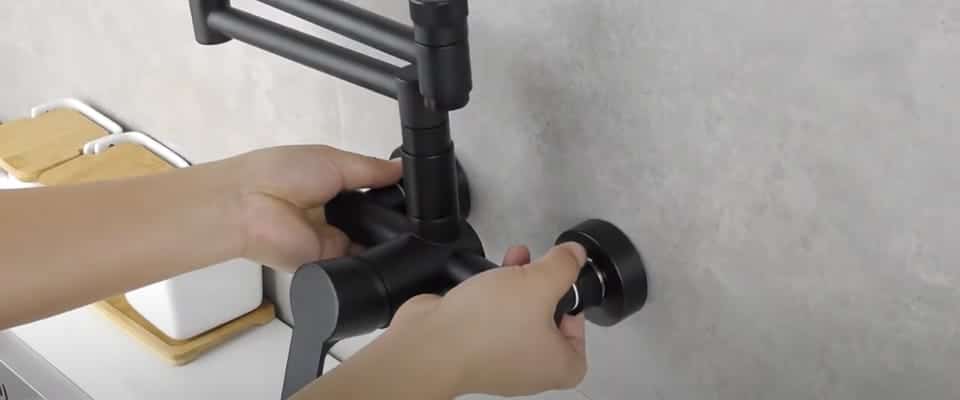
- Once the wall is finished, you can install the visible parts of your wall-mounted faucet – the spout and handles – onto the rough-in valve.
- Follow your faucet manufacturer’s specific instructions for attaching the trim, ensuring all connections are secure and trim rings are properly placed.
(via.Tecmolog»)
- Address Those Countertop Holes:
You’ll now have unused holes in your countertop where the old faucet sat. I’ve seen a few great solutions for this:
-
- Sink Hole Covers: The simplest, most common solution—small caps that fit into the holes for a seamless look, available in finishes to match your sink or countertop.
- Repurpose for New Fixtures: Install a built-in soap dispenser, dishwasher air gap (often code-required), filtered water dispenser, or garbage disposal air switch.
- Creative Inlays: For larger or multiple holes, inset matching or contrasting stone, butcher block, or stainless steel for a purposeful design element.
- Final Checks and Enjoyment:
-
- Turn your water supply back on slowly.
- Test your new wall-mounted faucet for proper operation and, most importantly, check for any leaks around the faucet body and connections. Tighten any connections that drip, but don’t overtighten.
- Remove the aerator from the spout and flush the lines for about a minute to clear any debris, then replace the aerator.
- Step back and admire your beautifully converted kitchen!
What Will This Really Cost You?
I know cost is a big factor in any home renovation. It’s important to understand that converting to a wall-mounted faucet is significantly more expensive than simply replacing a deck-mounted one.
| Cost Category | Description | Estimated DIY Material Cost Range | Estimated Professional Labor Cost Range (if applicable) |
|---|---|---|---|
| New Faucet & Rough-in Valve | Wall-mount faucet fixture and required in-wall rough-in valve | $150 – $600+ | / |
| Plumbing Relocation Labor | Professional labor for rerouting hot/cold lines into the wall | / | $500 – $1,000+ (per fixture, for moves >3ft) |
| Plumbing Materials | Pipes (PEX, copper, PVC), fittings, shutoff valves, adapters, etc. | $100 – $300 | (Included in professional labor) |
| Wall Preparation & Repair Labor | Professional labor for opening wall, adding blocking, patching drywall, finishing | / | $300 – $1,000+ (drywall/finishing) |
| Wall Repair & Finishing Materials | Drywall, joint compound, paint, primer, or new backsplash materials | $100 – $500+ | (Included in professional labor) |
| Permits & Inspections | Local building permits required for plumbing alterations | $50 – $300+ (varies by locality) | / |
| Tools (if DIY) | Specialized tools like basin wrench, pipe cutters, soldering kit, etc | $50 – $200 (if purchasing new) | / |
| Contingency (10-20%) | Recommended buffer for unexpected issues (e.g., faulty pipes, mold) | Varies (10-20% of total) | Varies (10-20% of total) |
| Total Estimated Cost | (Sum of applicable categories) | $450 – $1,800+ (DIY Materials Only) | $850 – $3,000+ (Professional) |
As you can see, the cost of moving plumbing is a significant portion of the overall expense. This is why I emphasize that a “conversion” is a much larger undertaking than a simple “installation.”
The Real Pros and Cons of a Wall-Mounted Faucet Conversion
I think it’s important to weigh the specific benefits and drawbacks of undertaking this kind of project, beyond just the general advantages of a wall-mounted faucet.
Pros (Specific to the Conversion Project Itself):
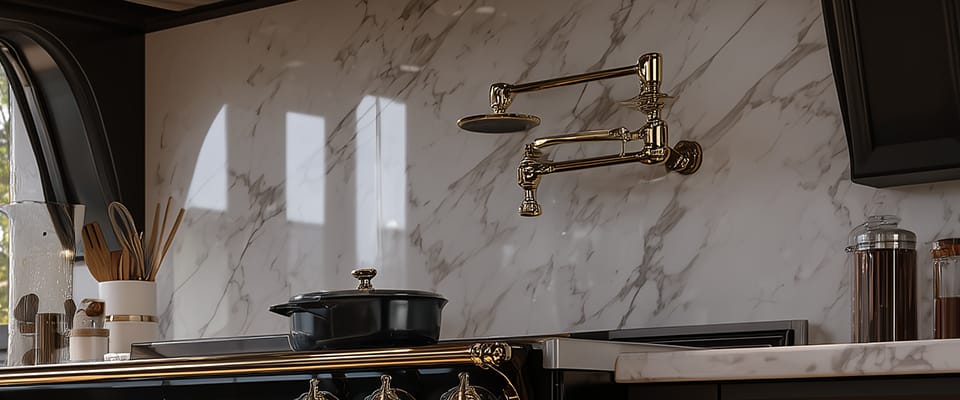
- Achieving Your Dream Aesthetic: This conversion allows you to realize a truly sleek, contemporary, and minimalist kitchen look that a deck-mounted faucet simply can’t provide.
- Maximizing Countertop Space: By moving the faucet off the counter, you free up valuable workspace around your sink, which is especially beneficial in smaller kitchens.
- Easier Cleaning: Without a faucet base on the countertop, cleaning around the sink becomes significantly simpler, as there are fewer nooks and crannies for dirt and grime to accumulate.
- Increased Home Value: A significant kitchen upgrade like this can enhance your property’s appeal and potentially increase its resale value.
- Reduced Leak Risk (Long-term): Once properly installed, wall-mounted faucets can minimize the risk of leaks onto the countertop or into cabinetry compared to deck-mounts, due to fewer exposed connections.
Cons (Specific to the Conversion Project Itself):
- High Complexity and Professional Involvement: This project requires significant plumbing alterations behind the wall, often necessitating licensed plumbers. It’s not a beginner-friendly DIY.
- Significant Cost: The total project cost is considerably higher than a simple faucet replacement due to plumbing relocation, wall repair, and professional labor.
- Kitchen Disruption: The renovation process involves opening walls, which can lead to significant dust, noise, and temporary loss of kitchen functionality.
- Potential for Unforeseen Issues: There’s always a risk of discovering hidden problems like mold, outdated plumbing, or structural issues once walls are opened.
- Maintenance Challenges: While daily cleaning is easier, accessing plumbing connections behind the wall for repairs or maintenance can be challenging, often requiring wall coverings to be removed.
When to Call a Pro: Safety and Expertise You Can Trust
As I’ve emphasized, this isn’t a simple DIY project for everyone. I strongly recommend bringing in a licensed plumber for the critical “rough-in” plumbing and any structural modifications.
- When DIY Is Not Appropriate: Leave complex plumbing rough-in, structural changes, and permit-required work to licensed professionals. DIY without plumbing experience can lead to clogs, no hot water, or full system failure.
- Risks of Improper DIY: Mistakes can cause leaks, water damage, mold, structural issues, code violations, and costly repairs.
- Benefits of Professional Plumbers: They offer expertise, code compliance, proper tools, insurance, warranties, and coordination with other trades.
- Finding a Qualified Professional: Check licenses, insurance, references, and reviews; get multiple quotes; and ensure the scope covers plumbing rerouting and wall rough-in.
Making the Right Choice for Your Kitchen
So, how do you decide if a wall-mounted faucet conversion is right for you?
- Consider Your Budget: Wall-mounted conversions cost more and are complex, so they may not suit tight budgets or quick updates.
- Assess Your DIY Skill Level: If you can handle demolition, plumbing, and drywall, you might DIY parts, but hire a pro for in-wall plumbing. New to major renovations? Hire a professional.
- Evaluate Your Desired Aesthetic: If a sleek, minimalist faucet is essential to your dream kitchen, the cost and effort are worth it.
- Think About Long-Term Plans: If a full remodel is coming soon, add the conversion then for efficiency and savings.
Ultimately, the decision comes down to balancing aesthetics, budget, DIY comfort, and willingness to hire professionals. A wall-mounted faucet can be a stunning centerpiece, but it requires full renovation commitment—and the results can be truly rewarding.
FAQs
About Luxuryhome
Luxuryhome is not just a faucet manufacturer or wholesaler, but more like a partner who can provide you with more added value.
We are united in our determination to produce China-made bath and kitchen fixtures adhering to the highest ethical principles. You have our promise!
More post you may interested in

