You’re starting a bathroom project, and like many homeowners, you’re asking: “What is the standard shower head height?” It sounds simple—you just need a number to guide your plumbing. But in reality, there’s no single fixed answer.
While a common “standard” exists, the real solution is finding what works best for you and your household. This isn’t just about a number; it’s about comfort, function, and creating a space that serves everyone.
Let’s explore the insights that will help you choose the perfect shower head height for your home.
The “Standard” Shower Head Height: More of a Guideline Than a Rule
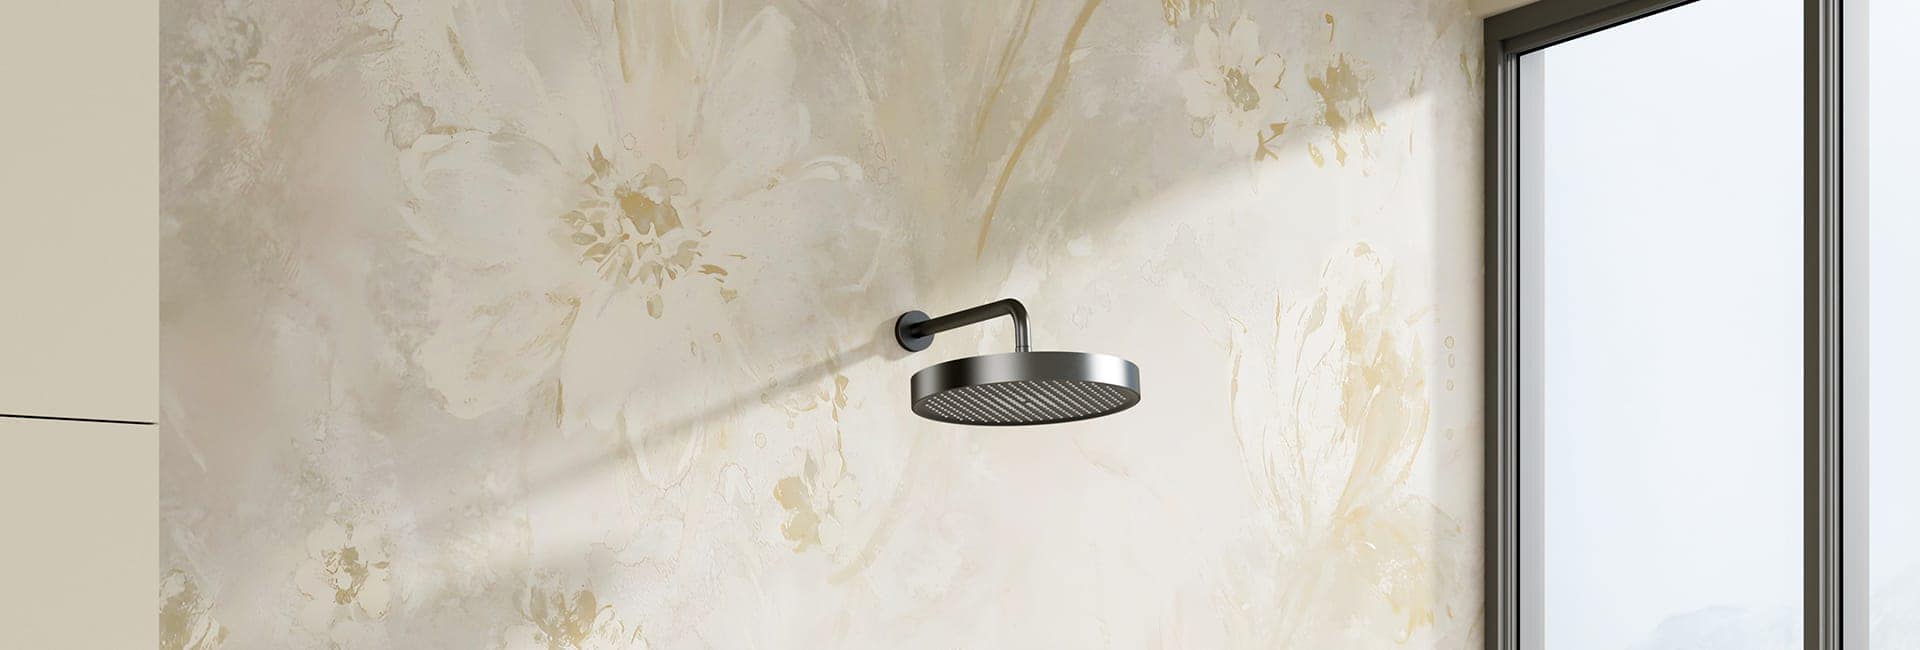
When you search for “standard shower head height,” you will consistently find a range cited: between 80 and 84 inches (approximately 203 to 213 cm) from the floor. This measurement has become a common benchmark, and for many average-height adults, it provides a comfortable showering experience.
However, as I see it, calling this a “standard” can be a bit misleading. Think of it more as a historical convention or a general starting point. This measurement often originated from averages and installation convenience, not necessarily from a deep dive into individual comfort or accessibility needs.
Why is the “Standard” So Ambiguous?
You might wonder why there isn’t one universally agreed-upon number. I believe it comes down to a few key factors:
- Historical Practice, Not Code: The 80-inch height is an industry norm, adopted over decades because it suited the average adult male and kept spray inside the enclosure. It was about practicality, not precise ergonomics.
- No Plumbing Code Mandate: The IPC and IRC set dimensions for many shower elements but do not regulate shower head height. The choice is left to the homeowner for family comfort.
- Conflicting Information: Some sources cite 40–50 inches, but that usually refers to shower controls or tub faucets. A shower head that low wouldn’t work for most adults, so it’s important to distinguish between the head and its controls.
The key takeaway here is this: While 80-84 inches is a common reference, it’s truly “more of a general tip than a hard rule”.
Why a “Standard” Isn’t Always “Perfect” for Everyone
Relying solely on a single “standard” height can lead to a less-than-ideal shower experience for many. Here’s why:
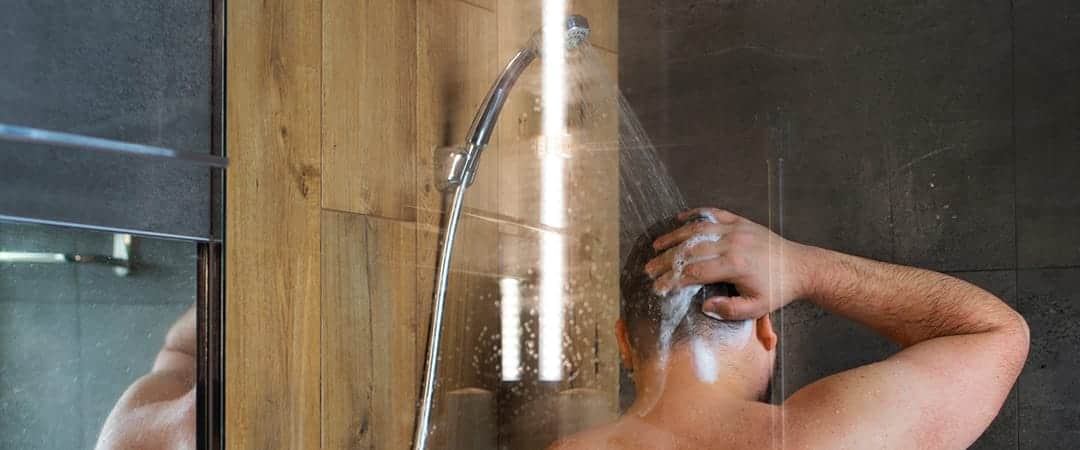
- Discomfort for Taller Individuals: Taller people often have to tilt, bend, or hunch under a standard-height shower head, which can cause neck strain over time.
- Challenges for Shorter Individuals and Children: If the shower head is too high, shorter adults or kids may struggle to adjust it or get proper water coverage.
- Perceived Water Pressure: While supply pressure stays constant, height affects perception. A lower head can feel more forceful, while a higher one may feel softer.
- Accessibility Concerns: For people with mobility issues or those using shower chairs, standard height may reduce comfort and safety. A lower, adjustable option improves accessibility.
Finding Your Perfect Height: Customization is Key
Given these limitations, I always recommend prioritizing customization. The ideal height for your shower head truly depends on the specific needs and preferences of the people using it.
Here is a practical approach to finding your ideal height:
- The “Tallest Person” Rule of Thumb:
A great starting point is to position the shower head so it aligns with the shoulders or upper chest of the tallest person who will regularly use that shower, when they are standing comfortably. This ensures they do not have to bend or strain. As a rule, the spray face should be 3-6 inches above the tallest user’s head.
- Recommended Height Ranges by User Height:
- For Shorter Individuals or Children: Aim for 72-78 inches (183-198 cm). This makes the shower more comfortable and easier to reach.
- For Average Height Adults: The 80-84 inches (203-213 cm) range is generally suitable.
- For Taller Individuals: Consider 84-90 inches (213-229 cm) or even higher if your ceiling allows. This prevents hunching and ensures the water hits at an ideal angle. If the tallest household member is above 6’2″ (188 cm), you might consider raising it to 82–84 inches.
Ergonomic Solutions for Optimal Positioning
What if your household has people of vastly different heights? Or what if you need to accommodate changing needs over time? This is where ergonomic solutions shine.
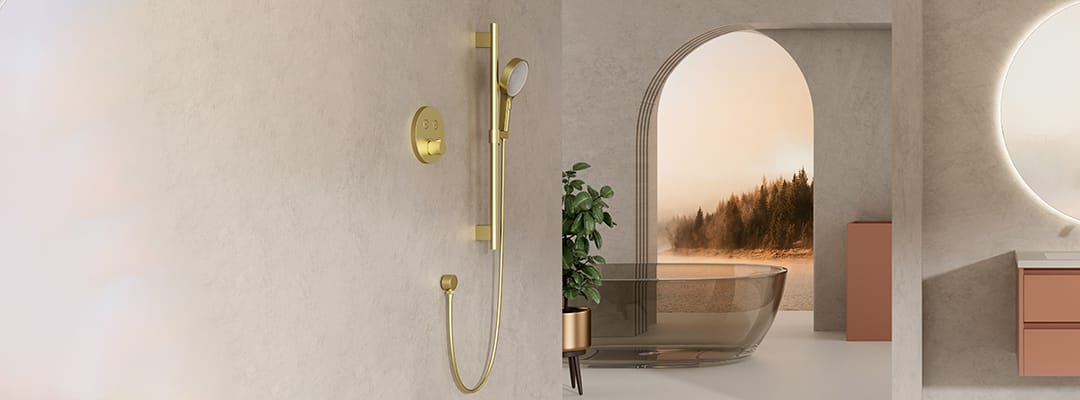
- Adjustable Shower Arms and Extensions: Let you raise or lower the shower head, ideal for tall users or specific tasks.
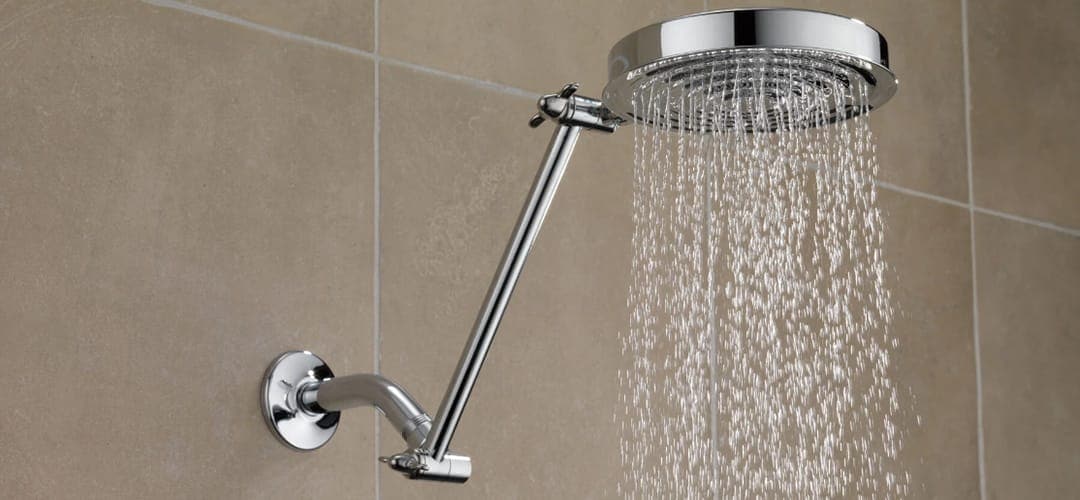
(via.Delta»)
- Height-Adjustable Shower Heads with Sliding Bars: Provide versatility by letting users slide the shower head up or down, making it comfortable for children, adults, and those with mobility needs.
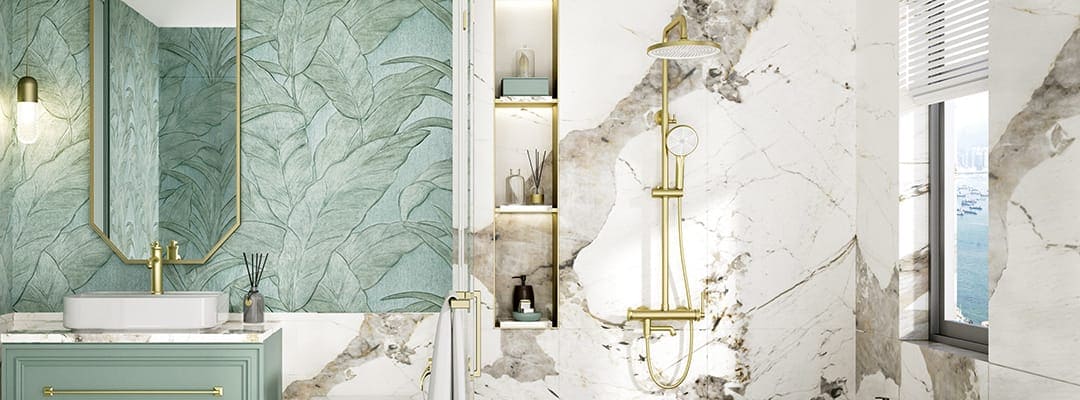
- Dual Shower Systems: Combine a fixed head with a handheld wand, giving users multiple options to suit different needs.
Practical Installation Guidance: From Simple Swaps to Major Moves
Understanding the ideal height is one thing; actually achieving it is another. Here is a breakdown of practical steps and considerations for installation.
Simple Shower Head Replacement or Extension (DIY Friendly)
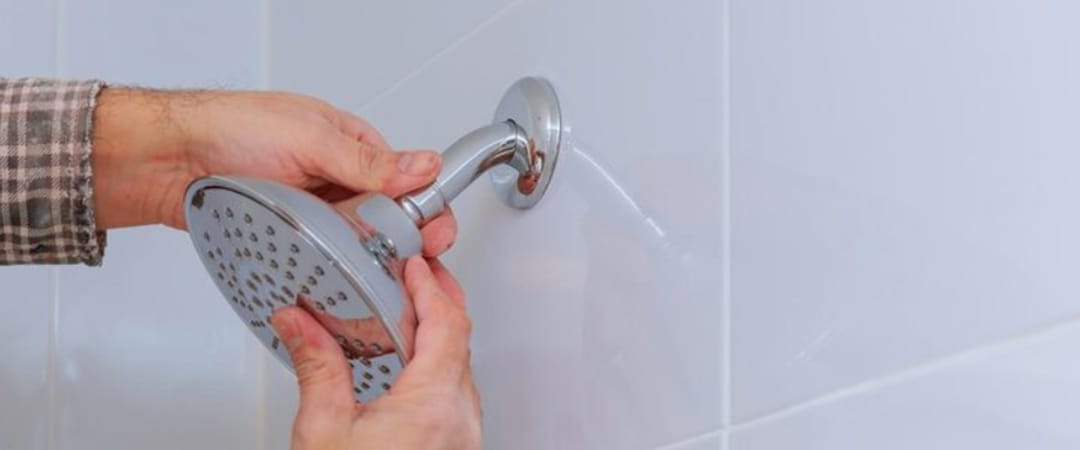
If you are simply replacing an existing shower head or adding a basic extension to an existing shower arm, this is often a DIY-friendly task.
- Tools You Will Likely Need:
- New shower head (and new shower arm if replacing)
- Teflon thread-sealing tape
- Adjustable wrench or channel lock pliers
- Rag or towel (to protect finishes)
- Flashlight (optional)
- Small brush (like an old toothbrush, for cleaning threads)
- Basic Steps:
- Turn Off Water: Always turn off the water supply to the shower or your home’s main water supply before you start.
- Remove Old Head: Use your wrench or pliers (with a rag to protect the finish) to turn the old shower head counter-clockwise and remove it.
- Clean Threads: Clean any old tape, sealant, or mineral deposits from the shower arm threads.
- Apply Teflon Tape: Wrap new Teflon thread-sealing tape clockwise around the threads of the shower arm 2-3 times, pressing it into the threads.
- Install New Head: Screw the new shower head (or adjustable arm/extension) onto the shower arm clockwise. Hand-tighten first, then use your wrench for a snug fit, but do not over-tighten.
- Check for Leaks: Turn the water back on and check for any leaks. If you see leaks, tighten slightly more or re-apply Teflon tape.
New Installation or Significant Height Adjustment (Consider Professional Help)
If you’re installing a new shower or moving in-wall plumbing to change the height, the project is complex. I recommend consulting a professional plumber or contractor.

- Why Professional Help is Often Best:
- Accessing In-Wall Plumbing: Moving the shower arm requires opening the wall to reach supply pipes, which takes tools and skill.
- Pipe Work: You must cut and reroute pipes, using soldering for copper or fittings for PEX. Mistakes can cause leaks, pressure issues, or bursts.
- Code Compliance: Plumbing must meet local codes. Professionals know the rules and ensure safe, legal installations.
- Wall Structure: You must consider studs, insulation, and wiring to avoid damage and support new fixtures.
- Cost Implications: Adjusting height during installation is free, but changing it later can cost $125–$1,250+, depending on wall work. A professional helps avoid costly mistakes.
Pre-Installation Calibration: Get it Right the First Time!
Whether you are doing a simple swap or a full renovation, I always suggest a “dry run” to calibrate the height before final installation. This is especially important for fixed shower heads.

- Measure: Start by noting the heights of the tallest and shortest regular users in your household.
- Mark: Use painter’s tape or a washable marker to mark several possible installation heights on the shower wall. Common options might be 78″, 80″, 82″, or even 84″. If you are adding a slide bar or handheld dock, mark those points as well.
- Test: Before drilling, simulate the spray position. You can use a temporary bracket, an adjustable shower arm, or simply have someone hold the shower head at each marked height. Have different users stand in place to check the spray angle, coverage, and whether water escapes the enclosure.
- Adjust: Based on everyone’s feedback, fine-tune your target height. This simple step can save you a lot of regret later!
Common Issues After Height Adjustment (and How to Fix Them)
Sometimes, even after careful planning, you might encounter minor issues.
- Spray Hitting the Wall
-
- Cause: If your shower head spray hits the back wall, you might have an issue with the shower head’s pivot ball adjustment, or your shower enclosure might be very small.
- Solution: I recommend a swivel ball adapter. This part attaches between your shower arm pipe and shower head, adding an additional pivoting ball to greatly increase the range of motion of your shower head. This means you can increase your shower head angle to hit you and not the back of your shower.
- Low Water Pressure
-
- Cause: This is a common complaint, but it is rarely due to shower head height. It is more often caused by clogged shower heads, partially closed valves, or issues with your home’s main water supply.
- Solution: Clean your shower head regularly to remove mineral buildup. Check all valves to ensure they are fully open. If issues persist, consider a water pressure booster or consult a professional plumber.

- Inconsistent Water Temperature
-
- Cause: This usually happens when other appliances use hot water simultaneously or due to fluctuations in water supply pressure.
- Solution: Installing a thermostatic shower mixer can significantly improve your shower experience by maintaining your desired water temperature, even when pressure fluctuates.
Shower Head Types and Their Ideal Placement
The type of shower head you choose also plays a significant role in its optimal placement:
- Wall-Mounted Shower Heads: Standard height is about 80 inches (200 cm), though a 67–87 inch (170–220 cm) range works for most users.
- Rain Shower Heads: Mount higher, typically 80–90 inches (200–230 cm) above the floor and centered in the shower. For ceilings over 100 inches (250 cm), you can mount from the side wall. Too much height softens the rainfall effect and increases heat loss.
- Handheld Shower Heads: Height is flexible since you can adjust them. When mounted, place them so water stays within the tiled shower area.
Comprehensive Shower Installation Heights: Beyond the Head
When you are planning a shower, it is not just about the shower head. Other components also have ideal placement heights that contribute to a functional and comfortable bathroom.
| Fixed Fixture/Component | Recommended Height (Inches) | Recommended Height (Centimeters) | Purpose/Reason |
|---|---|---|---|
| Combination Shower & Bath Taps | 25 – 30 | 65 – 75 | Accessible within the tub, prevents excessive bending when entering shower |
| Walk-in Shower Controls | 47 | 120 | Comfortable adjustment of flow and temperature (approx. rib height) |
| Horizontal Grab Bars (ADA Standard) | 33 – 36 | 84 – 92 | ADA compliant, approx. waist height, easy to reach for support |
| Accessible Shower Taps (ADA Standard) | 38 – 48 | 96.5 – 122 | ADA compliant, allows user or caregiver to check temperature/pressure before entry |
Other Key Considerations for Your Shower Project
Beyond measurements, a few practical aspects can significantly impact your shower project.
- Installation Costs: Adjusting height during initial installation usually doesn’t affect your plumber’s fee. Changing it later can be costly, from $125 to $1,250+, depending on wall work and complexity. Getting it right the first time saves money.
- Water Conservation: Proper shower head placement can reduce splashing and ensure water reaches your body efficiently, helping save water and lower utility bills.
- Aesthetics and Design Integration: Shower head height affects your bathroom’s look and feel. A well-placed head enhances visual balance and design flow.
- Local Plumbing Codes: Height isn’t typically regulated, but other installation aspects must follow local codes, including compartment size, clearances, and drain/vent piping. Always check with your local authority or a licensed plumber.
Designing a Shower That Grows With You
A well-designed shower works not just for today, but for the future. Children grow, and mobility needs can change over time.
I recommend using universal design principles: create a space that’s safe and comfortable for all ages and abilities. Features like adjustable shower heads, grab bars, and handheld wands from the start can save time, money, and hassle later. Plan proactively for a bathroom that adapts to life’s changes.
Making the Right Choice for Your Home
The “standard” shower head height is a starting point, not a rule. Your ideal height balances comfort, efficiency, and accessibility for everyone.
- For varied households or future accessibility, consider a height-adjustable shower on a sliding bar or a handheld wand for maximum flexibility.
- For a luxurious feel, a higher-mounted rain shower can create a spa-like experience, but factor in ceiling height and water pressure.
- For a fixed shower head, follow the “tallest person’s shoulder/upper chest” rule and test the height before installation.
- For major renovations or uncertain plumbing work, always consult a qualified plumber to ensure safety, code compliance, and lasting comfort.
FAQs
About Luxuryhome
Luxuryhome is not just a faucet manufacturer or wholesaler, but more like a partner who can provide you with more added value.
We are united in our determination to produce China-made bath and kitchen fixtures adhering to the highest ethical principles. You have our promise!
More post you may interested in

