You scrub, you rinse, and an hour later your sink looks dull again. Water spots show up, and a faint odor lingers near the drain. It’s not your fault—most online “tips” don’t work and can even damage your sink.
The truth? A clean, fresh sink isn’t about scrubbing harder, it’s about cleaning smarter. This guide gives you the playbook: the 60-second daily habit that prevents most problems, the right way to clean each sink material, proven methods to banish odors, and quick fixes for common issues. By the end, you’ll know exactly how to keep your sink sparkling like new.
The 3-Tier Maintenance Plan: From Daily Reset to Deep Clean
I think the biggest shift in mindset is understanding the difference between cleaning—which is reactive—and maintenance, which is proactive. Our goal is to maintain, so we rarely have to do a major deep clean. I’ve broken this down into a simple, three-tier system that anyone can follow.
The 60-Second Daily Reset: Your Most Powerful Habit
This is the single most important thing you can do for your sink. It takes less than a minute, and it will radically change how your sink looks and feels.
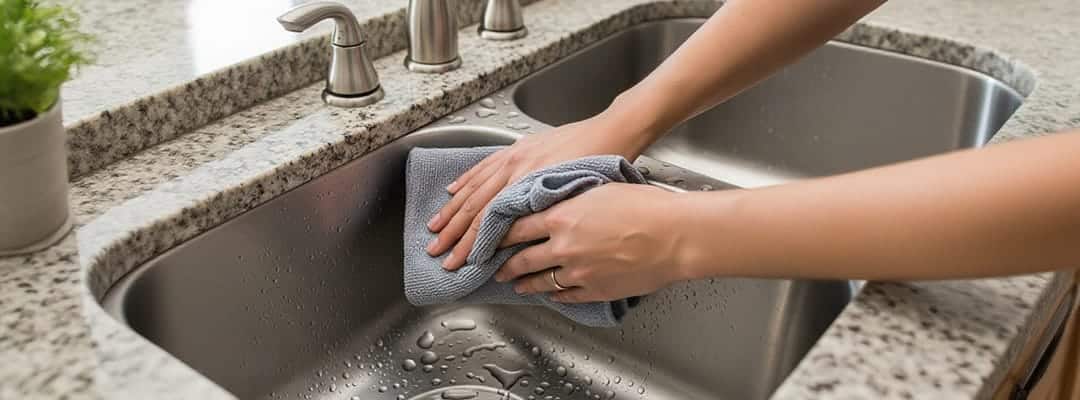
- What to do: After the last use of the day, rinse the sink to clear food particles. Then wipe the basin, faucet, and countertop dry with a microfiber cloth.
- Why it works: Water spots are mineral deposits left behind when water evaporates. By drying the surface, you stop minerals from settling, preventing dull buildup and stains. This simple act is your number one defense against the dull, chalky buildup that makes sinks look old and actually attracts stains.
The 5-Minute Weekly Refresh: The Essential Scrub-Down
Once a week, your sink needs a slightly more thorough cleaning to remove oils, soap scum, and any grime that the daily wipe-down might miss.
- What to do: Use a soft sponge or cloth with a few drops of a mild, ammonia-free dish soap.
- The Process:
- Wet the entire sink basin.
- Apply a small amount of dish soap to your wet sponge and create a lather.
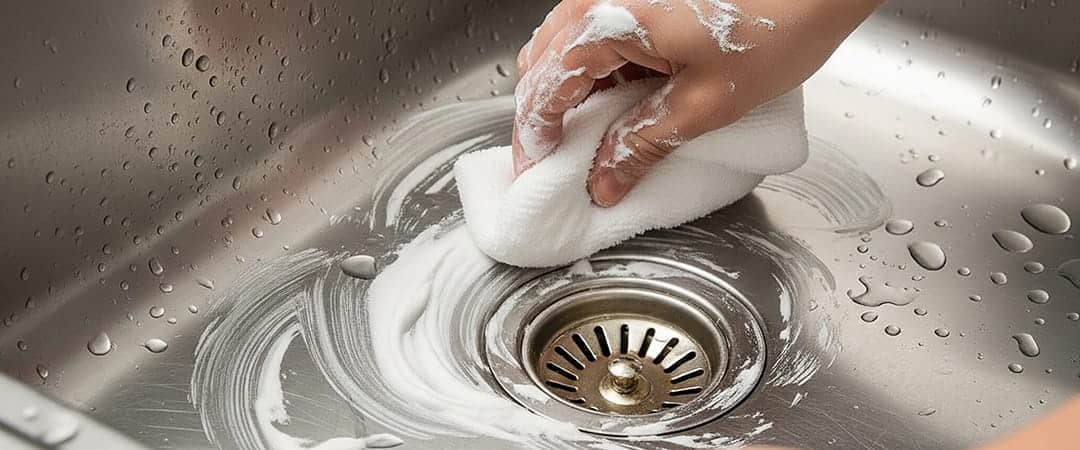
- Gently scrub the basin, sides, faucet, and handles. If you have a stainless steel sink, it’s crucial to scrub in the direction of the metal’s grain to avoid creating tiny scratches that can dull the finish over time.
- Grab an old toothbrush. Use it to scrub the little crevices where grime loves to hide, like the base of the faucet, the drain opening, and the sink seams.
- Rinse the sink thoroughly with warm water to wash away all the soap residue.
- Finish by wiping the entire area dry with your microfiber cloth. This final step is non-negotiable if you want to avoid those pesky water spots.
The Deep Clean: Your Sink’s Monthly “Spa Day”
If you’re consistent with the daily and weekly routines, you’ll find you need to do this far less often. The monthly deep clean is for tackling mild stains, sanitizing the basin, and restoring that brand-new luster. This is where the methods become highly dependent on your sink’s material, which we’ll dive into next. It might involve a mild abrasive paste like baking soda, a specialized cleaner, or a sanitizing soak.
The Sink Material Masterclass: A Cheat Sheet for Perfect Care
Using the wrong cleaner can permanently damage your sink. Always check your sink material first. This quick-reference table shows the right approach for each type—so you can avoid costly mistakes at a glance.
| Sink Material | Tough Stains / Buildup | Tools to Use | ABSOLUTELY AVOID |
|---|---|---|---|
| Stainless Steel | Baking Soda Paste; Bar Keepers Friend (liquid or powder) | Soft Sponge, Microfiber Cloth | Bleach, Chlorine Cleaners, Steel Wool, Abrasive Powders/Pads |
| Granite Composite | 50/50 Vinegar/Water for mineral spots; Mineral oil for luster | Soft Sponge, Microfiber Cloth | Abrasive Pads, Steel Wool, Harsh Chemicals (Ammonia, Caustic Soda) |
| Enameled Cast Iron | Baking Soda Paste; Approved cleaners like Soft Scrub or Kohler Cast Iron Cleaner | Soft Sponge, Nylon Brush | Abrasive Powders/Pads, Steel Wool, Wire Brushes |
| Fireclay/Porcelain | Baking Soda; Bleach solution (WHITE sinks ONLY); Bar Keepers Friend | Soft Sponge, Microfiber Cloth | Harsh Abrasives, Steel Wool; Bleach on colored porcelain |
| Copper | N/A (allow patina to develop) | Soft Sponge, Microfiber Cloth | Abrasive Cleaners, Acidic Foods/Cleaners (lemon, vinegar) |
Stainless Steel: The Classic Workhorse
This is the most common kitchen sink material, and for good reason. It’s durable and affordable, but it’s also prone to water spots and scratches if not treated correctly.
- Routine Care: Follow your daily and weekly plans, always wiping with the grain of the steel—like petting a cat—to keep the finish even and bright.
- Stains and Rust: For tough spots, use Bar Keepers Friend powder. Wet the sink, sprinkle lightly, scrub with a soft cloth in the grain, rinse within a minute, and dry. For light stains, use a baking soda paste.
- Golden Rule: Never use bleach. Chlorides destroy stainless steel’s protective layer, causing pitting and permanent damage.
Granite Composite (Silgranit, Fragranite): The Modern Matte
These sinks are beautiful, durable, and wonderfully resistant to scratches. Their main vulnerability, however, is the buildup of hard water minerals, which can make the surface look chalky, faded, or stained.
- Routine Care: Rinse and dry daily to stop limescale and avoid most discoloration. Once a week, wash with mild dish soap.
- Deep Cleaning & Stains:
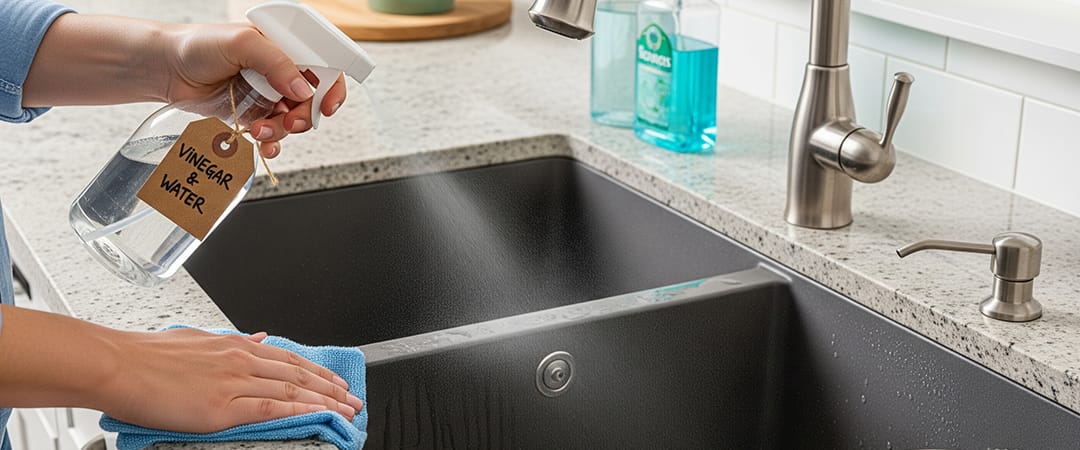
- For Mineral Buildup: Use a 50/50 mix of white vinegar and water. Spray, let sit 15–20 minutes, scrub gently with a soft sponge, then rinse.
- For Tough Stains: Some manufacturers (e.g., Franke) allow a highly diluted bleach solution (40:1 water to bleach) for an overnight soak on light sinks as a last resort. Always check your manufacturer’s guidelines first.
- To Restore Luster: Buff dark sinks with a thin layer of food-grade mineral oil. It revives color, fills pores, and makes the surface water-repellent.
- What to Avoid: Never use abrasive pads, steel wool, or harsh chemicals like ammonia or drain cleaners. These will permanently damage the smooth, non-porous finish of the sink.
Enameled Cast Iron: The Enduring Farmhouse Favorite
These sinks are heavy, classic, and incredibly durable. The surface is essentially a layer of fused glass (porcelain enamel) over a cast iron core. The goal is to protect that glass-like finish from scratches and chips.
- Routine Care: The daily rinse-and-dry and weekly soap wash are perfect for cast iron. The smooth surface is easy to clean as long as the enamel is intact.
- Stains and Scuff Marks: Grey or black marks from pots are usually surface deposits, not scratches. Use a baking soda paste and a soft sponge to remove them. For stubborn marks, use a non-abrasive cleaner like Soft Scrub or a brand-approved product such as Kohler Cast Iron Cleaner.
- The Big Mistake: Never use harsh powdered cleansers or steel wool. They create micro-scratches that trap stains, leaving the surface harder to clean and more prone to damage.
Beyond the Basin: Mastering Your Drain and Garbage Disposal
A sparkling sink basin with a smelly drain is like a beautiful house with a plumbing problem—it ruins the whole experience. Let’s tackle the parts of the sink you can’t see.
Keeping Your Drain Fresh and Free-Flowing (The Natural Way)
The health of your drain comes down to one simple rule.
- The #1 Rule: Your drain is not a trash can. Never pour grease, fats, coffee grounds, or fibrous waste down it. Grease hardens as it cools, creating sticky clogs that trap debris. For details, see the EPA’s guidance on FOG (Fats, Oils, and Grease)».
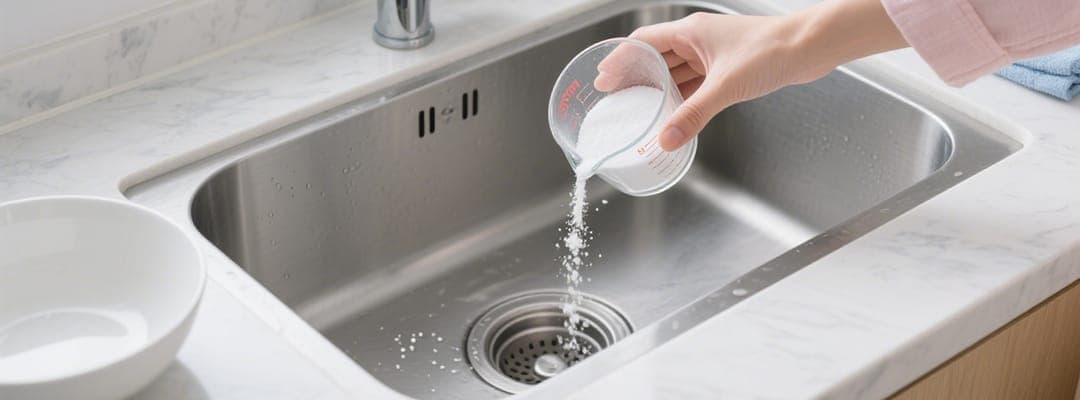
- The Baking Soda & Vinegar Volcano: This is my go-to for a weekly or monthly drain freshen-up. It’s safe, effective, and won’t harm your pipes.
- Pour about a half cup of baking soda directly into the drain.
- Follow it with a half cup of white vinegar. It will start to fizz and bubble immediately.
- Let the mixture work its magic for about 15 minutes.
- Flush the drain with a pot of boiling water.
- Crucial Caveat: If you know you have PVC (plastic) pipes under your sink, use very hot tap water instead of boiling water, as boiling water can soften or damage the plastic over time.
- Why Chemical Drain Cleaners Are a Last Resort: Avoid harsh chemical cleaners—they corrode older pipes and, if they don’t clear the clog, leave you with a sink full of hazardous chemicals that endanger you and any plumber who helps.
Garbage Disposal 101: Clean, Don’t Just Deodorize
Myth Busted: Garbage disposals don’t have blades—they have impellers, blunt metal hammers that smash food against a grinding ring. It means you don’t need to “sharpen” them. You need to scour them.
- The 3-Step Cleaning Method:
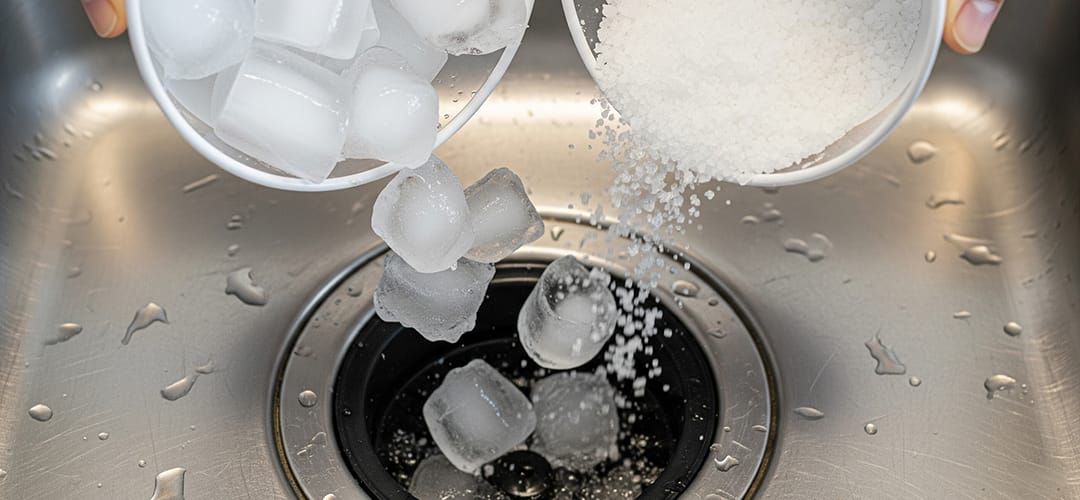
- Scour: Grind 2 cups of ice and 1 cup of coarse salt with cold water. The ice shatters grease, and the salt scrubs the chamber clean.
- Clean: Follow with the baking soda and vinegar method to clean and deodorize.
- Freshen: Grind a few citrus peels to release oils and leave your kitchen smelling fresh.
- Don’t Forget the Grimiest Part: The main source of disposal odors is the underside of the rubber splash guard. Scrub the top and underside of each flap thoroughly with dish soap and an old toothbrush or brush.
The Homeowner’s Toolkit: How to Fix Common Sink Problems
Part of great maintenance is knowing how to handle the small problems that inevitably pop up. Here’s how to tackle the most common issues without immediately calling for help.
Problem: The Drain is Slow or Clogged
Before reaching for any chemicals, follow these mechanical steps.
- Step 1: Use a Plunger: For sinks without a disposal, plug one drain if double-basin. Cover the other with the plunger, add water to cover the cup, and push and pull firmly to clear the clog.
- Step 2: Clean the P-Trap: If plunging fails, the clog is likely in the P-trap—the U-shaped pipe under your sink that blocks sewer gases but often traps debris.Cleaning it is easier than it sounds:
- Clear everything out from under the sink and place a bucket directly under the P-trap to catch water and gunk.
- The trap is held in place by two large slip nuts. Unscrew them by hand (counter-clockwise). If they’re tight, use a pair of channel-lock pliers.
- Once the nuts are loose, gently pull the trap down and empty its contents into the bucket.
- Take the trap to another sink and clean it out thoroughly with a bottle brush and hot, soapy water.
- Reassemble the trap, making sure the gaskets are in place, and hand-tighten the nuts. Give them a final quarter-turn with pliers, but don’t overtighten.
- Run the water for a minute and check carefully for leaks. For a great visual guide, I often recommend videos from trusted sources like Youtube».
Problem: Water Pressure is Pathetic
If your faucet flow slows to a trickle, it’s usually a clogged aerator—the small screen at the tip. Unscrew it, rinse the screen and washer under water, and reassemble.
Problem: The Garbage Disposal is Humming (but not Grinding)
A humming sound means the motor is getting power but the impellers are stuck.
- Safety First: Unplug the disposal or turn off the breaker. Never put your hand or tools inside until the power is off.
- The Fixes:
- First, look for a small red or black reset button on the bottom of the disposal unit itself. Press it firmly and see if that solves the problem.
- If it still hums, the impellers are physically jammed. Look at the very bottom of the unit for a small, hexagonal socket. Your disposal likely came with a small hex wrench (often called a jam-buster wrench) that fits this socket. If you can’t find it, a standard 1/4-inch Allen wrench will usually work.
- Insert the wrench and turn it back and forth to manually crank the motor and dislodge whatever is stuck. Once it moves freely, remove the wrench, restore power, and test it (with cold water running).
When to Surrender and Call a Plumber
Knowing your limits is a sign of a smart homeowner. It’s time to call a professional if:
- A clog is beyond the P-trap and you can’t clear it.
- You have a persistent leak that doesn’t stop after gently tightening the connections.
- You are uncomfortable or unsure about performing any of these repairs.
A small service fee is always cheaper than repairing major water damage from a DIY project gone wrong.
Conclusion: Your Action Plan for a Permanently Perfect Sink
A clean sink isn’t about endless scrubbing—it’s about smart, consistent habits. Focus on this simple 3-step mission for the week:
- Identify Your Weapon: Check your sink material—stainless steel, granite composite, or cast iron.
- Assemble Your Kit: Keep a microfiber cloth, soft sponge, and mild dish soap under the sink.
- Start the Habit: Each night after dishes, spend 60 seconds on the Daily Reset: rinse, wipe, and dry. Do this for a week—you’ll see a big difference.
Your sink works hard every day; now you have the power to make it shine.
FAQs
About Luxuryhome
Luxuryhome is not just a faucet manufacturer or wholesaler, but more like a partner who can provide you with more added value.
We are united in our determination to produce China-made bath and kitchen fixtures adhering to the highest ethical principles. You have our promise!
More post you may interested in

